How to Use a Milwaukee Cordless Drill: Tips and Tricks for Efficient Drilling
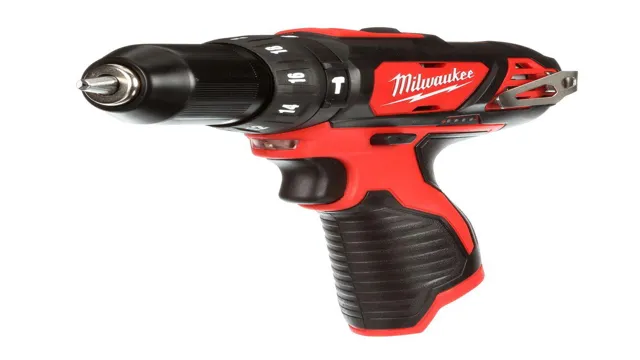
Milwaukee cordless drills are an excellent choice for DIY enthusiasts and professionals alike. Their portability and flexibility make them a go-to tool for any drilling project at hand. However, for those who’ve never used a cordless drill before, it can be a bit daunting.
With different settings, accessories, and applications, knowing where to start can sometimes feel overwhelming. But fear not! This guide will walk you through everything you need to know about using a Milwaukee cordless drill, from the basics like how to charge the battery and change the bits, to more advanced techniques like adjusting torque and speed. With this comprehensive guide, you’ll be drilling like a pro in no time.
So let’s dive in!
Safety Precautions
If you’re using a Milwaukee cordless drill for the first time, it’s important to take the necessary safety precautions to avoid accidents or injuries. First and foremost, you should always wear protective gear such as safety glasses and gloves. Additionally, make sure to keep your work area clean and organized to prevent any potential hazards.
Never force the drill to complete a task and always use the correct drill bit or attachment for the job. Before starting, make sure to inspect the tool and ensure it’s working properly. Lastly, make sure to store the drill in a safe and secure location, away from children and pets.
By following these simple guidelines, you can use your Milwaukee cordless drill safely and with confidence!
Wearing protective eyewear and gloves
Safety Precautions When it comes to handling hazardous materials, safety should be the top priority. Protective eyewear and gloves play a crucial role in ensuring the safety of the person handling the hazardous materials. The eyes and hands are vulnerable to hazardous materials, and they need to be protected at all times.
Protective eyewear such as safety goggles or face shields should be worn to protect the eyes from chemical splashes. Gloves made of materials that provide resistance to specific chemicals should be worn to protect the hands. Not wearing protective eyewear and gloves can lead to serious injuries such as eye and skin irritation, burns, and even blindness.
In some cases, the injuries can be permanent. It is essential to ensure that the protective equipment being used is suitable for the specific hazard being encountered. Before handling hazardous materials, it is important to identify the possible hazards and make sure that the appropriate safety precautions are taken.
In conclusion, it is important to prioritize safety when dealing with hazardous materials. Wearing protective eyewear and gloves can prevent serious injuries and ensure a safe work environment. The investment in protective eyewear and gloves is minimal compared to the potential cost of serious injuries.
Always remember, safety first!
Checking the drill for any damage
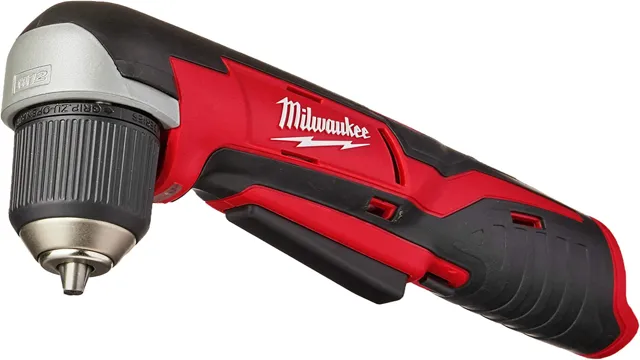
When it comes to using power tools, safety is paramount. Before using a drill, it’s crucial to check it for any damage that could potentially cause harm. Start by checking the cord for any cuts or frays, as this could lead to electrocution.
Then, inspect the chuck to make sure it’s secure and not wobbling, as a loose chuck could cause the bit to come loose while in use. Additionally, make sure the trigger and safety switch are working correctly to prevent accidental starts. It’s also essential to wear proper eye and ear protection when using a drill, as they can be quite loud and create flying debris.
Taking the time to check your drill before use and using the appropriate safety gear can help prevent accidents and injuries, allowing you to complete your project safely and efficiently. Remember, it’s better to be safe than sorry!
Charging the Battery
If you want to know how to use a Milwaukee cordless drill, then it’s crucial to understand how to charge the battery. The battery is an essential component of the drill and without it, the tool won’t work. The good news is that charging the battery is a straightforward process.
You May Also Love:
First, you need to turn off the drill and remove the battery. Then, insert the battery into the charger and plug it into a power source. The charger will indicate when the battery is fully charged, which usually takes a few hours.
It’s important to note that overcharging can damage the battery, so it’s best to avoid leaving the battery in the charger for too long. Once the battery is fully charged, you can reinsert it into the drill and start using it. By taking care of the battery and charging it properly, you can ensure that your Milwaukee cordless drill lasts for a long time and remains an essential tool in your toolbox.
Locating the battery port
When it comes to charging the battery of your device, it is important to locate the battery port. The battery port can usually be found on the bottom or back of the device. If you are unsure about where to find it, refer to the user manual or the manufacturer’s website for assistance.
Once you have located the battery port, make sure to use the correct charger for your device. Using the wrong charger can damage your device and potentially even cause a safety hazard. It is also important to make sure that the charger is plugged into a grounded outlet and to avoid overcharging the battery.
By following these steps, you can safely and effectively charge your device’s battery and ensure its longevity.
Inserting the battery into the charger
When it comes to charging the battery of your device, inserting the battery into the charger may seem like a no-brainer, but it’s actually an important step that needs to be done correctly to ensure that your battery is charged properly. Start by making sure that you have the correct charger for your device and then carefully insert the battery into the charger. You’ll want to make sure that the battery is inserted in the correct orientation, as this can prevent damage to both the battery and charger.
Once the battery is securely in place, plug the charger into a power source and let it charge until it reaches full capacity. It’s important to note that overcharging your battery can actually damage it, so make sure to keep an eye on it and unplug it as soon as it’s fully charged. By taking the time to properly insert and charge your battery, you’ll be able to extend its lifespan and get the most out of your device.
Allowing the battery to charge fully
Charging the battery is an essential task that all gadget owners must perform to keep their devices running smoothly. One common misconception is that it’s best to let the battery drain completely before charging it. However, this is not true.
It’s actually better for the battery’s longevity to let it charge fully. This means unplugging your device after it’s fully charged, instead of leaving it plugged in for extended periods. This way, the battery can go through a full charge cycle, which helps maintain its maximum capacity.
Think of it like exercising your muscles – you want to use them regularly to keep them performing at their best. So, make sure to give your battery a good “workout” by allowing it to charge fully, and avoid leaving your device plugged in unnecessarily. Your battery will thank you for it!
Attaching Drill Bits
If you’re wondering how to use a Milwaukee cordless drill, one of the crucial aspects is attaching drill bits. Here’s a step-by-step guide to help you out. Firstly, make sure the battery is charged, and the chuck is open by rotating the outer sleeve anti-clockwise.
Then, select the appropriate drill bit for the job at hand and align it with the chuck. Tighten the chuck by rotating the outer sleeve clockwise until it gripes the bit securely. Ensure the bit is straight and centered by giving it a wiggle.
Avoid overtightening the chuck, as this could damage the drill bit or the chuck itself. Once you’ve attached the drill bit, double-check that it’s secure and then turn on the drill to test it. If it runs smoothly without wobbling or shaking, you’re good to go.
With this simple process, you can easily attach drill bits to your Milwaukee cordless drill and tackle any project with ease.
Turning off the drill
Turning off your drill is a very important step when attaching drill bits. Before you attach any bit, make sure your drill is completely turned off and unplugged. This ensures that there is no chance of the drill accidentally turning on and causing any harm.
Once the drill is unplugged, locate the chuck key and insert it into the chuck. Rotate it counterclockwise to loosen the jaws and insert the drill bit into the chuck. Tighten the jaws by rotating the chuck key clockwise.
Once the bit is secure, you can now plug the drill back in and turn it on to begin your project. Remember, safety always comes first when working with power tools, so make sure to take the proper precautions when using your drill.
Opening the chuck
Opening the chuck on a drill is a relatively simple process. Once you have chosen the appropriate drill bit for your project, simply insert it into the chuck and tighten it up securely. The chuck is the part of the drill that clamps down on the drill bit and holds it in place while you work.
Some types of drills have keyless chucks, which means you can tighten and loosen them by hand. Others have keyed chucks, which require a special key to operate. In either case, it’s important to make sure the chuck is tightened up securely before you start drilling.
This will ensure that the drill bit stays in place and doesn’t slip around, which can cause damage or injury. So, the next time you’re getting ready to use your drill, remember to take a few extra seconds to make sure the chuck is securely tightened.
Inserting the desired bit size
Attaching the right drill bits to your drill is crucial to completing a successful project. One important step is selecting the correct bit size for the job. The bit size is determined by the diameter of the hole you want to make.
You’ll need to choose a bit that matches the desired hole size. Once you have the correct bit, it’s time to attach it to your drill. Make sure your drill is turned off and place the bit into the chuck, the mechanism that holds the bit in place.
Tighten the chuck by turning it clockwise until the bit is secure. Don’t overtighten it, as this could cause damage to your drill. Now you’re ready to start drilling! Remember to keep your drill steady and use the appropriate speed for the material you’re drilling into.
With the right bit and a little practice, you’ll soon be completing your projects with ease.
Using the Drill
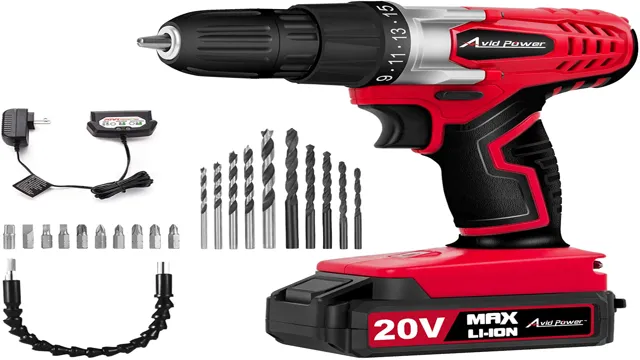
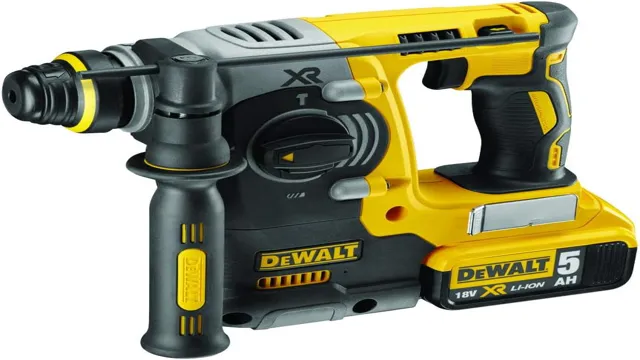
Learning how to use a Milwaukee cordless drill can be a game changer for any DIY project or home improvement task. To begin, make sure your drill is charged and has a charged battery inserted. Then, adjust the torque setting to match the task at hand- higher torque for drilling through tough surfaces and lower torque for delicate projects.
Select the appropriate drill bit and insert it into the chuck, ensuring it is securely tightened. Now, pull the trigger to begin drilling- start slow and steady, gradually picking up speed as you go. Remember to apply steady pressure and keep the drill level with the surface being drilled.
And voila, with a little bit of practice, you’ll be a pro at using your Milwaukee cordless drill for all your DIY needs!
Choosing the desired speed
When using a drill, it’s essential to choose the right speed to ensure your work turns out perfect. Different drill bits require different speeds to prevent overheating and damage to the material you’re working on. So, how do you choose the desired speed? Firstly, it’s important to determine the type of material you’re working on, whether it’s wood, metal, concrete, or plastic.
Secondly, you need to select the correct drill bit for the material you’re working on. Once you have these two factors in mind, you can refer to the drill’s manual to determine the ideal speed for your project. Remember, working at the wrong speed can lead to less precise work, damaging the material or yourself.
Take your time, and consult experts if you’re still unsure. With these tips and proper preparation, you’ll be able to master the drill quickly and achieve professional results in no time!
Holding the drill with both hands
When it comes to using a drill, one of the most basic yet critical things to remember is to hold it with both hands. This may sound like common sense, but you’d be surprised how frequently it’s overlooked! Holding a drill with only one hand can cause the tool to wobble or even slip out of your grip. This not only makes it harder to control, but it can also be dangerous.
By using both hands, you have a firmer grip and better control over the drill’s movements. Not to mention, it also helps to reduce fatigue over extended periods of use. So, always remember to hold the drill with both hands, and you’ll have a safer and more effortless DIY experience.
Applying steady pressure to the trigger
When it comes to using a drill, applying steady pressure to the trigger is crucial for achieving accurate and consistent results. The trigger acts as the control mechanism for the drill, dictating the speed and power of the rotation. It’s important to remember not to overdo it with the force, as too much pressure can cause the drill bit to break or become dull.
Instead, start with a gentle squeeze and increase the pressure as necessary while keeping it steady. It’s like watering a plant – if you give it too much water all at once, it will drown, but if you give it a steady stream over time, it will thrive. By maintaining a consistent pressure on the trigger, you’ll be able to effectively complete your drilling tasks with ease.
Conclusion & Tips for Maintenance
In conclusion, using a Milwaukee cordless drill is a breeze. Simply make sure your battery is charged, choose the appropriate bit for your job, adjust your torque settings, and let the drill do the heavy lifting. With its reliability, power, and versatility, the Milwaukee cordless drill will have you tackling any project with ease.
So, whether you’re a professional contractor or a DIY enthusiast, don’t hesitate to add this tool to your collection. Just remember, when it comes to using a Milwaukee cordless drill, it’s not rocket science – it’s efficient, precise, and a whole lot of fun!”
FAQs
What is the maximum speed of the Milwaukee cordless drill?
The Milwaukee cordless drill has a maximum speed of 2,000 RPM.
How do I change the drill bit on my Milwaukee cordless drill?
To change the drill bit on your Milwaukee cordless drill, first, make sure the drill is turned off. Then, use the chuck key to loosen the chuck and remove the old bit. Insert the new bit and tighten the chuck.
Can I use my Milwaukee cordless drill for drilling into masonry?
Yes, you can use your Milwaukee cordless drill for drilling into masonry if you have the appropriate masonry drill bit.
How long does the battery last on a Milwaukee cordless drill?
The battery life on a Milwaukee cordless drill depends on the model and usage, but typically lasts between 2-4 hours.
How do I know when my Milwaukee cordless drill battery needs to be recharged?
You will know when your Milwaukee cordless drill battery needs to be recharged when the power starts to fade, or the drill slows down.
Can I use any Milwaukee battery with my cordless drill?
No, you cannot use any Milwaukee battery with your cordless drill. You need to make sure you are using a battery that is compatible with your specific drill model.
How should I store my Milwaukee cordless drill?
To store your Milwaukee cordless drill properly, remove the battery and store it in a cool, dry place. Clean the drill and its attachments before storing, and store the drill in a secure, dry location.

