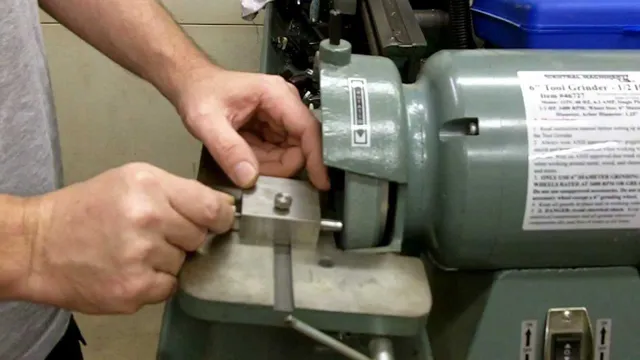
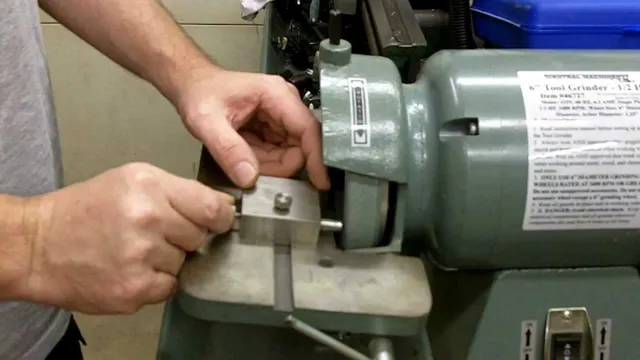
How to Clean Bench Grinder Wheel: Effective Tips and Tricks
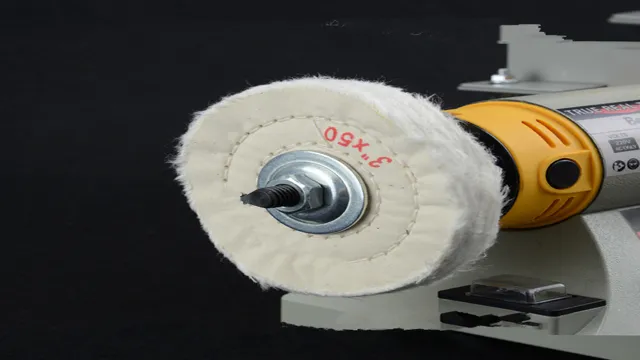
Maintaining the performance of your bench grinder is vital to ensure its longevity and effectiveness in your workshop. One of the most crucial yet often overlooked parts of this process is regularly cleaning the bench grinder wheel. This part of the machine plays a critical role in grinding and shaping materials, but over time, it can accumulate debris and become dull, affecting its performance.
In this blog, we will guide you through how to clean your bench grinder wheel, restoring its sharpness to allow you to tackle even the most demanding tasks with ease. So, roll up your sleeves, grab your safety goggles, and let’s get started!
Introduction
If you want to maintain the efficiency and longevity of your bench grinder wheel, then you must clean it on a regular basis. This can seem like a daunting task, but it’s actually quite simple. First, make sure the grinder is turned off and unplugged.
Then, use a cleaning brush to remove any loose debris, dust, or metal shavings from the wheel. After you have brushed it off, you can use a damp cloth or sponge to wipe down the surface of the wheel. Be sure to use a light touch and only mild soap or water as harsh chemicals can damage the wheel.
Finally, dry the wheel completely before using it again. By following these simple steps, you can ensure that your bench grinder wheel operates smoothly and efficiently for years to come.
Explanation of bench grinders
Bench grinders are power tools that are commonly found in workshops and garages. These machines consist of a set of rotating abrasive wheels that are used for sharpening, grinding, and polishing various types of metal objects. They come in different sizes, with varying speeds and horsepower, allowing the user to obtain a finely-tuned level of precision.
One of the primary benefits of using a bench grinder is that it can save time and effort. This is because the wheels can provide fast and accurate sharpening of any metal object. Additionally, bench grinders are versatile, allowing for a range of applications, from sharpening knives to shaping and polishing metal.
They are a staple in any workshop, and with their ability to sharpen and shape objects quickly and precisely, they are a valuable tool for both amateur and professional users.
Importance of cleaning your bench grinder wheel
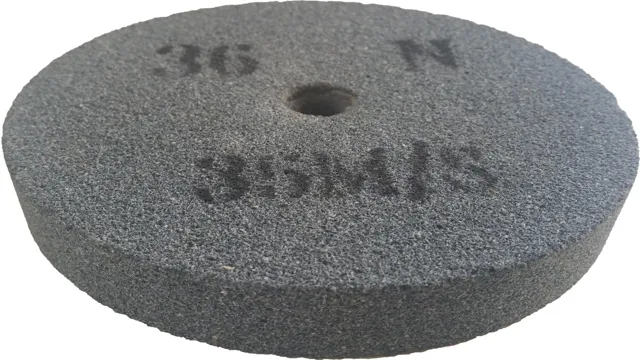
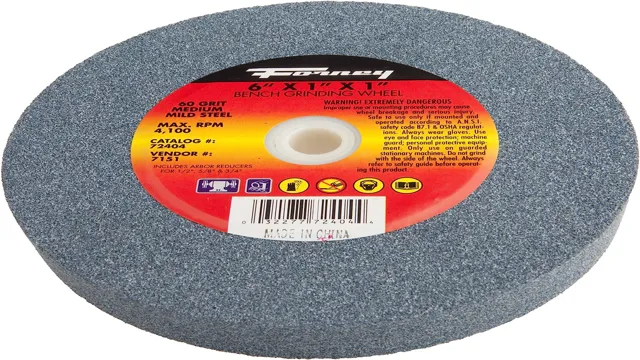
Bench grinder wheels are a crucial component in any workshop, and it’s essential to keep them clean and maintained for optimal performance. The bench grinder’s wheel is responsible for sharpening all types of metal tools and blades, including chisels, knives, and scissors. A dirty or worn-out wheel can cause the grinder to overheat, reduce performance, or even damage the tool itself.
It’s crucial to clean the bench grinder wheel regularly to ensure it operates effectively and extend its lifespan. Neglecting the maintenance of your bench grinder wheel can lead to costly repairs or even the need to replace the whole tool. Therefore, it’s essential to clean the bench grinder wheel regularly using the appropriate tools and techniques to keep it running at its best.
Step-by-Step Guide
Cleaning your bench grinder wheel is an essential maintenance task that ensures your tool is safe and effective to use. Follow these simple steps to clean your bench grinder wheel effectively. Firstly, turn off the power and unplug the machine.
This step is crucial to avoid electrocution. Secondly, wear protective gear like gloves, goggles, and a dust mask to ensure your safety. Afterward, use a cleaning solution or a mildly abrasive tool to wipe the surface of the wheel.
Make sure to remove all grime, grease, and rust before drying the wheel with a clean cloth. Lastly, inspect the wheel and replace it if it shows signs of wear or damage. Cleaning your bench grinder wheel should be done regularly, about once a month or more if you use it frequently.
Maintaining this tool regularly prolongs its lifespan and ensures optimal performance, making your tasks easier and more efficient.
Step 1: Preparing your tools
Preparing your tools is an essential step in any DIY project. It can save you a lot of time and effort in the long run. Before you start working on your project, make sure you have all the necessary tools and equipment ready.
If you don’t have them, you should go get them beforehand. This will prevent frustration and delays during the actual work. Make a mental checklist to keep track of everything you need, or write it down on paper.
Some tools require maintenance, so make sure they’re in good working condition. Keeping your tools in order can also save you time and improve your efficiency. So, make sure you have your workspace well-organized before you begin.
A little preparation can go a long way.
Step 2: Removing the wheel
Removing the wheel is an essential part of many bicycle maintenance tasks. Whether you’re fixing a flat tire or replacing a spoke, taking off the wheel is the first step. The process may seem daunting at first, but with a little patience, it’s easy to get the hang of it.
To begin, you’ll need to release the brake, if necessary, by loosening the cable or releasing the brake lever. Next, you’ll need to release the wheel from the frame. This is usually done by loosening the quick-release lever or removing nuts with a wrench.
Once the wheel is loose, gently lift it out of the frame dropouts. Be careful not to damage the derailleur or brake rotor. Congratulations, you’ve successfully removed the wheel! Now it’s time to move on to the next step of your bike maintenance project.
Step 3: Removing debris and build-up
After gathering all the necessary tools, the next step in cleaning your gutters is removing any debris and build-up. This can be a bit of a daunting task, but it’s important to ensure that your gutters are clear and functioning properly. Start by scooping out any larger debris, such as leaves or sticks, with a gloved hand or a small trowel.
Be careful not to damage the gutters or bend any metal. Once you’ve removed the larger debris, use a gutter scoop or small brush to clear out any smaller debris that may have been left behind. If you notice any build-up or clogged areas, use a garden hose to flush out the gutters with water.
This will also help you identify any leaks or areas that need additional attention. It’s important to remove all debris and build-up from your gutters to prevent clogs that can lead to overflow and potential water damage to your home. By taking the time to clear out your gutters regularly, you can ensure that your home remains protected from the elements and functioning properly.
Step 4: Cleaning the wheel
After removing the wheel from your vehicle, it’s time to clean it thoroughly. Cleaning the wheel is an essential step to maintain its longevity and appearance. Start by spraying the cleaner onto the wheel surface and use a soft-bristled brush to scrub the wheel.
Pay attention to the spokes and the areas around the lug nut holes as brake dust and other debris tend to get accumulated in these areas. Rinse the wheel with water and dry it properly with a microfiber towel. Don’t forget to clean the wheel’s lug nut holes using a lug nut brush to remove any dirt or debris.
A clean wheel not only enhances the appearance of your vehicle but also protects it from corrosion and damage. By following these simple steps, you can keep your wheels looking new for longer.
Step 5: Inspecting the wheel for damage
Once you’ve completed the previous steps in checking your car’s wheels, it’s time to move on to the final one: inspecting for any damage. This is crucial to ensure that your ride is safe and secure. The first thing you should look for is any cracks or dents in the wheel itself.
These can cause serious problems while driving, especially if left unnoticed. Ensure that the rims are also in good condition, without any major damage or corrosion. Additionally, check the tire’s sidewalls thoroughly for cuts, bulges, or punctures.
Any of these can cause a catastrophic blowout while driving. Remember that safety should be your top priority, so don’t skip this step! If you discover any damage, take your car to a professional repair shop to get it fixed before hitting the road again.
Tips for Maintenance
If you’re wondering how to clean a bench grinder wheel, then you’re in luck because it’s actually a fairly simple process. First, make sure the power is off and unplug the grinder to be safe. Then, use a wire brush to remove any debris or buildup on the wheel surface.
You can also use a grinding wheel dresser to reshape any uneven or worn areas. After that, apply a small amount of lubricant to the wheel to prevent rust and to keep it spinning smoothly. When you’re finished, wipe the wheel down with a rag to remove any excess lubricant and debris.
Maintaining your bench grinder wheel regularly will help it last longer and perform better, so make sure you do this at least once a month.
Frequent cleaning schedule
Keeping a frequent cleaning schedule is a great way to maintain the cleanliness and overall upkeep of your home or office. One of the best tips for maintenance is to create a daily to-do list that includes simple tasks like wiping down surfaces, sweeping or vacuuming, and doing a quick pick-up. This can help prevent dirt and clutter from building up and becoming overwhelming.
Another tip is to schedule a deep clean at least once a month, where you focus on cleaning hard-to-reach areas, scrubbing floors and walls, and decluttering any unnecessary items. By following a frequent cleaning schedule, you can ensure that your space is always organized and pleasant to be in. So, why not start today and create a cleaning routine that works for you?
Using a wheel dresser
When it comes to maintaining your wheel dresser, there are a few tips that can ensure it stays in top condition for longer. First, make sure to clean your dresser after every use. This can prevent build-up of debris and make it easier to use the next time you need it.
You should also check the condition of your dresser’s diamond cutting wheel regularly and replace it if necessary. Another way to prolong the life of your wheel dresser is to use it properly. Avoid applying too much pressure and try not to use it for extended periods of time.
By following these simple maintenance tips, you can keep your wheel dresser in excellent shape and ensure efficient and effective performance. So if you want your dresser to last longer, just remember to keep it clean, check the condition of the diamond cutting wheel, and use it with care.
Conclusion
In summary, cleaning your bench grinder wheel requires a few simple steps: turn off the power, remove the wheel, use a cleaning solution (or vinegar and baking soda), and scrub with a brush or scouring pad. Remember to wear gloves and safety glasses to protect yourself from any leftover debris. Once finished, your bench grinder wheel will look as good as new and ready to tackle any project.
So, go ahead and give your bench grinder wheel the spa day it deserves – it’ll thank you later!”
FAQs
What are the tools required to clean a bench grinder wheel?
The tools required to clean a bench grinder wheel are a wrench, wire brush, and a cleaning solution.
How often should you clean the bench grinder wheel?
You should clean the bench grinder wheel after every use to ensure its longevity.
Can you use water to clean a bench grinder wheel?
No, you should not use water to clean a bench grinder wheel as it can cause rust and damage the wheel’s quality.
What is the process to clean a bench grinder wheel?
The process to clean a bench grinder wheel involves disconnecting the power, removing the debris, using a wire brush or cleaning solution to remove the dirt, and lubricating the wheel.
How do you know when it’s time to replace the bench grinder wheel?
You know it’s time to replace the bench grinder wheel when it becomes chipped, cracked, or worn out.
Can you sharpen the bench grinder wheel?
No, you cannot sharpen the bench grinder wheel as it is not designed to be used for sharpening.
What are the safety precautions to take when cleaning a bench grinder wheel?
The safety precautions to take when cleaning a bench grinder wheel include wearing safety gear, disconnecting the power, and using the proper cleaning tools.

