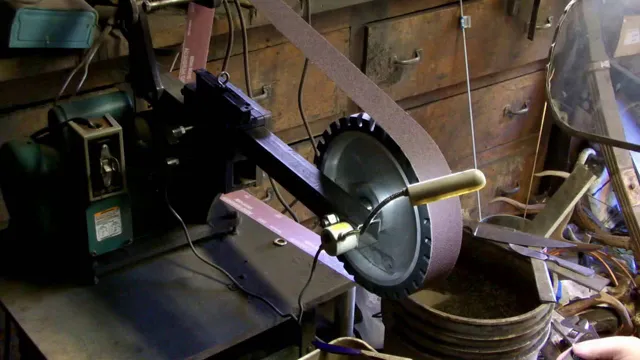
How to Sharpen Wood Chisels on a Bench Grinder: Tips & Tricks for Optimal Results
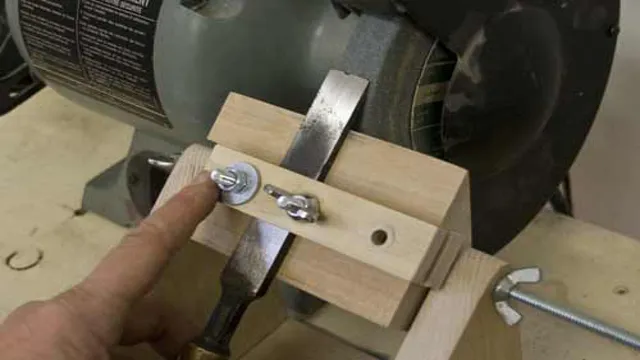
If you’re a woodworker, you know how important a sharp chisel is to your craft. Dull chisels won’t do the job, and they can be frustrating to work with. That’s why knowing how to sharpen wood chisels on a bench grinder is a must-have skill for any woodworker.
Not only will it save you time and money, but it will also make your work look more professional. But how do you sharpen wood chisels on a bench grinder? Don’t worry, it’s a lot easier than you might think. With a few simple steps, you can have a sharp chisel ready to go in no time.
In this blog post, we’ll go over the steps you need to take to sharpen your chisels on a bench grinder. We’ll cover everything from setting up the grinder to honing the edge of your chisel. This skill isn’t just for the professionals, either.
Even if you’re just starting out with woodworking, knowing how to sharpen your chisels will make your work so much easier and enjoyable. Plus, there’s something satisfying about seeing a dull tool turn into a sharp one. So, let’s dive into the world of sharpening wood chisels on a bench grinder.
Whether you’re a beginner or a pro, this guide will give you all the information you need to make your chisels razor-sharp.
Introduction
If you want to keep your wood chisels sharp and in top condition, knowing how to sharpen them with a bench grinder is key. This tool can be incredibly effective for creating the fine, sharp edges that chisels require, but it’s important to understand the right techniques to ensure that you don’t damage your tools in the process.
To begin with, you need to ensure that your grinder is set up correctly and that you have the right grit wheels for the job. From there, you can carefully and methodically sharpen your chisels using a series of passes, making sure to keep the tool level and to avoid overheating the metal.
With a little practice and patience, you’ll soon be able to get razor-sharp edges that are perfect for carving and shaping wood to your exact specifications. So, if you want to keep your wood chisels in top form, learning how to sharpen them on a bench grinder is definitely the way to go.
Preparing the Chisels
If you’re looking for ways on how to sharpen wood chisels on a bench grinder, you’ve come to the right place! Before you begin, you’ll need to prepare the chisels. Start by firmly securing the chisel in a vice, making sure it is level and stable. Next, use a diamond honing stone to sharpen the blade to a 25-degree angle.
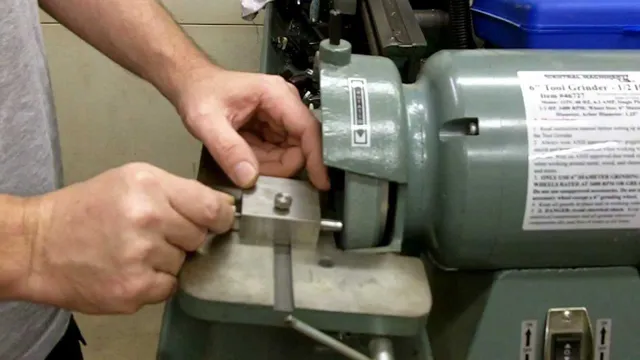
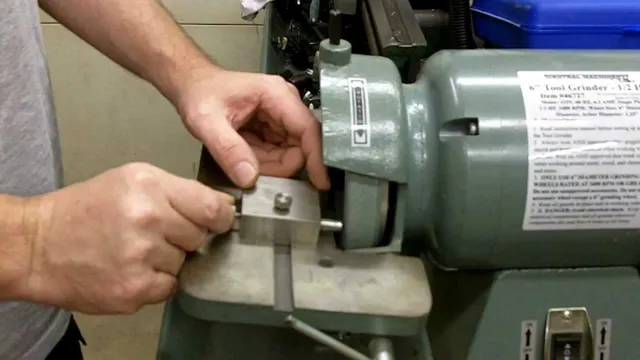
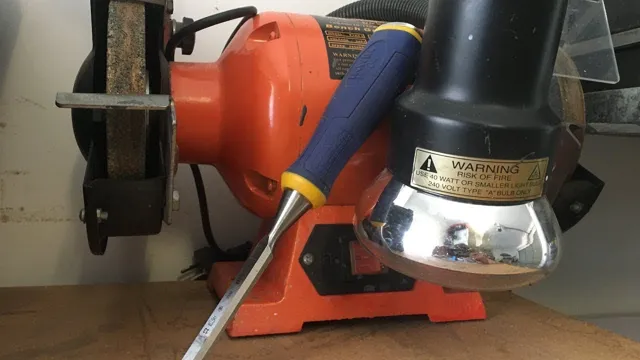
Once you’ve honed the blade, you’ll need to use a bench grinder to create a sharp edge. To start, position the chisel on the grinder’s tool rest, using your fingers to hold it firmly in place. Turn on the grinder and gently slide the chisel across the abrasive wheel, making sure to maintain a steady angle throughout the process.
Keep an eye on the temperature of the blade, as overheating can cause it to warp or lose its temper. Finally, use a sharpening stone to remove any burrs or rough edges, and your chisel should be good to go! Remember to always wear protective goggles and gloves when working with power tools, and take your time to ensure that your chisel is properly sharpened and ready for use.
Cleaning the Chisels
Preparing chisels is a crucial step to ensure they perform optimally and last longer. To begin, it’s important to clean the chisels thoroughly before sharpening them. Use a wire brush or toothbrush to remove any dirt or debris that’s accumulated on the blade.
Once cleaned, it’s time to prepare the bevel for sharpening. This involves flattening the bevel with a honing guide using a coarse grit diamond stone. After flattening the bevel, sharpen the chisel using a whetstone, beginning with a coarse grit to establish an edge and then progressing to finer grits for a sharper edge.
Remember to keep the chisel cool during sharpening to prevent the blade from getting too hot. With a properly prepared chisel, you can tackle any woodworking project with ease.
Setting the Correct Angle
When it comes to woodworking, the most important tool you’ll use is your chisel. But before you can use it effectively, you need to prepare it correctly. The first step is to set the correct angle.
The angle you set will depend on the type of woodworking you’ll be doing. For instance, if you’re working on a dovetail joint, you’ll want a steep angle, usually around 20 degrees. On the other hand, if you’re going to be doing a lot of paring cuts, you’ll want a shallower angle, closer to 25 degrees.
Once you’ve decided on the correct angle, you’ll need to sharpen your chisel using a honing guide. This will ensure that your chisel is perfectly sharp and ready to use. When it comes to woodworking, taking the time to prepare your tools correctly is essential for achieving a successful project.
Starting the Sharpening Process
If you’re looking to sharpen your wood chisels on a bench grinder, you’ve come to the right place! Sharpening your chisels is an important part of taking care of your tools and ensuring that your work is precise and easy. To begin the sharpening process, it’s important to make sure your bench grinder is set up correctly and that you have a good quality grinding wheel. Once you’re all set up, you can start sharpening your chisels by using a tool rest to help keep them steady.
It’s important to keep in mind the angle you want to sharpen your chisels at and to take your time working on each edge evenly. With a little bit of practice and attention to detail, you’ll be able to sharpen your chisels with ease and enjoy your woodworking projects even more.
Using the Bench Grinder
When it comes to starting the sharpening process using a bench grinder, it’s important to take it slow and steady. Begin by securing the item you want to sharpen in the correct position, making sure it’s stable and won’t slip or move during the process. Next, turn the grinder on and wait for it to reach full speed.
It’s crucial to adjust the tool rest to the correct angle for the type of blade or object you’re sharpening. Once the angle is set, slowly lower the blade onto the grinding wheel, using light pressure and making small passes to avoid overheating and damaging the metal. Take breaks frequently to allow the blade to cool down and prevent it from losing its temper.
Remember to always wear protective gear, such as goggles and gloves, and never force the blade against the wheel. By following these simple steps, you’ll be well on your way to sharpening your tools with ease using a bench grinder.
Avoid Overheating and Damage
When you’re ready to sharpen your blades, it’s important to start the process carefully to avoid overheating and damage. One of the most crucial steps is to ensure that the blade is clean and free of any debris or rust. Any buildup on the blade can create extra friction during sharpening, which can lead to overheating and damage.
Next, choose the appropriate sharpener for the type of blade you have. Using the wrong type of sharpener can also cause overheating and damage. It’s important to follow the manufacturer’s instructions carefully and use the correct angle for the blade.
Remember to take breaks throughout the process and let both the blade and sharpener cool down before continuing. By taking these precautions, you can ensure that your blade will be sharpened effectively without suffering any damage.
Finishing the Sharpening Process
Now that we have covered the basics of how to sharpen wood chisels on a bench grinder, it is time to discuss the final steps of the process. Once you have the desired angle on your chisel edge, you need to refine it with a honing stone. This will remove any burrs or imperfections and create a razor-sharp edge.
Start with a coarse honing stone and work your way up to a finer grit until you achieve the desired sharpness. Once you have finished honing, you should use a leather strop with honing compound to polish the edge. The strop will remove any remaining burrs and give your chisel a mirror-like finish.
Remember to always keep your chisels sharp as this will increase your efficiency in woodworking projects while ensuring safety. Sharpening on a bench grinder is quick and efficient, but proper technique and safety measures are essential.
Honing the Edges to a Razor-sharp Finish
After going through the initial sharpening process, honing the edges is the final step towards achieving a razor-sharp finish. This process involves using a honing stone or strop, depending on the type of blade being sharpened, to refine and polish the edge. The honing stone is used to remove any burrs or nicks that may be left behind after sharpening, while the strop provides a final abrasive surface to refine and polish the edge.
The aim of honing is to create a smooth, polished edge that can cut through the material easily and smoothly. To get the best result, it is essential to maintain a consistent angle throughout the honing process. This can be achieved by using a honing guide, which will ensure that the blade is held at the correct angle.
It is also important to use a light touch while honing, as applying too much pressure can damage the edge. In conclusion, honing is a crucial part of the sharpening process that should not be overlooked. It helps to achieve a strong, sharp edge that can last for a long time.
With a little practice, honing the edges can be easy and enjoyable, and you’ll soon be able to sharpen your knives and tools to perfection.
Final Thoughts
In conclusion, learning how to sharpen wood chisels on a bench grinder is a valuable skill for any woodworker looking to produce clean and precise cuts. While the process may seem daunting at first, with practice and patience, you’ll soon be able to achieve sharp edges that will make your woodworking projects shine. Remember to start with a coarse wheel and work your way up to a finer grit for the best results.
Don’t forget to keep an eye on the heat and take breaks as needed to prevent any damage to your chisels. With these tips in mind, you’ll be able to tackle any woodworking project with confidence and precision!
Conclusion
In conclusion, sharpening wood chisels on a bench grinder may seem like a daunting task, but with the right technique and a bit of practice, it can be as easy as sharpening a pencil. Remember to always use safety gear, keep the chisels cool and don’t grind them down too quickly. With these tips, you can have chisels as sharp as a witty one-liner in no time!”
FAQs
What equipment do I need to sharpen wood chisels on a bench grinder?
To sharpen wood chisels on a bench grinder, you will need a bench grinder, a jig to hold the chisel at the correct angle, safety goggles, and a honing stone.
What is the correct angle to sharpen wood chisels on a bench grinder?
The correct angle for sharpening wood chisels on a bench grinder is usually between 20 and 30 degrees.
How do I sharpen a damaged wood chisel on a bench grinder?
If your wood chisel has nicks or dents, start by grinding away the damaged area on the bench grinder. Then, use a honing stone to refine the edge and remove any burrs.
How often should I sharpen my wood chisels on a bench grinder?
The frequency of sharpening depends on how often you use your chisels. As a general rule of thumb, sharpen them every 3-4 hours of use.
Can I use a bench grinder to sharpen other tools besides wood chisels?
Yes, a bench grinder can be used to sharpen other tools such as lawnmower blades, garden tools, and kitchen knives.
How do I prevent overheating my wood chisels while sharpening on a bench grinder?
You can prevent overheating your chisels by using a light touch and dipping them in water frequently. Alternatively, you can also use a slow-speed grinder.
What is the difference between a coarse and fine grinding wheel on a bench grinder?
A coarse grinding wheel is used for removing material quickly, while a fine grinding wheel is used for refining the edge and polishing the blade.


