How to Change Makita Angle Grinder Disc: Step-by-Step Guide
Changing the disc on your Makita angle grinder can feel daunting, especially if you’re not familiar with the process. However, it’s important to know how to do it correctly, as it will keep you safe and ensure that your grinder works properly. In this guide, we’ll break down step-by-step how to change the disc on your Makita angle grinder, so you can tackle any DIY project or job with ease.
By the end of this post, you’ll have all the knowledge necessary to confidently change the disc on your Makita angle grinder like a pro. So, let’s get started!
Introduction
Changing the disc on your Makita angle grinder can seem daunting at first, but with a few simple steps, it’s a straightforward process that anyone can manage. The first thing you’ll need to do is unplug the tool to ensure your safety and prevent any accidents. Next, you’ll want to remove the old disc by using the locking mechanism on the grinder.
This will prevent the disc from spinning while you’re removing it. Once the old disc is out, it’s time to install the new one. You’ll want to line up the holes on the new disc with the grinder’s spindle and use the locking mechanism to secure it in place.
It’s essential to make sure the disc is securely in place before using the tool. With these easy steps, you’ll be able to change the disc on your Makita angle grinder quickly and efficiently, allowing you to tackle your next project without any hassles or delays.
Overview of the Makita Angle Grinder
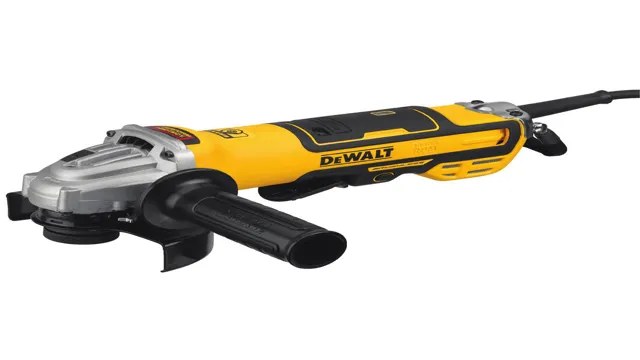
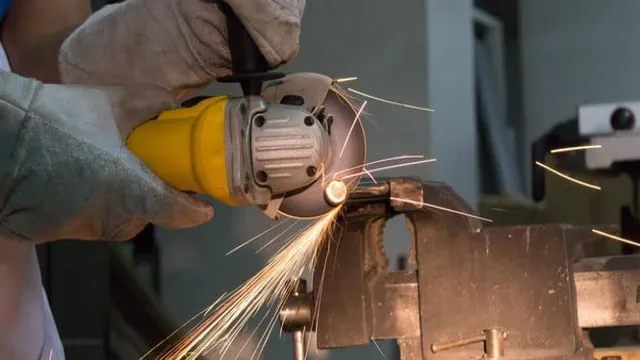
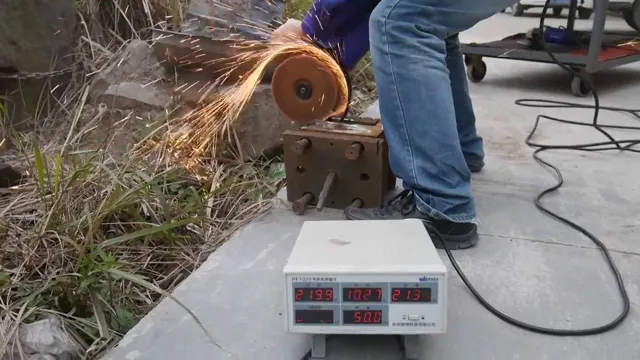
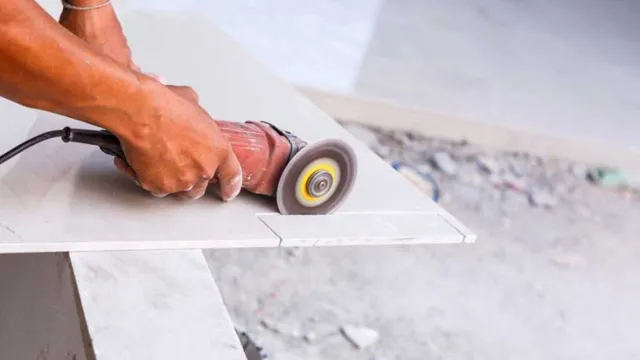
The Makita Angle Grinder is a versatile tool that can be used for a variety of tasks. It is a power tool that allows you to grind, cut, and polish surfaces with ease. The angle grinder has a compact design and is lightweight, making it easy to maneuver into tight spaces and corners.
It has a powerful motor, which allows it to perform heavy-duty tasks with ease. One of the best things about the Makita Angle Grinder is that it is very easy to use. Even if you are a beginner, you can quickly get the hang of it and start using it for your projects.
Overall, the Makita Angle Grinder is an excellent tool for any DIY enthusiast or professional builder, and it is sure to become a staple in your toolbox. So, if you need a tool that can help you grind, cut, and polish surfaces, the Makita Angle Grinder is just what you need.
Importance of Changing Angle Grinder Discs
Angle Grinder Discs When it comes to working with an angle grinder, one of the most important things to keep in mind is the changing of discs. Angle grinder discs are crucial components that are responsible for cutting, grinding, and polishing various materials. Using dull or damaged discs can not only negatively affect the quality of your work but it can also be hazardous and cause injury.
Changing your angle grinder discs often is a necessary step in ensuring that your tool always performs at its best. Not doing so can lead to overheating or even breaking of the discs, putting both you and your work in danger. By taking the time to properly maintain and switch out your angle grinder discs regularly, you guarantee that your work will be of the highest quality and you can avoid any unwanted accidents in the process.
Step-by-Step Disc Change Process
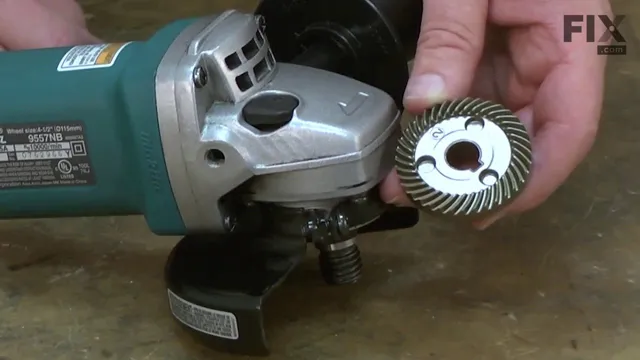
Changing the disc on your Makita angle grinder might seem daunting, but it’s actually a straightforward process that can save you time compared to constantly switching between grinders with different discs. Here are the steps to follow to change your disc: first, unplug your angle grinder from the power source. Next, remove the old disc by using the locking button to hold the spindle and turning the disc counterclockwise.
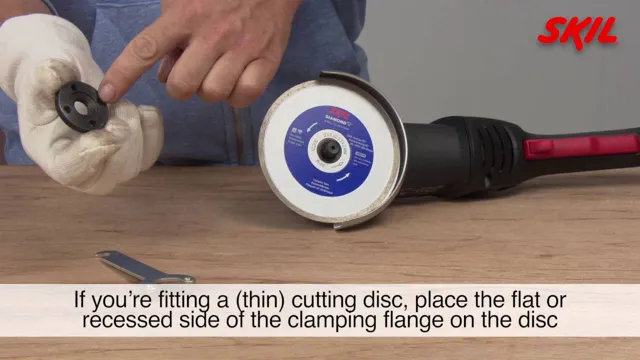
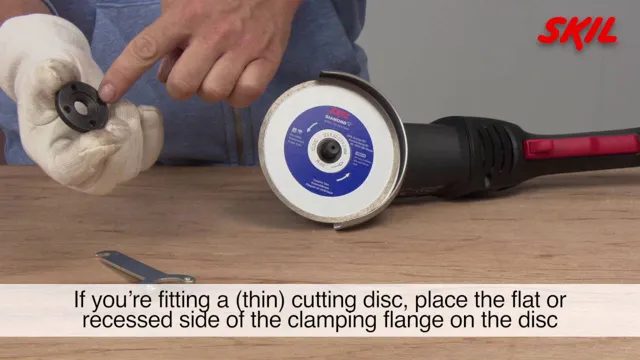
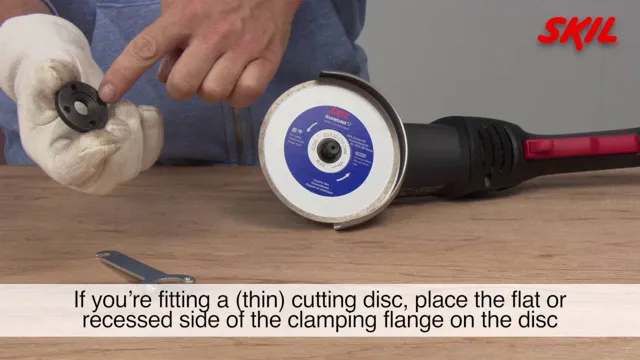
Once the old disc is removed, clean the spindle and replace the flange with the appropriate size for your new disc. Slide the new disc onto the spindle, ensuring it’s centered and the label faces outward. Use the locking button and tighten the disc in a clockwise direction until it’s secure.
Finally, give the disc a quick spin to make sure it’s installed correctly before plugging your angle grinder back in. With these simple steps, you can easily change the disc on your Makita angle grinder and continue your work without any interruptions.
Gather Required Tools
When it comes to changing a disc in your computer, it’s important to gather the necessary tools before starting the process. You’ll need a few things to ensure a smooth disc change, including a screwdriver, an anti-static wrist strap (if available), and of course, the new disc you will be inserting. If you’re unsure of what type of screwdriver is needed for your computer, refer to your computer’s manual or do some research online.
It’s also important to hold the disc properly, either by the edges or using a disc handling tool. Failing to properly handle the disc during the change could result in damage and loss of data. By taking the time to gather the necessary tools and handle the disc carefully, you can ensure a successful disc change without any issues.
Switch off the Tool and Unplug it
One of the essential steps in changing your tool’s disc is switching it off and unplugging it. Safety should always come first, and this simple but crucial step prevents any unwanted accidents from happening. Once you’ve done so, locate the disc that you want to remove, and remove any screws or bolts holding it in place.
If you’re having trouble finding the screws, look for the manual or guide that came with your tool. After removing them, gently take out the old disc and dispose of it properly. Next, check the new disc to ensure that it’s compatible with your tool, and then insert it into the tool.
Align the holes on the new disc with the threaded openings on your tool before securing it with screws or bolts. Once the disc is securely in place, turn the tool on and test it out. By following these easy steps, you can safely and efficiently switch your tool’s disc and be back to work before you know it.
Remove the Current Disc
If you’re looking to replace or switch out the current disc in your device, there are a few simple steps to follow. The first step is to remove the current disc. To do this, make sure your device is turned off, and then carefully open the disc tray.
Hold the disc by the edges and gently lift it out of the tray. Avoid touching the shiny surface of the disc to prevent any fingerprints or smudges. Once you have removed the disc, place it back in its original case or cover to keep it safe.
Now you’re ready to insert your new disc and continue enjoying your favorite content. By following these simple steps, you can easily switch out discs and keep your entertainment system running smoothly.
Attach the New Disc
As you finish up with your previous disc, it’s time to move on to the new one. But don’t worry, it’s a simple process to attach the new disc. Before proceeding, make sure to turn off the machine.
Once it’s switched off, you can locate the disc loading tray. Simply press the button that opens the tray, and it should slide out smoothly. Gently place the new disc on the tray and ensure that it’s placed securely.
Once you have placed the disc, slide the tray back in, and voila! You’re almost ready to get back to your game. Don’t forget to turn the machine back on to start enjoying your game or movie. That’s all there is to it!
Safety Precautions to Follow
If you’re planning to change the disc on your Makita angle grinder, it’s important to follow some safety precautions to prevent injury. First, ensure that the tool is unplugged and that the disc has come to a complete stop before attempting to change it. You should also wear protective gloves and eyewear, as well as a face shield if possible.
When removing the old disc, be careful not to touch the edges or the surface of the disc to avoid cuts and scratches. Next, align the new disc carefully and securely onto the tool, making sure it’s centered and tightened properly to prevent it from slipping off during use. Always test the tool before using it on a project, and remember to keep your hands clear of the disc while in use.
By following these simple precautions, you can ensure that your Makita angle grinder remains a safe and functional tool for your projects.
Protective Wear and Clothing
When working with machinery or hazardous materials, it is crucial to wear protective clothing. This includes items like gloves, safety glasses or face shields, hard hats, and steel-toed boots. These items safeguard you against flying debris, harsh chemicals, and electrical hazards.
However, it’s not enough to simply put on protective gear. You must take care to ensure the clothing fits properly and is appropriate for the task at hand. Choosing the wrong protective clothing could actually increase your risk of injury.
Additionally, take the time to inspect your gear before each use to ensure there are no defects or signs of wear and tear. Remember, taking these safety precautions can help prevent accidents and keep you safe on the job site.
Secure Workpiece and Workspace
When working with machines and tools, keeping the workpiece and workspace secure is essential for ensuring safety. One crucial safety precaution to follow is to always secure the workpiece firmly before starting any cutting or drilling operations. This step can prevent the workpiece from slipping or flying off the machine, which could cause serious injury.
Additionally, it’s crucial to maintain a clean and organized workspace, remove any potential hazards, and keep the surrounding area free from obstacles. Wearing personal protective equipment (PPE) such as gloves, safety glasses, and earplugs is also essential for protecting oneself from flying debris and loud noises. By taking these safety measures, you can ensure that your workpiece and workspace are secure and reduce the risk of accidents or injuries occurring in your workshop.
Conclusion
In conclusion, changing a Makita angle grinder disc is as easy as cutting a slice of cake with a hot butter knife. Just remember to unplug the grinder, wear protective gear, loosen the nut with a wrench, remove the old disc, slide on the new one, tighten the nut with a wrench, and voila! You’re ready to get grinding again. It’s not rocket science, but it does require a bit of finesse and caution.
So, take your time, be safe, and show that old disc who’s boss!”
FAQs
How do I change the disc on my Makita angle grinder?
Turn off and unplug the grinder, press the spindle lock button, and use a wrench to loosen the nut. Remove the old disc and replace it with the new one. Tighten the nut securely and check the disc for any damage before using it.
Can I use different size discs on my Makita angle grinder?
No, always use the disc size recommended by the manufacturer as using the wrong size could cause the grinder to malfunction and increase the risk of injury.
How often should I change the disc on my Makita angle grinder?
You should change the disc when it becomes worn or damaged, or if you switch between different types of discs for different applications.
What safety precautions should I take when changing the disc on my Makita angle grinder?
Always wear gloves and eye protection, make sure the grinder is turned off and unplugged, and ensure that the tool and disc are compatible before changing the disc.
Can I change the disc on my Makita angle grinder without a wrench?
No, you need a wrench to loosen and tighten the nut that secures the disc in place.
Why won’t the disc come off my Makita angle grinder?
The disc may be stuck due to rust, debris, or over-tightening of the nut. You can try using a penetrating oil or gently tapping the sides of the disc with a rubber mallet to loosen it.
How do I dispose of old discs from my Makita angle grinder?
Discs should be disposed of properly according to your local recycling guidelines. Check with your municipality or waste management service for instructions on how to dispose of abrasive discs.

