How to Cut Bricks with an Angle Grinder: Tips and Tricks for Precise Cuts
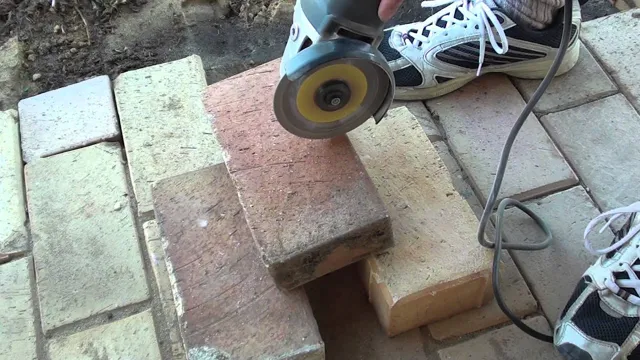
Cutting bricks might seem like a daunting task. They’re hard, dense, and often require specialized tools. Fortunately, there’s a tool that you might already have in your garage that can help – an angle grinder.
This versatile power tool, often used for grinding and polishing metal, can be repurposed for cutting bricks as well. With the right blade, an angle grinder can make quick work of cutting through even the toughest brick. But before you rush to grab your angle grinder and start slicing away, there are a few things you should know.
Cutting bricks with an angle grinder can be dangerous if you’re not careful. Not only can the blade send bits of flying debris and sparks in all directions, but the vibrations from the tool can also cause muscle strain and fatigue. It’s important to take all necessary precautions, such as wearing protective eyewear and gloves, and ensuring that you have a firm grip on the tool at all times.
That being said, cutting bricks with an angle grinder can also be incredibly satisfying. There’s something about the power and precision of the tool that makes the process almost meditative. It’s like sculpting in stone, but with a much faster and more satisfying end result.
Plus, being able to cut your own bricks means that you can create unique shapes and sizes that aren’t available in pre-packaged options. Whether you’re a DIY enthusiast looking to tackle a new project or a professional mason looking to speed up your workflow, cutting bricks with an angle grinder can be a useful skill to have in your arsenal. With the right precautions and techniques, you can turn this once-daunting task into a satisfying and rewarding experience.
So go ahead – grab your angle grinder and get to work. Your projects will thank you for it.
Safety Precautions
When it comes to cutting bricks with an angle grinder, safety should always be a top priority. Before starting the cutting process, make sure to wear protective gear such as safety goggles, earplugs, gloves, and a dust mask. The high speed of the angle grinder can cause debris and dust to fly, which could potentially harm your eyes, ears, and respiratory system.
Additionally, secure the brick firmly in place before cutting and avoid cutting near any electrical wires or pipes. It’s also important to periodically check the grinder for any signs of damage or wear and tear. By taking these precautions, you can ensure a safe and effective cutting process when working with an angle grinder to cut bricks.
Protective Gear
Protective gear is an important safety precaution that should never be overlooked in any industry. Whether you work in construction, manufacturing, or any other hazardous environment, wearing the appropriate gear can mean the difference between life and death. From hard hats to steel-toed boots, gloves, eye protection, and more, protective gear is designed to safeguard you against potential dangers.
Each piece of protective gear is designed to protect specific body parts from harm. For instance, hard hats protect your head from falling debris while steel-toed boots provide an extra layer of protection for your toes. Always remember that wearing protective gear is not just for your own safety, but also for the safety of your colleagues.
Make sure you wear your gear correctly, and replace it when it becomes damaged or worn out. Don’t take any chances with your safety. Invest in quality protective gear and make it a habit to wear it every time you are working in a potentially hazardous situation.
Secure the Material
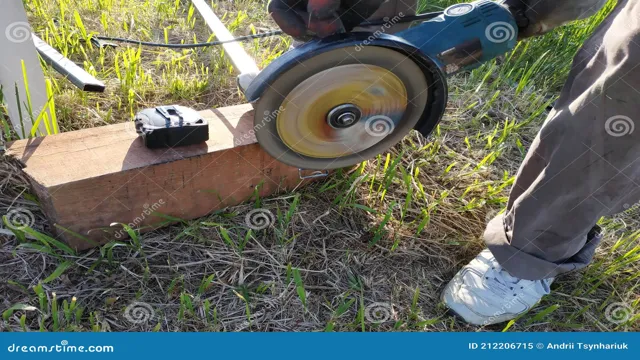
“Secure the Material” Main secondary keyword: “Safety Precautions” When working with materials, safety should be a top priority. It’s important to secure the material to prevent any accidents and ensure the safety of everyone involved. One of the safety precautions that should be taken is to make sure that any equipment or machinery used is properly maintained and in good working condition.
It’s also essential to provide adequate training to the workers who will be handling the material to ensure that they have the necessary skills and knowledge to use the equipment safely. Moreover, appropriate personal protective equipment like gloves, safety glasses, and hard hats should be provided for the workers to protect them from any potential hazards. In addition, the working area should be properly marked to warn others of any potential dangers.
Taking safety precautions may take extra time and effort, but it’s essential to prevent any accidents and ensure everyone is safe. Remember, a small amount of extra effort on the front end can save you from potentially catastrophic consequences down the road. It’s always better to be safe than sorry!
Place the Grinder on a Stable Surface
When it comes to using an electric grinder, safety is key! One of the most important safety precautions to take is to ensure that you place your grinder on a stable surface. Using a grinder on an unstable surface can lead to accidents and injuries, not to mention damage to your equipment. That’s why it’s important to find a sturdy table or workbench to place your grinder on.
Avoid using surfaces that are likely to wobble or tip over, and always make sure that your grinder is securely fastened to your work surface before you start your grinding operation. By taking these simple steps, you can ensure that your grinding process is safe, effective, and injury-free. So go ahead and grind away, but always remember to prioritize safety first and foremost!
Preparing the Brick
Cutting bricks with an angle grinder can be challenging, but with the right techniques and tools, it is possible to achieve a clean and accurate cut. The first step is to prepare your brick by marking the area you want to cut with a pencil or chalk. Next, equip your angle grinder with a diamond blade that is suitable for cutting masonry.
Put on your protective gear, including goggles and a dust mask, to prevent injury and inhaling dust. Then, position the brick securely on a flat surface and mark the cutting path with a straight edge. Start cutting slowly and follow your markings carefully to avoid mistakes.
Remember to take breaks and let the grinder cool down, as too much heat can damage the blade. By following these steps, you can cut bricks with an angle grinder efficiently and effectively, making it easier to achieve your DIY projects.
Mark the Desired Cut
Before making any cuts on a brick, it is crucial to mark the desired cut first. Use a straightedge or a chalk line to ensure that the cut is straight and precise. Start by measuring the length and width of the brick, then use those measurements to mark the cut line symmetrically.
This is crucial because a wrong cut can cause the brick to break or chip, ruining its integrity. Also, make sure to wear safety glasses and gloves when handling bricks to protect your hands and eyes. By carefully marking the desired cut, you can ensure that the brick will fit the space perfectly and achieve the desired look.
Cutting bricks may seem daunting, but by following simple steps like marking the desired cut, you can quickly become proficient and confident with your DIY projects.
Score the Cut Line with a Chisel
If you’re working on a brick project and need to cut precise lines, a chisel can be your best friend. But before you can score that cut line, you need to prepare the brick. First, make sure you have a clean, flat workspace to work on and gather your tools, including your chisel and safety gear.
Then, use a hammer and masonry chisel to clean up the edges of the brick. This will remove any jagged pieces or excess mortar, ensuring a clean cut. Next, use a pencil and ruler to mark the cut line.
Once you have your line, use the chisel and hammer to score the line gently. Be careful not to apply too much pressure, as this can cause the brick to break unevenly. After scoring the line, you can then increase the pressure, gradually cutting deeper until the brick snaps in two.
By properly preparing the brick and using a chisel to score the cut line, you can achieve a precise cut, giving your project a professional finish.
Cutting the Brick
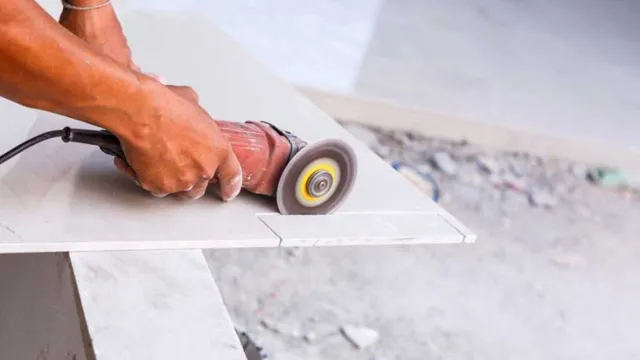
If you’re planning on doing some brickwork, one skill you’ll need is how to cut bricks with an angle grinder. Using an angle grinder equipped with a diamond cutting wheel is the best way to get clean, accurate cuts in your bricks. Before you start working, make sure you have all the necessary safety gear, including eye and ear protection and a dust mask.
Then, mark the cut line on the brick with a chalk line or pencil. Use the grinder to make shallow cuts along the line, being careful not to cut too deeply in one go. Once you’ve made these cuts, you can go back over them and deepen the groove until you’ve completely cut through the brick.
With your newly cut brick piece in hand, you’ll be able to tackle even more ambitious brick projects in no time!
Attach the Diamond Blade to the Angle Grinder
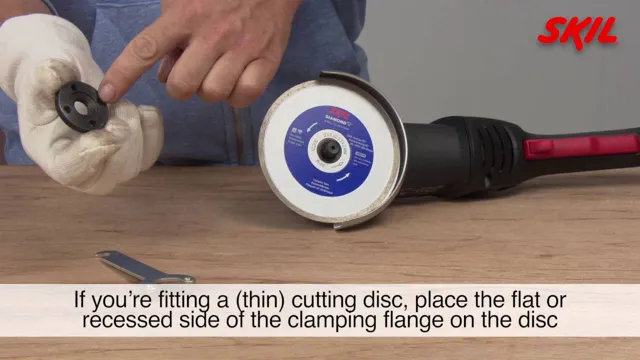
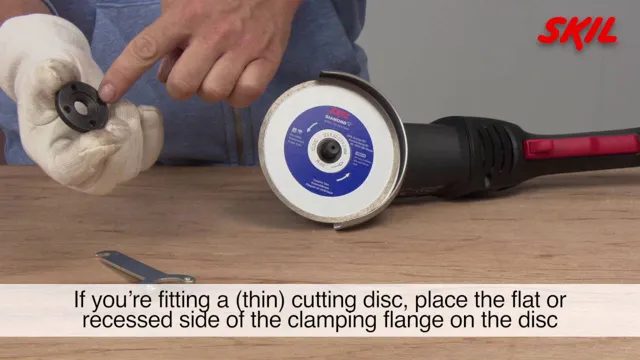
To begin cutting through your brick, you first need to attach the diamond blade to your angle grinder. It’s important to make sure that the blade is securely fastened before starting your project. Once attached, turn on the angle grinder and let the blade get up to speed.
Then slowly lower the blade to the brick and make a shallow cut to create a groove. Follow this groove to make your cut, making sure to keep the blade level and straight as you work. If the blade starts to feel hot or dull, stop and let it cool off before continuing.
Remember to wear appropriate safety gear, including eye protection and gloves, to protect yourself from any flying debris. With the right tools and techniques, cutting through brick can be a manageable task that can help you achieve your home improvement goals.
Set the Depth of Cut
“brick cutting” When it comes to cutting the bricks for your project, it’s important to set the depth of cut correctly to ensure that you get the desired outcome. The depth of cut refers to how deep the saw blade will go into the brick. This will depend on the type of brick and the thickness that you need for your project.
When you’re setting the depth of cut, it’s important to take into consideration any obstacles such as wires or pipes that may be present in the brick. You’ll need to adjust the depth accordingly so that you don’t hit these obstacles. It’s also important to use a high-quality saw blade that is specifically designed for cutting bricks.
This will help to prevent any chipping or cracking of the bricks. By taking the time to properly set the depth of cut and using the right tools, you can ensure that your brick cutting project will be a success.
Start Cutting
Starting the process of cutting bricks can seem intimidating, but with the right tools and technique, it can be a breeze. First, it’s important to choose the right tool for the job. A brick saw or angle grinder with a diamond blade is ideal for cutting through brick.
When you’ve set up your workspace, wear protective gear including safety goggles and a dust mask, since cutting brick can generate a lot of dust. Then, mark the brick where you want to cut it and secure it in place with a clamp or vise. Using the saw or grinder, slowly and steadily cut through the brick, keeping consistent pressure on the tool.
The diamond blade should easily cut through the brick without causing it to shatter. Just remember to take your time and work carefully, and soon you’ll have a perfectly cut brick piece for your project.
Finishing Touches
If you’re looking to add some finishing touches to your brickwork, it can be helpful to know how to cut bricks with an angle grinder. This tool is a great option for trimming bricks to fit in certain spots or to create specific shapes. Before using an angle grinder, it’s important to take safety precautions, such as wearing protective eyewear and gloves.
Good technique is also key: start by marking the area you want to cut with a pencil, then turn on the grinder and slowly guide it along your mark. Be sure to use even pressure and maintain a consistent speed to ensure a clean cut. With a little practice, you’ll be able to achieve the precise cuts you need for your brickwork project.
Smooth the Edges
When it comes to adding the finishing touches to a project, it’s important to smooth the edges. This is especially true in creative endeavors, where small imperfections can detract from the overall impact of the work. Whether you’re a writer, artist, or designer, taking the time to address the details can make all the difference.
This might mean double-checking your grammar and spelling, making sure your colors match, or refining the shape of a particular element. By smoothing the edges, you give your work a professional, polished feel that can help it stand out. So don’t be afraid to take a step back and give your project a final once-over before sharing it with the world.
Clean the Brick
One of the most important steps in finishing off a brick wall project is cleaning the brick to give it that polished, new look. Firstly, begin by removing any debris or dust that may have accumulated on the surface. A stiff-bristled brush is best suited for this job, allowing you to scrub away at any stains or marks that may have been left behind during the construction process.
Next, move on to removing any masonry stains or efflorescence that may have emerged on the surface of the brick. Use a specialized masonry cleaner that is safe for use on brick and follow the manufacturer’s instructions meticulously to avoid damaging the brick surface. Once you’ve finished cleaning the brick, rinse it thoroughly with water and let it dry completely before moving on to the next step in the project.
By taking the time to clean and polish your brick wall, you’ll give it that stunning finish that will be sure to impress your family and guests.
Conclusion
Cutting bricks with an angle grinder can seem intimidating at first, but with the right technique and a steady hand, you’ll be making precise cuts in no time. Remember to always wear appropriate safety gear and take your time to ensure a smooth cut. And if you happen to mess up, just remember that mistakes are just a building block towards success! Happy cutting!”
FAQs
What safety precautions should be taken when cutting bricks with an angle grinder?
Always wear eye protection, as well as gloves and a dust mask. Make sure the area is clear of debris and secure the brick in place before beginning the cut.
Can all types of angle grinders cut bricks?
No, you need to make sure you have a grinder with a diamond blade that is specifically designed to cut through masonry like bricks.
Is it better to wet or dry cut bricks with an angle grinder?
Wet cutting is generally preferred as it reduces the amount of dust and debris created, as well as helping to cool the blade and prevent overheating.
What is the ideal blade size for cutting bricks with an angle grinder?
A blade with a diameter of 4.5 inches or larger is recommended for cutting bricks with an angle grinder.
How deep can you cut into a brick using an angle grinder?
It is recommended to only cut up to one-third of the thickness of the brick to prevent it from cracking or breaking.
Can you use an angle grinder to cut curves in bricks?
Yes, with a diamond blade and a steady hand, you can use an angle grinder to create curved cuts in bricks.
Do you need any special training to cut bricks with an angle grinder?
While special training is not required, it is recommended to have some experience using power tools and to familiarize yourself with the safety precautions before attempting to cut bricks with an angle grinder.

