How to Cut Paneling with Utility Knife: Tips and Tricks for Professional-Looking Results
Do you have paneling that needs to be cut but don’t have access to power tools? Don’t worry, a simple utility knife can do the job just fine! Cutting paneling with a utility knife may seem intimidating, but with the right technique, it can be quite easy. In this guide, we’ll walk you through the steps to safely and accurately cut paneling with a utility knife. Whether you’re a DIY enthusiast or a seasoned professional, this guide will provide you with the knowledge and skills to get the job done right.
So grab your utility knife and let’s get started!
Tools and Materials Needed
Cutting paneling with a utility knife might seem like a daunting task for some DIY enthusiasts, but with the right tools and materials, it can be done with ease. You will need a few tools: a quality utility knife with a sharp blade, a straightedge ruler or a T-square, and a cutting surface. These tools will help you measure and cut the paneling accurately.
Moreover, you will need to gather the materials required: paneling sheets, a pencil, and masking tape. Before you start cutting, ensure that you have enough panels for your project and double-check your measurements to avoid wasted material. Once you have all the necessary materials, you can use a T-square or a straightedge ruler to guide the utility knife along the cut line.
The masking tape can also be helpful in securing the paneling to the cutting surface to prevent it from sliding around during the cutting process. With these tools and materials at hand, cutting paneling with a utility knife should be a breeze!
Utility knife
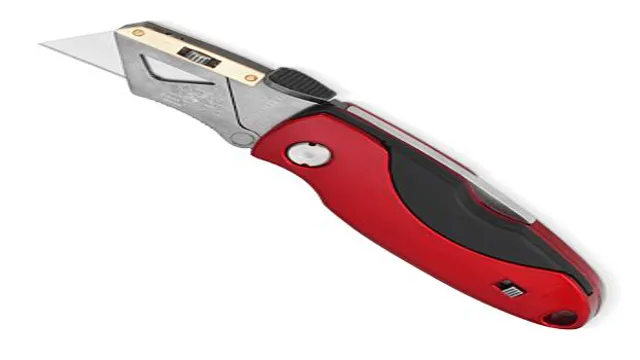
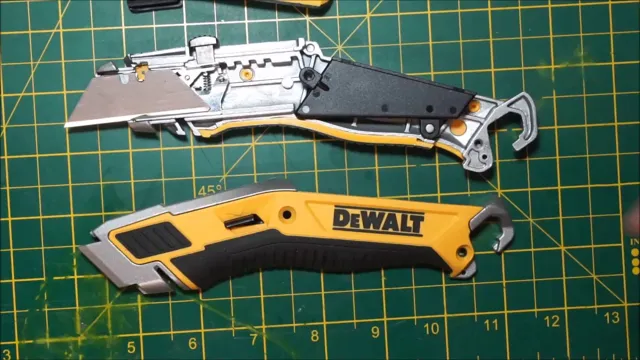
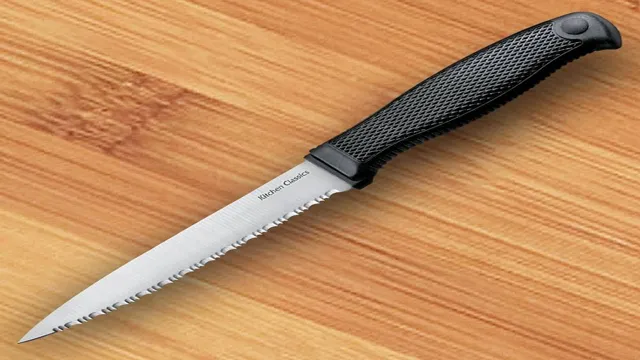
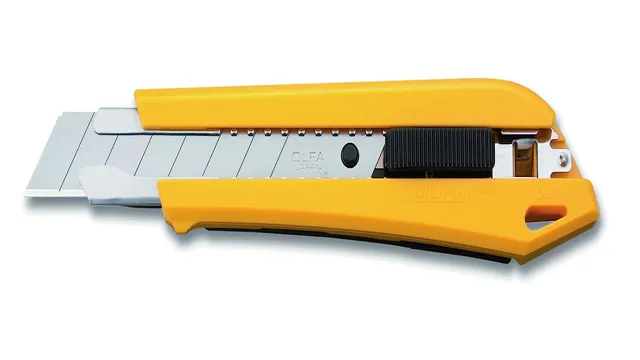
When it comes to using a Utility Knife, there are a few essential tools and materials that you’ll need to have on hand. First and foremost, you’ll need the utility knife itself – choose one with a sharp, retractable blade that will allow you to make precise cuts without the risk of injury. You may also want to invest in a set of replacement blades, as these knives can dull quickly with frequent use.
In addition to the knife, you’ll want a sturdy cutting surface – a cutting mat or thick cardboard will do the trick. Finally, make sure to have some sort of measuring tool, whether it be a ruler or measuring tape, as accurate measurements are key to a successful project. With these tools and materials on hand, you’ll be ready to tackle any project that requires the use of a utility knife – just remember to always use caution and keep your fingers clear of the blade!
Straight edge or t-square
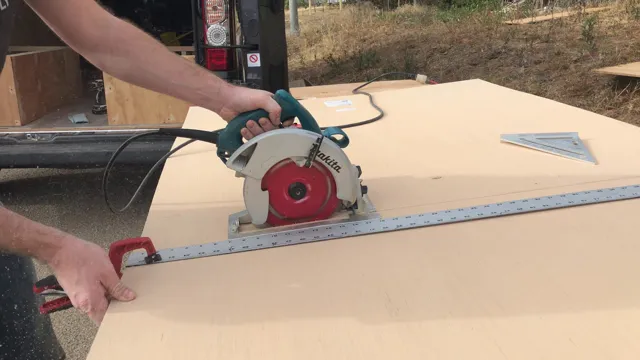
When it comes to creating precise and accurate designs, having the right tools on hand is essential. One of the primary tools every designer needs is either a straight edge or a t-square. A straight edge is a flat, elongated ruler used to draw straight lines while a t-square is a tool that has a long handle and a perpendicular edge that is used to draw lines at right angles.
Both of these tools are useful, but which one you choose will depend on the type of work you are doing. If you are drawing straight lines or angled lines, then a straight edge is the better choice. However, if you need to draw perfect right angles, then a t-square is the best tool to use.
Regardless of which tool you choose, make sure it is made from high-quality materials such as aluminum, stainless steel, or plastic to ensure durability and accuracy. Also, keep in mind that investing in good quality tools will make your job easier and help you achieve better results.
Measuring tape or ruler
When it comes to crafting, woodworking, or any DIY project, precise measurements are critical to ensuring a successful outcome. That’s why having the right tools and materials on hand is essential, including a measuring tape or ruler. Both are measuring tools that come in handy for different types of projects.
Measuring tapes are flexible and can easily measure curved and irregular surfaces, while rulers are more rigid and are great for straight edges. When choosing a measuring tape or ruler, it’s vital to consider the project’s scale and the level of precision needed. A retractable measuring tape is a must-have for those who need to measure long distances or to measure spaces with multiple dimensions.
A standard ruler, on the other hand, is ideal for smaller projects, such as crafting or woodworking. Whichever tool you choose, make sure it’s accurate, easy to use, and fits comfortably in your hand, so you can get accurate measurements without any hassle. So, whether you’re measuring a piece of wood or calculating the dimensions of a room, having a measuring tape or ruler will ensure that your project turns out just the way you hoped it would.
Masking tape
When it comes to DIY or home improvement projects, masking tape is an essential tool that you should always have on hand. But before you start any project, you need to make sure that you have all the necessary tools and materials. Along with your masking tape, you’ll need a good quality utility knife or scissors for cutting the tape and a surface that’s clean and free of debris to ensure it sticks properly.
A brayer or roller will also come in handy for achieving a smooth finish. When choosing your masking tape, it’s important to consider the surface you’ll be applying it to, as well as the length and width you need. Look for tape that’s easy to apply, remove, and reposition if necessary.
With the right tools and materials in hand, you’ll be ready to tackle any DIY project with confidence.
Preparing the Paneling for Cutting
If you’re looking to add a touch of warmth and character to your home, paneling is an excellent option. However, before you can start installing it, you need to prepare the paneling for cutting. One of the best tools to use for this task is a utility knife.
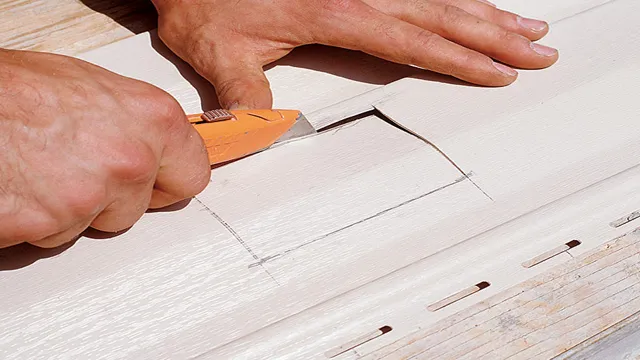
To begin, you’ll want to measure the dimensions of the wall where you plan to install the paneling. Then, using a straight edge, mark the paneling with your measurements, ensuring that the lines are straight and even. Next, position the paneling securely on a work surface, such as a table or sawhorse, and use the utility knife to score the paneling along your measured lines.
Make sure that you apply enough pressure to cut through the top layer of the paneling, but avoid cutting too deeply or you could damage the underlying layers. Once you’ve scored the paneling, you can snap it along the score line, creating a clean and precise cut. With a little patience and practice, you can become a pro at cutting paneling with a utility knife and achieve a beautiful end result.
Measure and mark where you need to cut
Before you start cutting your paneling, it’s crucial to measure and mark where you need to make the cuts for a perfect fit. Failing to do so can result in uneven paneling or a waste of material, making your project more challenging and costly. Grab your measuring tape and use it to measure the length and width of the area where the paneling needs to fit.
Double-check your measurements and mark them on the back of the paneling with a pencil or marker. Then, use a straight edge or leveler to draw a straight line where you need to cut. This line will serve as your guide, ensuring that you make an accurate cut with your saw.
With careful preparation, you can easily cut the paneling to fit your space and achieve a smooth and polished look. So take your time and measure twice before making any cuts.
Apply masking tape to prevent splintering
When it comes to cutting paneling, splintering is one of the biggest issues people face. Not only does it make your DIY project look messy, but it can also ruin the final result. Fortunately, there’s an easy solution – masking tape.
All you have to do is apply masking tape to the paneling before you start cutting it. This will help prevent the wood from cracking and splitting, providing a cleaner cut. Plus, it’s a simple trick that doesn’t require any additional tools or skills.
Just make sure you apply it evenly and firmly, and you’ll be able to enjoy a flawless finish without any unsightly splintering. So, next time you’re preparing to cut paneling, remember to use masking tape to achieve the best results.
Cutting Paneling with a Utility Knife
If you’re planning to install paneling in your home, knowing how to cut paneling with a utility knife can save you a lot of time and effort. While some people might prefer using a saw or a router, a utility knife can work just as well if you know how to use it correctly. To get started, you’ll need a utility knife with a sharp blade, a straightedge or ruler, and a cutting mat or a sturdy surface to work on.
First, measure the paneling to the desired size and mark it with a pencil. Then, hold the straightedge in place and score the paneling along the line with the utility knife. Apply firm pressure and make multiple passes until the blade cuts through the paneling.
Finally, snap the paneling along the scored line and finish the edge with sandpaper if necessary. With a little practice, cutting paneling with a utility knife can be an easy and efficient way to create perfect cuts for your DIY projects.
Hold the straight edge firmly on the marked line
If you’re looking to update the look of your walls without breaking the bank, paneling is a great option. However, cutting paneling to size can be tricky, especially if you’re using a utility knife. One important tip to keep in mind is to hold the straight edge firmly on the marked line before making your cut.
This will ensure a clean and straight cut, which is essential for a professional look. Another thing to keep in mind is the quality of your knife. Make sure it’s sharp and in good condition before starting your project.
Dull blades can cause your cuts to be uneven and can even damage the paneling itself. With these tips in mind, you’ll be able to cut your paneling like a pro in no time!
With careful pressure, score the paneling along the line
Cutting paneling can be a tricky task, but with a utility knife, it can be done with ease. First, you need to measure and mark the area where you want to cut the paneling. Then, with careful pressure, score the paneling along the line you just marked.
Try to score it multiple times to ensure a deeper cut. Once you have scored the paneling, you can then snap it along the scored line. This might take a few attempts, but with perseverance, you will be able to achieve a clean break.
A utility knife is an essential tool when it comes to cutting paneling, and it is more precise than a saw. When using a utility knife, make sure to hold it at a slightly angled position and apply adequate pressure to ensure a clean cut. As you can see, cutting paneling isn’t rocket science, but it does require a little bit of patience and attention to detail.
With the right tools and approach, you’ll be able to achieve a professional-looking finish in no time.
Repeat the scoring along the entirety of the line
Cutting paneling with a utility knife can seem like a daunting task, but with a few simple tips and tricks, you can easily achieve a precise and clean cut. First, measure the dimensions needed for your paneling and mark it with a straight edge and pencil. Then, run a scoring tool along the line multiple times, allowing the blade to penetrate the surface layer.
You’ll want to repeat this process along the entire length of your paneling to create a clean and even cut. It’s important to note that using a utility knife for paneling can be especially useful when dealing with intricate cuts or corners. With a little patience and practice, you can master the skill of cutting paneling with a utility knife and achieve professional-looking results every time.
So break out your utility knife and start cutting!
Snap or bend the paneling along the scored line
Cutting paneling with a utility knife can be a straightforward process when done correctly. One vital step in cutting paneling with a utility knife is snapping or bending the paneling along the scored line. First, score the line where you want to cut the paneling using a straight edge and a utility knife.
Once you have scored the line, snap or bend the paneling along the scored line, applying enough pressure to break the paneling cleanly. This method avoids uneven or jagged edges that may occur when using a saw. It is important to note that you may need to repeat the scoring and snapping/bending process several times to cut through the paneling thoroughly.
This process may take time and patience, but ultimately it will create a cleaner, smoother cut. By following these steps, you can cut paneling with a utility knife like a professional.
Tips for Cutting Paneling
If you’re looking for an easy and affordable way to spice up your home decor, adding paneling is a great option. However, cutting paneling can be a daunting task if you’re not familiar with the process. Luckily, it’s possible to cut paneling with just a utility knife.
The key is to make sure you have a sharp blade and to take your time. It’s also important to measure and mark your cuts accurately before you begin. Start by gently scoring the paneling along your cut line several times, making sure to apply consistent pressure.
Then, slowly and carefully snap the paneling along the scored line. You may need to use the utility knife to make small adjustments to your cut as necessary. With practice, cutting paneling with a utility knife can become a simple and effective way to customize your home.
Take your time and make small adjustments
Cutting paneling is an essential part of any DIY home renovation project. However, it can be a daunting task if you are not equipped with the right tools and techniques. One important tip to keep in mind when cutting paneling is to take your time and make small adjustments.
It can be tempting to rush through the process, but this can result in inaccurate cuts and wasted materials. Instead, use a hand saw or circular saw to make small cuts and check frequently to ensure that you are on the right track. Another useful tool to have is a straightedge, which can help guide your cuts and prevent any jagged edges.
Remember to measure twice and cut once, and don’t be afraid to ask for help if you need it. By taking your time and making small adjustments, you can ensure that your paneling fits perfectly and gives your space a polished and professional look.
Use a sharp utility knife blade
Cutting paneling can be a challenging task, but with the right tools and techniques, it can be done with ease. One of the most important tips to keep in mind is to use a sharp utility knife blade. A dull blade can cause the paneling to splinter and crack, making it difficult to achieve clean cuts.
The sharpness of the blade allows for a clean and precise cut, ensuring a smooth finish. When using the utility knife, it’s important to make sure the blade is properly inserted and tightened to avoid any mishaps while cutting. Additionally, it’s recommended to use a straight edge or a T-square to guide the knife, making sure the cuts are straight and even.
By following these tips and using a sharp utility knife blade, you can achieve professional-looking results when cutting paneling.
Replace the blade frequently
Cutting paneling can be a fun DIY project, but it can also be a frustrating one if you don’t have the right tools and know-how. One of the most important tips for cutting paneling is to replace the blade on your saw frequently. Using a dull blade not only makes it more difficult to cut through the wood, but it can also cause the wood to splinter and leave rough edges that are difficult to smooth out.
To ensure clean cuts and a smooth finish, be sure to change your blade regularly. Another tip to keep in mind when cutting paneling is to measure twice and cut once. Taking the time to double-check your measurements can save you from costly mistakes and wasted materials.
With these tips in mind, you’ll be well on your way to successfully cutting and installing paneling for your home improvement project.
Practice on scrap paneling before starting your project
Cutting paneling for any project can be a daunting task, especially if you’re new to DIY. It’s essential to practice first on scrap paneling to ensure you get the hang of it before embarking on your project. Here are some tips to help you effectively cut your paneling.
Firstly, ensure you use a sharp blade, preferably a saw blade with the appropriate number of teeth for the type of paneling you’re working with. Secondly, mark out your paneling accurately and use a straight edge to guide your saw. Thirdly, avoid cutting too quickly, as this can lead to jagged or uneven edges.
Finally, use sandpaper to neaten up any rough edges. By employing these tips, you can ensure your paneling is precisely cut and ready for use, without having to worry about any mistakes or imperfections.
Conclusion
Cutting paneling with a utility knife may seem daunting at first, but with the right technique and a bit of grit, you can slice through it like a hot knife through butter. Remember to measure twice and cut once, use a sharp blade, and keep the knife pointed away from your body for a safe and efficient experience. With these tips, you’ll be paneling like a pro in no time.
So ditch the saw and grab that trusty utility knife – it’s time to get cutting!”
FAQs
What tools do I need to cut paneling with a utility knife?
You will need a utility knife with a sharp blade, a straight edge or ruler, and a cutting surface.
How should I prepare the paneling before cutting it with a utility knife?
It is recommended to measure and mark the paneling with a pencil and straight edge before cutting it with a utility knife.
Can I use a utility knife to make complex cuts on paneling?
While a utility knife can be effective for straight cuts, more complex cuts may require additional tools such as a jigsaw or circular saw.
How do I ensure a clean cut when using a utility knife on paneling?
Applying gentle pressure and making multiple passes with the utility knife can help ensure a clean and precise cut.
Is it necessary to wear protective gear when cutting paneling with a utility knife?
It is recommended to wear safety goggles and gloves when cutting paneling with a utility knife to protect against flying debris and potential injury.
Can a dull blade on a utility knife be used to cut paneling?
A dull blade can make it difficult to cut through paneling cleanly and can even damage the material. It is recommended to use a sharp blade.
How do I safely dispose of leftover paneling scraps after cutting with a utility knife?
Paneling scraps can be disposed of in the trash or recycled, depending on the materials. It is important to handle sharp pieces carefully to avoid injury during disposal.

