How to Make a Mini Welding Machine in 7 Easy Steps – Complete Guide
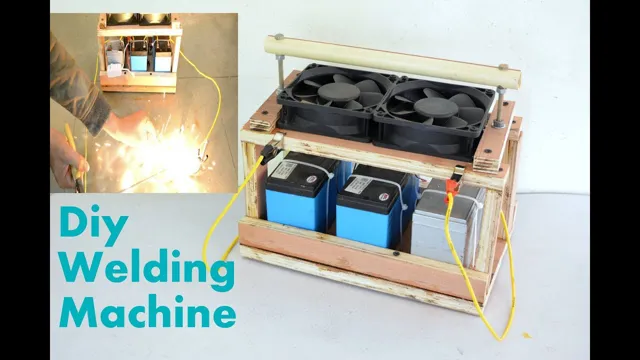
Welding is one of the most crucial processes involved in metalworking. It is essential for repairing, joining, and shaping metals. However, welding machines can be expensive, and not everyone has access to them.
That’s where mini welding machines come in handy. These machines are portable, easy to use, and can be made at home without much hassle. In this blog post, we’ll guide you through the simple steps to make a mini welding machine at home.
Whether you’re a DIY enthusiast or a metalworker, this guide is perfect for anyone looking to create a reliable and cost-effective welding machine. So, let’s dive into the world of welding and see how we can make a mini welding machine in simple steps.
Introduction
Are you interested in welding but don’t have the space or funds for a full-sized machine? Look no further! In this article, we will explore how to make a mini welding machine that is both affordable and easy to use. The key is to start with a transformer from an old microwave or oven, which can be easily repurposed into a low voltage, high amperage transformer. Once you have your transformer, you will need a rectifier circuit to convert the AC current to DC and a smoothing capacitor to smooth out the current flow.
Finally, you can attach your electrodes and start welding! Of course, safety should always be a top priority, so be sure to wear protective gear and work within your skill level. By following these steps, you can have your own mini welding machine and start honing your welding skills in no time!
Explanation on Welding Machines and Their Types
welding machines Introduction: Welding machines are devices used for fusing two pieces of metal or other materials. They are widely used in construction, automotive, manufacturing, and other industries. There are various types of welding machines available in the market, each with its unique features and advantages.
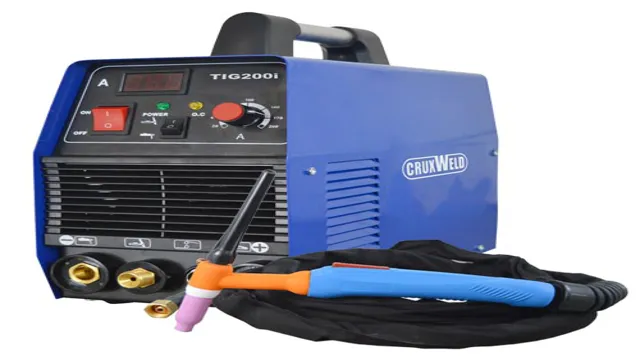
Some of the commonly used types of welding machines are MIG, TIG, stick, and spot welders. These welding machines come in different sizes, power capacities, and operational modes, making it essential to choose the right machine to fit your specific welding needs. In this blog post, we will delve deeper into welding machines, their types, and help you understand which one is suitable for a particular project.
So, let’s get started!
The Concept of Mini Welding Machine
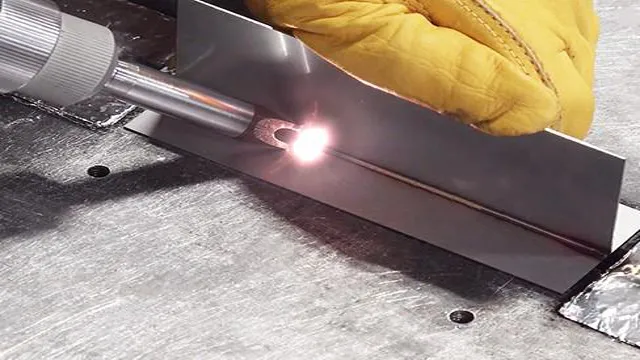
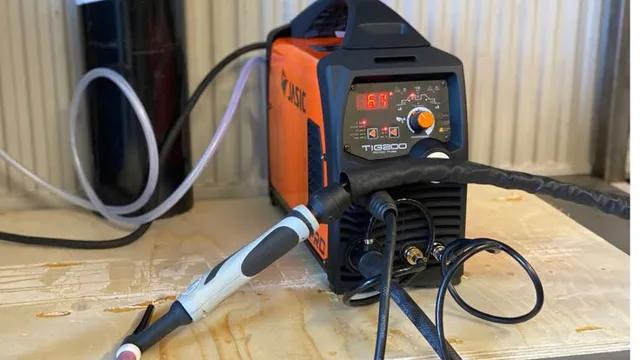
The concept of mini welding machines has taken the welding world by storm. These compact, portable welding machines are designed to deliver high-quality welds on a smaller scale. They’re perfect for DIY projects, small repairs, and even professional welding applications where mobility is required.
A mini welding machine is designed to be easy to use, highly efficient, and cost-effective. These machines use advanced welding technology to deliver precise arc control, stable welding current, and excellent weld quality. They’re also lightweight and small enough to be carried around easily, making them ideal for welding on the go.
If you’re looking for an affordable, easy to use, and highly functional welding machine for your next project, a mini welding machine could be just what you need.
Materials Required
To make a mini welding machine, you’ll need a few materials. Firstly, you’ll need a few pieces of PVC pipes to create the body of the machine. You’ll also need a 12V car battery and alligator clips to power the machine.
For the welding portion, you’ll need copper wire, a small steel cylinder, and a metal rod that will serve as the electrode. Lastly, don’t forget to grab some sandpaper to smooth any rough edges and a drill to create holes for the copper wire. With these materials, you’ll be able to construct your own mini welding machine and start welding small projects!
List of Materials Required to Create Mini Welding Machine
If you are looking to create a mini welding machine, here is a list of materials that you will need. First and foremost, you will need a welding transformer, which is responsible for converting electricity into a suitable welding voltage. You will also need welding electrodes, which come in various sizes and lengths and are used to create an arc that melts the metal pieces to be welded together.
Another important material is a welding helmet, which protects your eyes and face from the bright light and sparks produced during welding. Welding gloves are also essential, as they protect your hands from the heat and sparks. To hold your workpieces in place while welding, you will need welding clamps and a welding table.
Other materials include a chipping hammer, wire brush, and pliers. These are used to remove slag and clean the welded joint after the welding process is complete. With these materials, you can easily create your own mini welding machine and tackle your welding projects with ease.
Construction Process
Making a mini welding machine might seem like a daunting task, but with the right tools and a bit of patience, it can be an achievable goal. The construction process can be broken down into several steps, including gathering all the necessary equipment and materials, designing the machine to fit your needs, assembling the components, and testing the machine to ensure it works correctly. One of the essential parts of making a mini welding machine is selecting the right power source, which can be a battery or an electric outlet.
You’ll also need to choose the appropriate welding wire and electrode sizes suitable for your machine. Once you have the necessary components, you can begin assembling them, starting with the power source and working your way to the welding wire and electrodes. It’s crucial to test your mini welding machine for safety measures and ensure that it works correctly before putting it to use.
Making a mini welding machine requires both technical expertise and creativity, but with enough determination, it can be a fun and rewarding DIY project.
Detailed Explanation on the Simple Steps to Build Mini Welding Machine
To begin the construction process of a mini welding machine, you will need a handful of essential materials: a welding transformer, a control valve, a welding gun, capacitors, and diodes. Start by assembling the welding transformer and attaching the control valve. Next, mount the capacitors and diodes on a circuit board, ensuring they are connected in the correct order.
Connect the circuit board to the transformer and control valve. You will then need to attach the welding gun to the control valve, making sure it is secure. Finally, test your mini welding machine by connecting it to a power source and checking the output voltage using a multimeter.
Congratulations, you have now constructed your very own mini welding machine! With some practice and skill, you can use it for various welding projects, from home improvements to metalworking. So, what are you waiting for? Get creative and let your mini welding machine lead you to endless possibilities!
Step 1: Prepare the Power Supply Unit
The first step in building your own power supply unit is preparing the PSU components. To do this, you will need to gather a few key items. First, you will need a suitable power supply unit.
You can use an old one from a computer that you have decommissioned, or you can purchase a new one. Either way, make sure that it has enough power to meet your needs. Next, you will need a case to house the PSU components.
This can be an old computer case or you can purchase a new one. Once you have these items, you can begin the process of preparing the PSU components by removing any unnecessary cables and accessories. Make sure that you are wearing static-resistant clothing and working on a non-conductive surface to avoid damaging any of the components.
By completing this step, you can ensure that your power supply unit is ready for the next phase of construction.
Step 2: Create a Transformer
Once you have a basic understanding of how transformers work, it’s time to create your own. The construction process involves several steps, starting with selecting the core material and winding the coils. The core material is typically made of laminated steel sheets that are stacked and connected to form a closed loop.
The coils are then wound around the core, with each coil alternating between the primary and secondary windings. To ensure maximum efficiency, it’s important to carefully calculate the number of turns for each coil and select the proper wire gauge. Once the coils are wound, they must be insulated to prevent any electrical shorts.
This can be done by coating the coils with layers of insulation or by placing them in an insulating material. Finally, the transformer is enclosed in a case and the leads are connected to the terminals. With proper construction and careful attention to detail, your homemade transformer should perform just as well as a commercially-manufactured one.
Step 3: Design Rectifier Circuit
Now that the rectifier type has been selected, it’s time to start constructing the rectifier circuit. The first step is to gather all the necessary components, including diodes, capacitors, resistors, and a transformer. Before beginning the actual construction, it’s important to double-check that all the components are the correct values and components suitable for the circuit.
Once everything has been verified, the construction process can begin. It’s recommended to start with the transformer connections, followed by the diodes and capacitors. Make sure to adhere to safety precautions and always disconnect power before making any connections.
After all the connections have been made, it’s time to test the circuit with a multimeter to verify it’s working correctly. If any issues are found, double-check connections and verify component values before making changes. With the rectification circuit completed and verified working correctly, it’s now time to move on to the next step.
Step 4: Wire up the Transformer with the Rectifier Circuit
Once you have chosen the right transformer and rectifier circuit for your project, it’s time to wire them up. This process can be a bit tricky, but with the right tools and some patience, you can get it done smoothly and without any issues. Firstly, it’s essential to understand that the transformer has two distinct coils – the primary and the secondary.
The primary coil is the one that connects to the AC power source, while the secondary coil connects to the rectifier circuit. Make sure to connect the appropriate wires to avoid damaging the components. Once the transformer is properly wired, you can move on to the rectifier circuit.
The rectifier circuit is responsible for converting the AC current from the transformer into DC current that can power your device. It involves using diodes to split the AC current into its positive and negative components and changing them into the corresponding positive and negative DC current. Always double-take the connections to ensure all wires are correctly seated.
Once you’ve wired up both the transformer and rectifier circuit, you’re all set to power up your device and test its functionality. Remember that safety should be a top priority at all times, and if you’re unsure about anything, seek professional help.
Step 5: Build an Output Circuit
Once you have completed all the previous steps of building your electronic circuit, it’s time to focus on constructing the output circuit. This is critical as it’s responsible for providing the output signal that you want to receive. To start with, you’ll need to choose a power source that’s appropriate for your circuit.
Then, select the type of output device you’ll be using, whether it’s an LED, buzzer, or some other type of signal. Next, connect the output device to the circuit using wires or jumper cables, making sure to follow the appropriate wiring diagram. It’s crucial to test your output circuit before finalizing everything, as you’ll want to make sure it’s producing the output you desire.
Once you’re satisfied with the output, you can complete the final steps of your circuit. Remember, taking your time and making sure everything is correctly connected will ensure a successful circuit that functions correctly.
Step 6: Assemble the Components to Make a Mini Welding Machine
Now that we have all the necessary components, it’s time to assemble them to make a mini welding machine. First, we need to mount the welding transformer onto a wooden board. Make sure that the transformer is secure and won’t move during use.
Next, connect the primary and secondary winding of the transformer to the AC power source and the welding electrode holder, respectively. Then, attach the welding electrode to the holder and connect the electrode holder to the negative terminal of the transformer’s secondary winding. Finally, attach a clamp to the positive terminal of the secondary winding and connect it to the metal piece you want to weld.
Congratulations, you’ve just made your very own mini welding machine! Test it out and ensure that everything is working properly before using it for any real welding jobs. With this DIY welding machine, you’ll be able to take on all sorts of small-scale welding projects around the house or workshop.
Safety Precautions
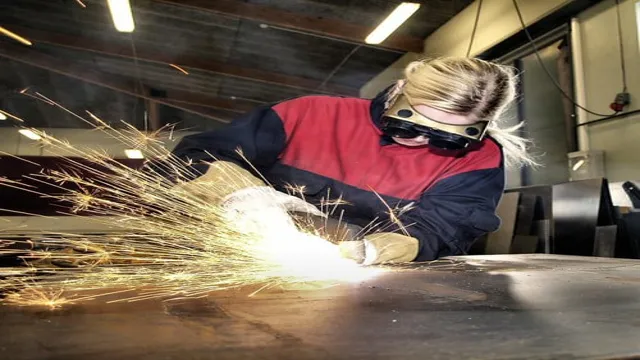
If you’re planning on making a mini welding machine, it’s important to take some safety precautions. First, always wear protective gear such as gloves, goggles, and a welding helmet to protect yourself from the intense light and heat of the weld. Make sure your work area is well-ventilated to prevent inhaling toxic fumes.
Keep a fire extinguisher nearby just in case. It’s also essential to practice proper welding techniques, such as ensuring your workpiece is clean and properly secured, and using the right welding tools and materials. Finally, never leave your welding machine unattended and always disconnect it from the power source when not in use.
By following these safety measures, you can enjoy creating your mini welding machine while protecting yourself and others around you.
Importance of Safety Measures while using Welding Equipment
Welding is a process that involves using heat and gas to melt metal and join it together. While welding is a common practice in many industries, it can also be incredibly dangerous if proper safety measures aren’t taken. Welding equipment can produce sparks, bright light, and dangerous fumes, which can cause significant harm to the welder.
Therefore, it is crucial for workers to wear protective gear, such as gloves, masks, and goggles, while working with welding equipment. Additionally, workers should ensure that the equipment is set up correctly and that the area around the welding equipment is clear of any flammable materials. By taking these safety precautions, welders can reduce the risk of accidents and injuries in the workplace, making it a safer environment for everyone.
Remember, safety should always come first, even when working with something as seemingly simple as welding equipment.
Conclusion
In conclusion, making your own mini welding machine might seem like a daunting task, but with a little bit of creativity and resourcefulness, it is entirely possible! From repurposing old electronics to using simple household items, there are plenty of ways to construct a compact and efficient welder that will get the job done. Plus, when you build it yourself, you can customize it to fit your specific needs and preferences – adding a colorful paint job or unique features that will make it stand out in your shop. So next time you’re in need of a mini welding machine, don’t be afraid to channel your inner DIY spirit and create your own! Not only will you save money and have fun in the process, but you’ll also have a one-of-a-kind piece of equipment that you can be proud of.
“
FAQs
What materials are needed to make a mini welding machine?
The materials needed to make a mini welding machine include a transformer, a rectifier, a capacitor, a switch, a welding rod holder, and some wires.
Can beginners make a mini welding machine?
Yes, beginners can make a mini welding machine with some basic knowledge of electronics and soldering.
Is it possible to use battery power for a mini welding machine?
Yes, it is possible to power a mini welding machine with a battery; however, the battery must be powerful enough to deliver the required current.
Is it safe to use a mini welding machine?
Yes, it is safe to use a mini welding machine as long as proper precautions such as wearing protective gear and working in a well-ventilated area are taken.
What is the maximum thickness of metal that can be welded with a mini welding machine?
The maximum thickness of metal that can be welded with a mini welding machine depends on the power output of the transformer, but typically it is around 1/8 inch.
How does a mini welding machine work?
A mini welding machine works by converting high voltage, low amperage AC power from a transformer into low voltage, high amperage DC power using a rectifier and capacitor. The DC power is then used to create an arc between the welding rod and the workpiece, which melts the metal and fuses the pieces together.
What are some tips for making a mini welding machine?
Some tips for making a mini welding machine include using high-quality materials, following a detailed schematic or wiring diagram, double-checking all connections before powering on the machine, and making sure that the power supply is capable of delivering the required current.

