How to Light a Welding Torch Safely: Tips and Tricks to Get the Perfect Flame
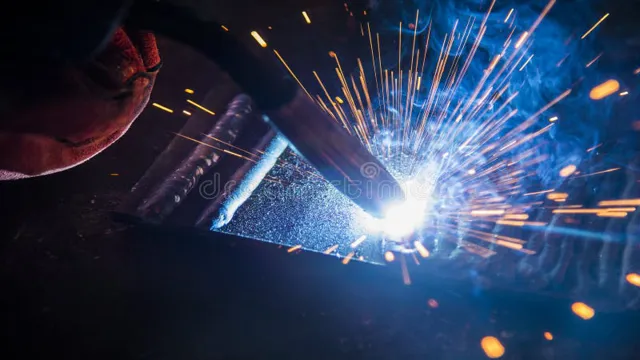
Ah, welding! The art of joining two metals together by applying extreme heat. If you are looking to learn welding, then the first step is to master the welding torch. Whether you are a beginner, DIY enthusiast, or a seasoned welder, lighting a welding torch is a vital skill that everyone who wants to learn welding must know.
Although it seems easy, lighting a welding torch can be challenging if you don’t know the right steps. But don’t worry, we’ve got you covered! In this step-by-step guide, you’ll learn how to light a welding torch like a pro and weld with confidence. So, let’s get started!
Safety Precautions
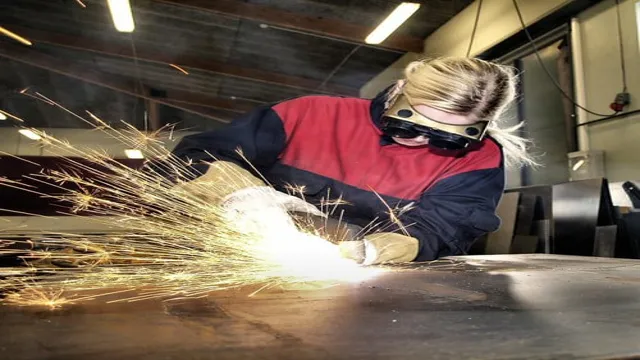
If you need to light a welding torch, there are a few safety precautions you should take to ensure a safe and effective process. First and foremost, make sure you wear protective gear such as a welding helmet, gloves, and clothing to prevent burns. Before lighting the torch, check for any leaks or damages to the equipment.
It’s essential to have a fire extinguisher nearby and always keep it fully charged and ready to use. When lighting the torch, make sure to keep it away from any flammable materials such as paper, cardboard, or chemicals. You should also avoid pointing the torch towards yourself or others, as the flame can cause severe burns or injuries.
Always follow the manufacturer’s instructions when lighting and adjusting the torch, and never leave it unattended while in use. By taking these safety precautions, you can ensure a safe and successful welding experience.
Check for leaks in the gas lines
When it comes to gas appliances, safety should always be a top priority. One crucial step in ensuring the safety of your household is checking for leaks in the gas lines. Gas leaks can be extremely dangerous, as they can potentially cause explosions or fires.
Always be aware of any strange odors or hissing sounds near your gas appliances, as this could be a sign of a gas leak. To check for leaks in your gas lines, you should first ensure that all gas appliances are turned off. Next, locate the gas meter and turn off the gas supply valve.
Once the valve is closed, locate the gas lines that run to your appliances and inspect the connections for any signs of damage or wear. You can use a solution of soapy water to check for leaks – if there are any leaks, the solution will begin to bubble at the site of the leak. If you do detect a gas leak, it’s essential to take immediate action.
Evacuate your home and call the gas company or local fire department. Do not attempt to fix the leak yourself, as this is a job that should only be performed by a professional. Gas leaks can be extremely dangerous, and it’s always better to err on the side of caution and seek help as soon as possible.
By taking these safety precautions and regularly checking for gas leaks in your home, you can ensure the safety of your household and avoid any potential dangers. Remember, safety should always be your top priority when it comes to gas appliances.
Wear appropriate clothing and safety gear
When it comes to staying safe, wearing appropriate clothing and safety gear can make all the difference. Whether you’re working in construction, doing some DIY at home, or riding a bike, there are specific pieces of clothing and gear that can protect you from harm. Hard hats, safety glasses, earplugs, safety shoes, gloves, and high-visibility clothing are just examples of some of the protective gear you should have on hand.
But it’s not just about having the gear – it’s also about wearing it properly. Make sure each piece fits well and is adjusted to the right size so that it can provide adequate protection. Remember, accidents can happen at any time, but by wearing protective gear, you can greatly minimize your risk of injury.
By investing in quality equipment and taking the time to wear it properly, you’ll be taking an important step towards ensuring your personal safety.
Preparing the Torch
When it comes to welding, lighting the torch is one of the most important steps in the process. First, you’ll need to check the gas and the oil levels to ensure that they are full, and then make sure that the valves are all closed. Next, attach the torch to the gas line by screwing it on tightly, and then turn the gas on at the tank.
To light the torch, hold the striker in one hand and turn the gas valve on with the other. Then, simply strike the striker to create a spark and ignite the gas coming out of the torch. It’s important to make sure that the flame is the correct size and color, indicating that the torch is working properly.
Once you’ve got the torch lit, you’re ready to start welding. By following these steps, you’ll ensure not only that your torch is lit safely and effectively, but also that you’ll have a better and more efficient welding experience.
Attach the regulator to the gas cylinder
When it comes to using a torch, one of the first things you need to do is prepare it. This includes attaching the regulator to the gas cylinder. The regulator is a vital component of the torch, as it controls the flow of gas to the torch.
To attach the regulator, first, remove the protective cap from the gas cylinder and ensure it is in an upright position. Next, screw the regulator onto the cylinder valve and tighten it with an adjustable wrench. Be careful not to overtighten it, as this could damage the regulator or valve.
Once the regulator is securely attached, adjust the pressure according to the manufacturer’s instructions. It’s important to never skip this step, as an improperly attached regulator can cause serious accidents. With the regulator set up, you’re one step closer to using your torch safely and efficiently.
Adjust the flow rate according to the type of weld
When it comes to welding, adjusting the flow rate is crucial for achieving the desired result. Different types of welds require different flow rates, so it’s important to prepare your torch accordingly. First, make sure that you have the right type of tip for the job at hand.
Then, check the manufacturer’s recommendations for the flow rate that’s appropriate for the type of metal you’ll be welding. In general, thicker metals require higher flow rates, while thinner metals need less flow. Keep in mind that the flow rate can also vary depending on the position of the weld and the welding technique you’re using.
By taking these factors into account and adjusting the flow rate accordingly, you can ensure a strong, high-quality weld. So the next time you’re preparing to weld, don’t forget to pay attention to your torch and adjust the flow rate as needed.
Lighting the Torch
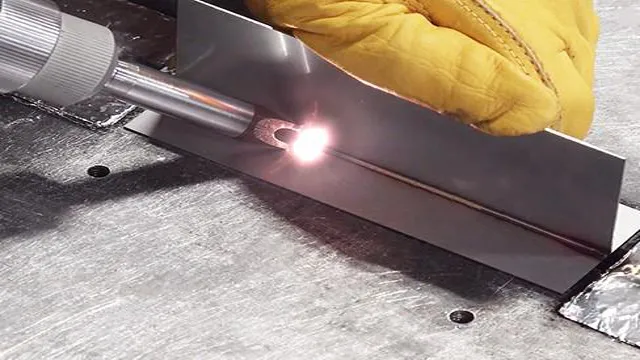
When it comes to welding, knowing how to properly light a welding torch is essential. The first step is to ensure that all safety equipment is worn, including a welding mask, gloves, and protective clothing. Next, check the torch for any debris or damage and ensure that all valves are closed.
Then, attach the torch to the fuel source and slowly open the valve to allow fuel to flow. Once the fuel is flowing, use a spark lighter to ignite the torch. It’s important to hold the lighter a safe distance away and keep it away from the fuel source to avoid any accidents.
Once the torch is lit, adjust the flame to the desired size using the valve. Always be cautious when working with a lit torch and never leave it unattended. By following these steps, anyone can safely and effectively light a welding torch to begin their welding project with confidence.
Open the gas valve slowly
When it comes to lighting a torch, there are a few important steps to follow to ensure safety and success. One of the most crucial steps is to open the gas valve slowly. This helps to prevent sudden bursts of gas that can be dangerous and difficult to control.
Instead, take your time and turn the gas valve slowly to allow gas to flow steadily to the torch. Once the gas is flowing, use a striker or lighter to ignite the flame. Be sure to keep a safe distance from the torch and wear protective gear, such as gloves and goggles.
With patience and caution, you’ll soon have a steady flame for your welding or soldering project. Remember, safety should always come first when working with a torch. Rushing through steps or being careless can lead to serious injury or damage.
By opening the gas valve slowly and taking your time to light the torch properly, you can minimize the risk of accidents and improve your overall success. So the next time you’re getting ready to light a torch, remember to take a deep breath, go slow, and double-check your safety gear before you begin. With patience and practice, you’ll soon be a pro at lighting the torch and tackling all your welding and soldering projects with ease!
Rotate the torch igniter to release sparks
If you’re ready to light the torch, the first step is to rotate the torch igniter to release sparks. This is the mechanism that creates the spark that will ignite your torch’s fuel. To rotate the torch igniter, you’ll typically need to turn it clockwise or counterclockwise depending on your model.
Pay attention to the placement of the igniter, as some may require you to twist it off in order to reach it. Once you’ve rotated the igniter, you should start to hear the sound of sparks being released. If you don’t hear any sound, you may need to adjust the position of the igniter.
Once you hear the sparks, hold the torch up to the fuel source and slowly increase the fuel flow until the flame ignites. Congratulations, you’ve now successfully lit your torch! Remember to always be cautious when using any kind of flames or flammable materials, and make sure to turn off your torch when you’re done using it.
Adjust the flame to the desired temperature
When lighting a torch, it’s important to adjust the flame to the desired temperature. This will ensure that you have enough heat for whatever task you have at hand without wasting gas. To do this, first turn on the gas and then use the striker to ignite the flame.
Once the flame is lit, you can adjust the temperature by turning the nozzle. Keep in mind that the higher the flame, the higher the temperature. It’s important to be careful when adjusting the flame, as you don’t want to burn yourself or anything else nearby.
If you’re unsure of the temperature you need, start with a lower flame and work your way up until you reach the desired level. And always remember to turn off the gas when you’re finished using the torch. This simple step can prevent accidents and ensure your safety.
With practice, adjusting the flame can become second nature and you’ll be able to tackle any project with ease.
Tips for Successful Welding
When it comes to welding, one of the most important steps is lighting your torch correctly. First, ensure that your torch is properly connected to the gas and oxygen tanks with the right pressure settings. Then, open the gas valve slowly and strike your striker against the flint to create a spark.
Hold the striker at an angle where the spark will hit the gas stream and ignite the torch. Next, adjust the flame to your desired level by turning the oxygen valve. It’s important to keep the flame steady and avoid an excessively large or weak flame.
Finally, make sure your torch is clean and free of any debris or dirt that could impact your welding work. With these steps, lighting your welding torch will become a seamless part of your welding process.
Maintain a consistent flame
When it comes to successful welding, maintaining a consistent flame is crucial. This means that the flame from the torch should remain at a steady temperature and be positioned correctly while welding. A fluctuating flame can lead to inconsistencies in the weld and result in weak or incorrect joints.
It takes practice to master, but once you get the hang of it, you’ll be able to weld with precision and accuracy. To maintain a consistent flame, make sure to adjust the gas pressure, check the torch tip for damage, and use the right size nozzle. Keeping a steady hand and maintaining a consistent distance from the workpiece also helps.
By maintaining a consistent flame, you’ll be well on your way to successful welding projects.
Use the proper technique for the type of weld being done
Welding requires not only skill but proper technique as well. One of the most important tips for successful welding is using the correct technique for the type of weld being done. Different types of welds require different approaches, so it’s important to understand the differences.
For example, gas tungsten arc welding (GTAW) requires a different technique than gas metal arc welding (GMAW). It’s important to read the instructions carefully before starting any welding project to ensure the proper technique is used. In addition, practice and experience will help in mastering the technique for each type of weld.
By using the correct technique, the weld will be stronger and more precise, resulting in a successful welding project.
Conclusion
Congratulations, my dear friend! You are now a master of the welding torch, or as I like to call it, the fiery wand of creation. With your new-found knowledge, you’ll be able to channel your inner artist and transform metal into magnificent works of art. So, next time you light up your welding torch, remember this: it’s not just a tool, it’s a gateway to your imagination.
Now go forth and light up the world with your welding magic!”
FAQs
What is a welding torch and how does it work?
A welding torch is a tool that uses a flame or electric arc to join two pieces of metal together. The torch typically combines fuel gases (such as acetylene) with oxygen to produce the flame or electric arc.
What are the different types of welding torches available?
There are several types of welding torches available, including oxy-acetylene torches, TIG (tungsten inert gas) torches, MIG (metal inert gas) torches, and stick welding torches.
How do you prepare a welding torch for use?
To prepare a welding torch for use, you’ll need to connect the fuel and oxygen hoses, adjust the flame or electric arc to the appropriate intensity, and install the appropriate welding tip.
What safety precautions should you take when using a welding torch?
When using a welding torch, be sure to wear appropriate protective gear (including gloves, a mask, and clothing made from flame-resistant materials). You should also keep a fire extinguisher nearby and avoid using the torch near flammable materials.
How do you light an oxy-acetylene welding torch?
To light an oxy-acetylene welding torch, start by opening the oxygen and acetylene valves on the torch. Then, use a striker to ignite the acetylene flame. Once the acetylene flame is burning, slowly adjust the oxygen valve until the flame becomes the appropriate color for welding.
What’s the difference between a TIG welding torch and a MIG welding torch?
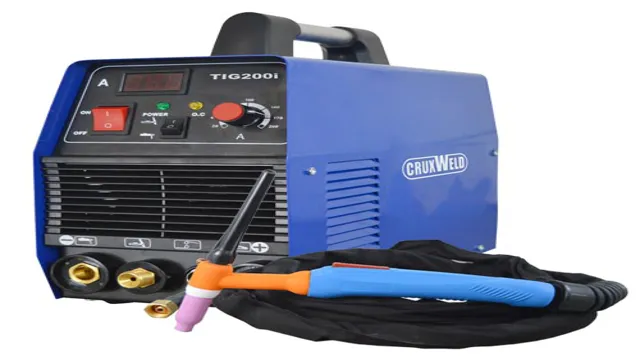
A TIG welding torch uses a tungsten electrode and an inert gas (such as argon) to create an electric arc that melts the metal being joined. A MIG welding torch, on the other hand, uses a consumable wire electrode and an inert gas to create the arc.
How do you troubleshoot common problems with a welding torch?
If you’re having problems with a welding torch, start by checking the hoses and valves to make sure they’re properly connected and in working order. You should also ensure that the welding tip is the appropriate size and clean of debris. Finally, check to make sure that you’re using the correct flame or arc intensity for the type of metal you’re welding.

