How to Use a Manual Tire Pressure Gauge: A Step-by-Step Guide for Accurate Results
Keeping your vehicle’s tires inflated at the right level is critical for both your safety and the longevity of your car. A manual tire pressure gauge is an essential tool to ensure that your tires are properly inflated. However, if you’re unsure about how to use a manual tire pressure gauge, you’ve come to the right place.
In this blog post, we’ll take you through the basic steps of how to use a manual tire pressure gauge to effectively monitor your tire pressure. We’ll provide you with easy-to-follow instructions so that you can keep your tires inflated at their optimal levels. So, buckle up and keep reading to find out how to use a manual tire pressure gauge like a pro!
What is a Manual Tire Pressure Gauge?
If you want to ensure that your tires are properly inflated, then using a manual tire pressure gauge is one of the easiest and most reliable ways to do so. Simply put, a manual tire pressure gauge is a handheld device that measures the amount of air pressure in your tires. To use one, you need to first remove the valve cap from your tire’s valve stem.
Then, firmly press the gauge onto the stem until you hear a hissing sound, indicating that air is flowing into the gauge. After a few seconds, the gauge will give you a reading of the tire’s air pressure. If the reading is within the recommended range (which can be found in your vehicle’s owner’s manual or on the tire’s sidewall), then you’re good to go.
If not, simply add or let out air until you reach the correct pressure. With a little bit of practice, you’ll soon become a pro at using a manual tire pressure gauge, which will help you to keep your tires in top condition and reduce your risk of accidents on the road.
Definition and Purpose
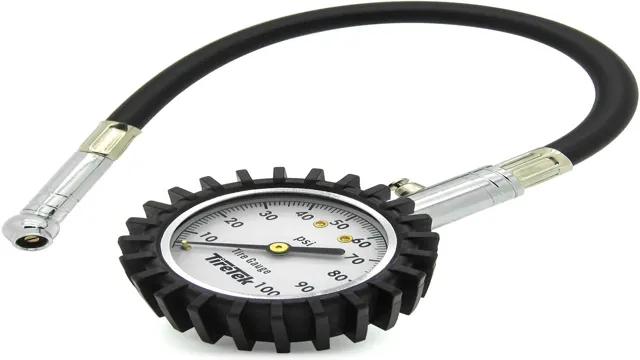
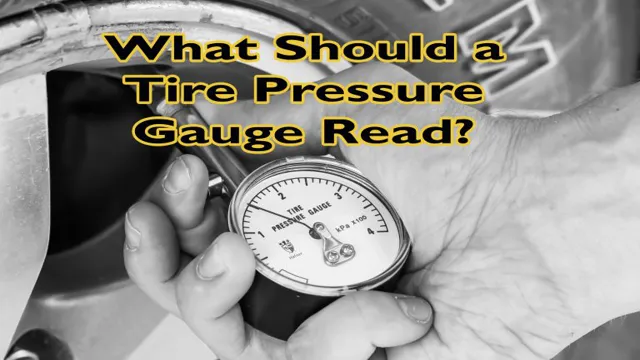
A manual tire pressure gauge is a handheld device used to measure the air pressure inside your tires. It typically consists of a small metal or plastic body with a gauge that displays the pressure reading, and a nozzle that you attach to the tire valve to take the reading. The purpose of a tire pressure gauge is to help you maintain optimal tire pressure, which is important for both safety and performance on the road.
Properly inflated tires not only provide better handling and traction, but they also reduce the risk of blowouts, improve fuel efficiency, and prolong the life of your tires. Using a manual tire pressure gauge is simple and easy, and it’s a must-have tool for any car owner who takes their safety and driving experience seriously. So, why not invest in a good quality tire pressure gauge today and keep your vehicle running smoothly for years to come?

Types of Manual Tire Pressure Gauges
A manual tire pressure gauge is a simple device used to measure the air pressure inside a tire. There are different types of manual tire pressure gauges, but they all work using the same principle. When you press the gauge against the valve stem on the tire, it measures the air pressure contained inside the tire.
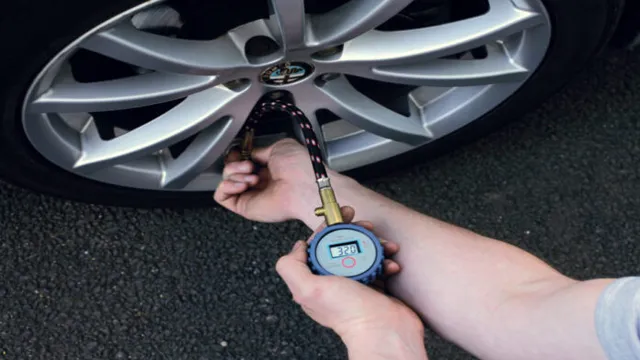
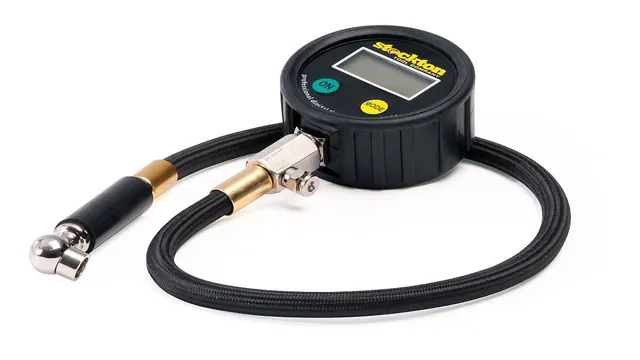
The needle on the gauge moves around indicating the pressure readout. One type of manual tire pressure gauge is the pencil gauge that is small and compact, often found in automotive workshops or tire shops. The dial gauge which is often larger and comes with a dial display for ease of reading and accuracy.
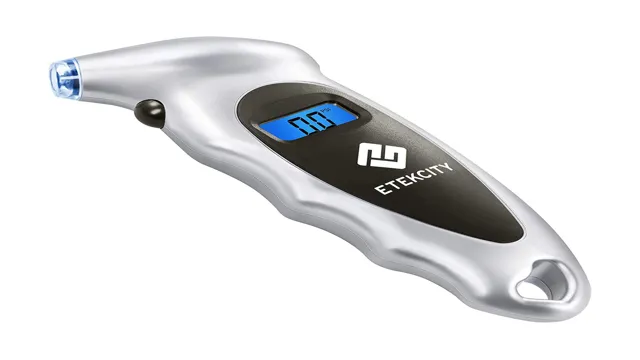
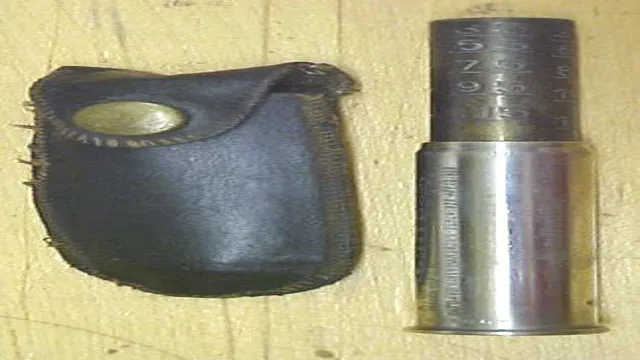
Another type is the digital gauge that uses an electronic display to read out the tire pressure. Lastly, the stick gauge is a long tube with a calibrated stick inside that moves out of the gauge displaying the pressure readout. Any of these types of manual tire pressure gauges could be used to monitor tire air pressure and maintain safe driving conditions.
Steps to Use a Manual Tire Pressure Gauge
If you want to ensure that your tires are in good condition, it’s important to check their pressure regularly. One of the best ways to do this is by using a manual tire pressure gauge. Here’s how you can do it.
First, remove the valve cap from your tire’s valve stem. Then, press the gauge’s measuring end onto the valve stem. You should hear a hissing sound as air is released from the tire and enters the gauge.
Hold the gauge in place for a few seconds until the hissing stops, and then remove it from the valve stem. The gauge’s display should now show the tire’s pressure reading. Repeat this process for all four tires, and compare the readings to your vehicle’s recommended tire pressure.
If any of the tires have low pressure, add air until they reach the recommended level. Using a manual tire pressure gauge is a quick and easy way to ensure that your tires are properly inflated, which can improve your vehicle’s handling, fuel efficiency, and overall safety on the road.
Step 1: Read the manufacturer’s instructions
Using a manual tire pressure gauge may seem like a straightforward task, but it is essential to follow the manufacturer’s instructions to get accurate readings. Start by identifying the recommended pressure for your vehicle’s tires. You may find this information in the owner’s manual or on a sticker located on the driver’s side door jamb.
Once you have this information, follow the manufacturer’s instructions to calibrate the gauge. This process involves resetting the gauge to zero before each use to ensure accurate measurements. To do this, hold the gauge firmly and press down on the stem a few times until you see the needle return to zero.
It is also essential to ensure that the gauge’s head properly fits over the valve stem and remains firmly in place while taking readings. Remember, even a small discrepancy in tire pressure can impact your vehicle’s handling and fuel efficiency, so it’s essential to use a reliable and accurate manual tire pressure gauge.
Step 2: Remove the valve cap from the tire
When it comes to maintaining your tires, using a manual tire pressure gauge is crucial. It’s important to know how to use a tire pressure gauge correctly to ensure your vehicle is safe and performs optimally. Step 2 of using a manual tire pressure gauge is to remove the valve cap from the tire.
The valve cap is a small plastic cap that covers the tire valve stem, which is where you will attach the gauge. It is essential to remove the valve cap before using the gauge because it can prevent you from getting an accurate reading. The cap can obstruct the gauge’s connection to the valve stem, making it difficult to measure the tire pressure accurately.
Additionally, ensure that the valve stem is free of dirt, grease, or any other debris before attaching the gauge. A clean valve stem will ensure accurate readings and help maintain your tire’s longevity. By removing the valve cap and keeping the valve stem clean, you’ll be able to measure your tire pressure accurately and keep your car running smoothly.
Step 3: Press the gauge onto the valve stem
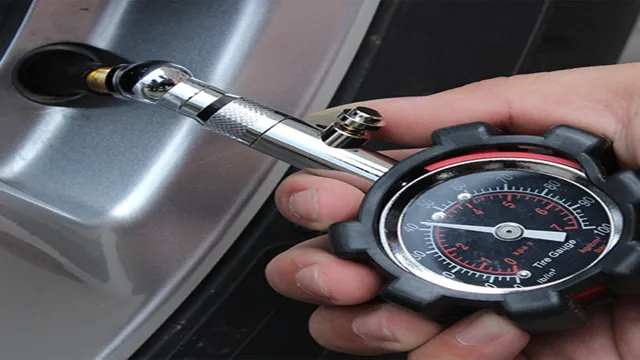
Using a manual tire pressure gauge is a simple but important task for any car owner. In step 3, you need to press the gauge onto the valve stem. To do this, align the gauge head with the valve stem and then press it firmly onto the stem.
If you hear a hissing sound, the gauge may not be properly connected and you should start over. It’s important to make sure the gauge is securely connected to the valve stem to get an accurate reading. Once the gauge is connected, take a reading and compare it to the recommended pressure for your vehicle.
If the pressure is low, add air until it reaches the recommended level. If the pressure is too high, release some air until it reaches the recommended level. By following these simple steps, you can ensure that your car’s tires are properly inflated, which can improve fuel efficiency, handling, and safety on the road.
Remember to check your tire pressure regularly, as changes in temperature and driving conditions can affect it over time.
Step 4: Read the pressure measurement on the gauge
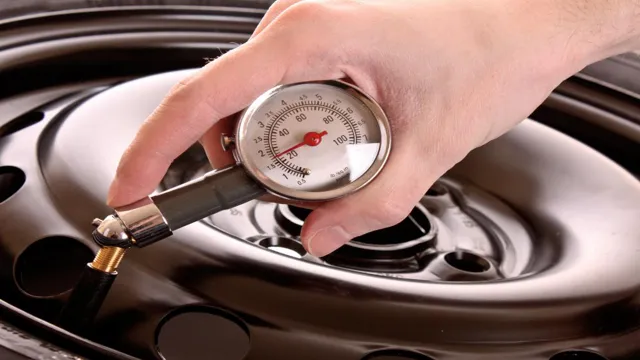
After you have inserted the manual tire pressure gauge onto the valve stem, you can start measuring the air pressure. The pressure gauge will display the amount of pressure in pounds per square inch (PSI) within the tire. Ensure that you hold the pressure gauge steady and do not wobble it while taking the measurement.
If you notice the gauge’s needle is bouncing or shaking, this means it may not be an accurate reading, and you may need to retake the measurement. Additionally, if your tire has a dual-valve, be sure to place the gauge on the correct valve before taking the measurement. Once you’ve obtained a stable reading, take note of the PSI displayed on the gauge.
This pressure measurement is what you will use to gauge whether you need to inflate your tire or adjust the pressure to the recommended manufacturer’s specifications. Remember, check your tire pressure regularly to maintain optimal tire health, better gas mileage, and extend the lifespan of your tires.
Step 5: Add or release air as necessary
When it comes to maintaining your vehicle, keeping your tires inflated to the correct pressure is crucial. Using a manual tire pressure gauge is an easy way to check whether your tires are over-inflated or under-inflated. The first step is to remove the valve cap and gently press the gauge onto the valve stem to get a reading.
The gauge will display your tire’s pressure in PSI (pounds per square inch). If the pressure is too high or too low, you’ll need to add or release air to adjust it to the recommended pressure. To add air, use an air compressor to fill the tire until it reaches the recommended pressure.
If the pressure is too high, release air from the tire by pressing down on the valve stem with a small tool until you reach the correct pressure. Remember, checking your tire pressure regularly can help you avoid potential safety hazards and improve your fuel efficiency. So, make it a habit to check your tire pressure with a manual gauge at least once a month.
Tips for Using a Manual Tire Pressure Gauge
If you’re wondering how to use a manual tire pressure gauge, don’t worry, it’s a fairly simple process. Start by unscrewing the cap of the tire valve stem and press the gauge firmly onto the stem. You should hear a hissing sound as air escapes – this is normal.
Hold the gauge in place until the hissing stops and then remove it. The gauge should have a measurement visible on the dial. Compare this number to the recommended tire pressure for your vehicle, which can be found in the owner’s manual or on a sticker inside the driver’s side door.
If the measurement is below the recommended pressure, add air to the tire using a compressor or air pump until you reach the correct pressure. Repeat this process for each tire on your vehicle. It’s important to check your tire pressure regularly, as underinflated tires can cause poor gas mileage, uneven tire wear, and even a blowout.
With a little practice, using a manual tire pressure gauge will become a quick and easy part of your vehicle maintenance routine.
Tip 1: Check tire pressure regularly
Checking tire pressure regularly is essential to ensure optimal performance, fuel economy, and most importantly, safety. To check tire pressure accurately, you need a manual tire pressure gauge, which is simple and easy to use. First, remove the valve cap from the tire and press the pressure gauge onto the valve stem firmly.
You will hear a hissing sound as the pressure from the tire enters the gauge. Hold the gauge in place for a few seconds until the hissing sound stops. The gauge will display the tire pressure readings in PSI, so you can compare it against the recommended pressure listed in your vehicle’s owner manual or inside the driver’s door.
It is advisable to check tire pressure when the tire is cold, and you should repeat the process on all four tires. Remember to replace the valve cap after measuring the pressure to avoid dirt and debris entering the valve core. By checking tire pressure regularly, you can extend the life of your tires, improve fuel efficiency, and enhance overall driving safety.
Tip 2: Use a consistent gauge for accuracy
When using a manual tire pressure gauge, it’s important to use a consistent gauge for accuracy. Inconsistencies in gauges can lead to improper tire inflation, potentially causing safety issues and reducing the lifespan of your tires. To ensure accuracy, it’s recommended to use the same gauge each time you check your tire pressure.
If you have multiple gauges, be sure to test them against each other to determine which one is most accurate. And don’t forget to check the gauge’s calibration periodically, especially if it’s been dropped or exposed to extreme temperatures. By using a consistent gauge and confirming its accuracy, you can have peace of mind knowing your tires are properly inflated and safe for the road ahead.
Remember, proper tire inflation not only improves safety, but it also improves fuel efficiency and overall vehicle performance. So take the extra time to make sure that your manual tire pressure gauge is reliable and consistent.
Tip 3: Replace the gauge if it becomes damaged or inaccurate
If you’re using a manual tire pressure gauge for your vehicle, there are a few tips you should keep in mind to ensure accurate readings and maintain the longevity of your tool. One important tip is to replace the gauge if it becomes damaged or inaccurate. Over time, these gauges can wear down or become misaligned, leading to incorrect readings.
Using a damaged or inaccurate gauge can lead to underinflated or overinflated tires, which can be dangerous and diminish fuel efficiency. Additionally, it’s a good idea to check the accuracy of your gauge periodically by comparing it to a known accurate gauge. By following these tips and taking care of your tire pressure gauge, you can ensure that your tires stay properly inflated and your vehicle stays safe on the road.
Conclusion
In conclusion, using a manual tire pressure gauge is a simple and essential task for maintaining your vehicle’s performance and safety. Just remember to remove the valve cap, press the gauge onto the valve stem firmly, and read the measurement on the scale. It’s a small effort that can save you big headaches down the road.
And if you’re feeling nostalgic, using a manual gauge can also give you a sense of satisfaction knowing that you’re not relying on digital technology to do everything for you. So, go ahead and give your tires a little TLC – your car (and wallet) will thank you!”
FAQs
What is a manual tire pressure gauge?
A manual tire pressure gauge is a tool used to measure the air pressure in a tire.
How do you use a manual tire pressure gauge?
To use a manual tire pressure gauge, remove the valve cap from the tire, firmly press the gauge onto the valve stem, and read the pressure on the gauge.
How often should you check your tire pressure with a manual gauge?
It is recommended to check your tire pressure with a manual gauge at least once a month.
What is the correct tire pressure to maintain in your tires?
The correct tire pressure to maintain in your tires is typically found on a sticker inside the driver’s door or in the owner’s manual.
How can you tell if your tires are overinflated or underinflated?
Overinflated tires may feel hard and bouncy, while underinflated tires may feel mushy and are more prone to wear on the edges.
Can using a manual tire pressure gauge help improve fuel efficiency?
Yes, maintaining the correct tire pressure can help improve fuel efficiency and save you money in the long run.
What are some signs that your tires may need to be inflated or replaced?
Signs that your tires may need to be inflated or replaced include uneven wear, a rough ride, or punctures.

