How to Check Sprinkler System: A Step-by-Step Guide to Ensure Maximum Efficiency

Do you have a sprinkler system that keeps your lawn and garden lush and green? Do you ever wonder if it’s working as efficiently as it should? Checking your sprinkler system is an essential part of lawn care that can save you time and money in the long run. With just a few simple steps, you can ensure that your sprinkler system is running at peak performance, delivering just the right amount of water to your plants without wasting resources. In this blog post, we will show you how to check your sprinkler system and troubleshoot common issues that may be preventing it from functioning properly.
So, grab your gardening gloves and let’s get started!
Step 1: Inspect Your Sprinkler Heads
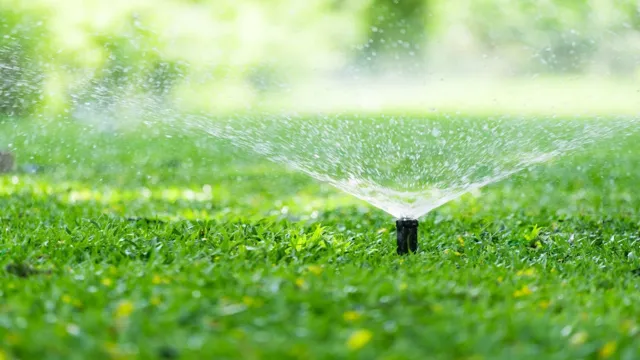
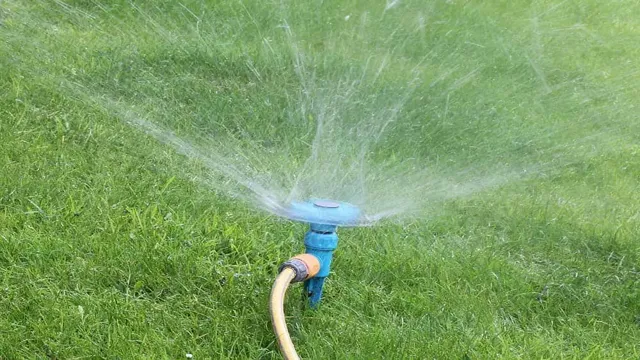
To properly maintain your sprinkler system, the first step is to inspect your sprinkler heads. Make sure they are all standing upright and not tilted or damaged in any way. Examine the spray patterns to ensure that water is being distributed evenly and not over-spraying onto sidewalks or driveways.
Make sure that the nozzles are not clogged with debris such as dirt or grass clippings which could affect the water flow. If you observe any issues, carefully lift the sprinkler head and inspect the riser connection. Repair or replace any issues with a new sprinkler or a new nozzle.
Properly maintaining your sprinkler heads will help ensure your sprinkler system is functioning correctly, thereby keeping your lawn and garden adequately watered. Remember, performing routine inspections will prevent potential long-term damages.
Check for broken or clogged heads
When it comes to maintaining your sprinkler system, one of the first things to check for is broken or clogged heads. These types of issues can prevent your sprinklers from distributing water evenly and effectively throughout your lawn. Inspecting your sprinkler heads is relatively simple and can save you a lot of time and money in the long run.
Start by walking around your lawn and looking for any heads that may be broken or damaged. Look for signs of wear and tear, such as cracks, dents, or rust. If you suspect that a head may be clogged, remove the nozzle and soak it in warm soapy water to dissolve any debris that may have accumulated.
By checking your sprinkler heads regularly, you can ensure that your lawn stays healthy and lush all season long.

Verify that they are pointing in the right direction
If you want your lawn to look its best, maintaining your sprinkler system should be high on your priority list. And the first step you should take is to inspect your sprinkler heads to ensure they’re pointing in the right direction. Why is this important? Well, if your sprinkler heads aren’t properly aligned or are pointed in the wrong direction, they may not be watering the areas of your lawn that need it the most.
This could result in patchy, dry areas that can ruin the overall look of your lawn. To inspect your sprinkler heads, simply turn on your sprinkler system and observe the direction of the water spray. Make sure it’s reaching the intended areas and isn’t going off in the wrong direction.
If you notice any issues, you may need to adjust or repair your sprinkler heads to ensure the water is being distributed evenly. By taking the time to inspect your sprinkler heads and make any necessary adjustments, you can keep your lawn looking lush and green all season long.
Step 2: Check Your Water Pressure
When it comes to upkeeping your sprinkler system, it’s important to check your water pressure to ensure your system runs efficiently. To do this, you’ll need a pressure gauge that can be easily attached to a hose bib, where you can measure the water pressure. Your sprinkler system should run at a pressure between 30-50 psi, any reading higher than this range could result in excess water usage and possible damage to your system.
If you discover that your water pressure is too high, consider installing a pressure-reducing valve to protect your system from any harmful pressure surges. It’s crucial to check your water pressure regularly to prevent any future damages to your sprinkler system and keep your lawn looking healthy and green.
Use a pressure gauge to determine water pressure
If you’ve ever experienced weak water flow or a sudden drop in pressure, checking your water pressure is a crucial step to identify the issue. Using a pressure gauge is an effective and straightforward method to do this. You’ll need to attach the pressure gauge to your outdoor faucet or the pressure tank’s drain valve, then turn on the water to get a reading.
A standard water pressure reading should fall within the range of 40-60 PSI (pounds per square inch). If your water pressure falls below this range, it could be a sign of a blockage or leak in your system. On the other hand, high water pressure above 80 PSI can put undue strain on your pipes and appliances, causing them to wear out prematurely.
Regularly checking and monitoring your water pressure can help you detect issues early and prevent expensive repairs in the future.
Ensure pressure is within manufacturer’s recommended range
Water pressure is a crucial aspect of your plumbing system and can have an impact on the functionality of your appliances and fixtures. Before you start using your water supply, it’s important to check that your water pressure is within the recommended range set by the manufacturer. Failure to do so can cause high-pressure situations that can result in leaks or even burst pipes.
You can use a water pressure gauge to measure your water pressure and ensure that it falls within the correct range, typically between 40-60 psi. If it falls above or below this range, you may need to make adjustments to your water pressure regulator to bring it to the desired level. Remember, keeping your water pressure within the recommended range can not only save you from costly repairs in the future, but it also ensures that your plumbing system functions efficiently.
Step 3: Test the System
Once you’ve set up your sprinkler system, the next step is to test it. You don’t want to wait until there’s a fire to find out that your system doesn’t work properly. The easiest way to test your system is to activate it and observe the results.
Make sure each sprinkler head is functioning, and water is flowing in the desired direction. Listen for any odd noises and keep an eye out for leaks or other issues. Also, verify that the water pressure is within the system’s typical operating range.
If any problems arise during testing, you may need to make adjustments or repairs. Conduct routine checks and maintenance regularly to ensure your system remains in top working order. Remember that regular testing and maintenance are crucial to keeping your property safe in a fire emergency.
Manually turn on each zone to test for proper operation
After installing your irrigation system, it’s important to test each zone manually to ensure that it’s working properly. This is a crucial step to avoid any future issues and to ensure that each zone is getting the correct amount of water. Firstly, turn on the water supply and activate each zone manually, one at a time.
Make sure that each zone is receiving the right amount of water and that there are no leaks or blockages. Check each sprinkler head to ensure that it’s spraying water evenly and reaching all areas of your lawn. If any issues arise, make sure to address them before proceeding.
Remember that a properly functioning irrigation system leads to a healthy lawn, so ensure that each zone is working as intended. By performing this quick and easy step, you’ll be able to enjoy a beautiful and healthy lawn for years to come.
Check for leaks or uneven water distribution
Now that your irrigation system is installed and set up, it’s time to test it for leaks or uneven water distribution. This is an important step because without proper testing, you may end up with a damaged system that requires costly repairs. First, turn on the water supply and check for any visible leaks or signs of water pooling in areas of your yard.
If you notice any leaks, turn off the water immediately and identify the source of the problem. Next, pay attention to the flow of water in all areas of your yard. Are certain areas receiving significantly more or less water than others? This could be a sign of improper installation or a malfunctioning sprinkler head.
Make note of any inconsistencies and address them with your installation team or repair technician. By taking the time to test your system for leaks and uneven water distribution, you can ensure that your yard receives the right amount of water without wasting any resources.
Step 4: Adjust as Needed
Now that you’ve checked all the sprinklers and made sure they’re functioning properly, it’s time to adjust as needed. This is an important step, as it ensures that your plants are receiving the appropriate amount of water based on their needs. You may need to adjust the direction of the sprinkler head or the water pressure.
Also, keep an eye out for any leaks or clogs that may affect the water distribution. It’s important to note that adjusting your sprinkler system may be an ongoing process, especially if you have changes in your landscaping or weather patterns. With a little bit of patience and attention to detail, you’ll be able to fine-tune your sprinkler system and ensure that your plants are thriving.
Make necessary repairs or upgrades
After completing the previous steps of cleaning, decluttering, and organizing your home, it’s time to assess what repairs or upgrades are necessary. These can range from minor fixes like replacing light bulbs or repairing leaky faucets to more significant projects like repainting rooms or replacing outdated appliances. Assess your budget and prioritize which repairs or upgrades are most essential.
Remember that investing in necessary repairs and upgrades can increase the value of your home and save you time and money in the long run. Don’t be afraid to seek professional help if needed and take your time to ensure that the repairs and upgrades are done correctly. By making these necessary adjustments, your home will not only look better but function better as well, making it a more comfortable and enjoyable space to live in.
Set proper watering schedule and duration
As you set up a watering schedule for your plants, it’s essential to adjust it regularly as per your plants’ needs. Every plant has different water requirements, so keep an eye on the signs of under and overwatering. Check your soil moisture level regularly and water your plants when the topsoil is dry.
You can set up a simple schedule by watering your plant once or twice a week as per the plant’s need and environmental conditions such as sunlight, humidity, and temperature. It’s also crucial to adjust the watering duration depending on the plant’s age, size, and type. Young plants typically need less water than mature plants as their roots won’t have grown deep yet, and overwatering could lead to root rot.
Similarly, water-loving plants like ferns and pitcher plants require frequent watering than drought-tolerant ones, like cacti and succulents. Adjusting your watering schedule not only ensures healthy plant growth but also saves water and reduces the risk of overwatering.
Conclusion
In the world of lawn care, one cannot underestimate the importance of a properly functioning sprinkler system. Checking your system may seem like a daunting task, but with a little bit of know-how and some elbow grease, it can be a simple and satisfying experience. Remember to check for leaks, adjust nozzle heads, and keep an eye out for any common issues such as clogs or malfunctions.
By doing so, you’ll keep your lawn looking its best, while also saving water and money in the long run. So go ahead, grab your tools and get to work – your lawn (and your wallet) will thank you for it!”
FAQs
What are the common issues with sprinkler systems?
Common issues with sprinkler systems are clogged nozzles, leaky valves, broken pipes, and faulty controllers.
How often should sprinkler systems be checked?
Sprinkler systems should be checked at least once a year, preferably before the start of the watering season.
What should be included in a sprinkler system check?
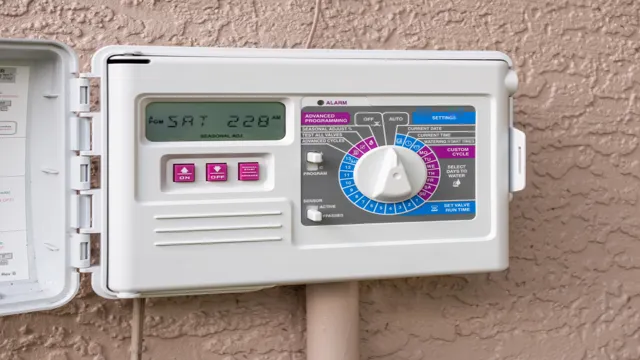
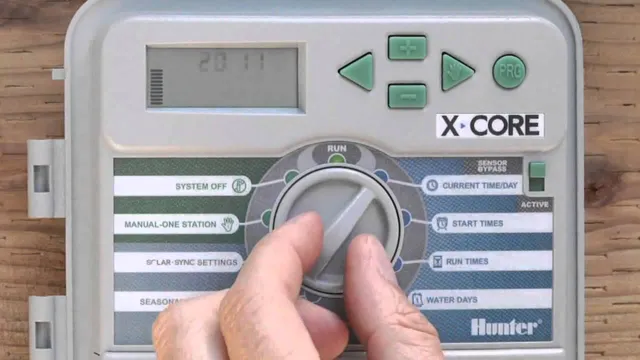
A sprinkler system check should include inspecting for leaks, checking for proper water coverage, testing the controller settings, and ensuring proper water pressure.
How can I check for leaks in my sprinkler system?
To check for leaks in your sprinkler system, turn off the water supply and inspect for any visible leaks, then perform a pressurized leak test by sealing the system and checking for pressure drops.
How can I improve the efficiency of my sprinkler system?
To improve the efficiency of your sprinkler system, consider upgrading to water-efficient nozzles, installing a rain sensor to prevent overwatering, and adjusting the watering schedule seasonally.
What can I do if my sprinkler system is not providing enough water coverage?
If your sprinkler system is not providing enough water coverage, you may need to adjust the nozzle types, change the watering schedule, or install additional sprinkler heads.
Do I need a professional to check and repair my sprinkler system?
It is recommended to hire a professional to perform a thorough check and repair of your sprinkler system, especially for complex issues such as electrical faults or major pipe damage.

