How to Cut Glass with Angle Grinder: Tips and Techniques to Ensure Safe and Precise Cuts
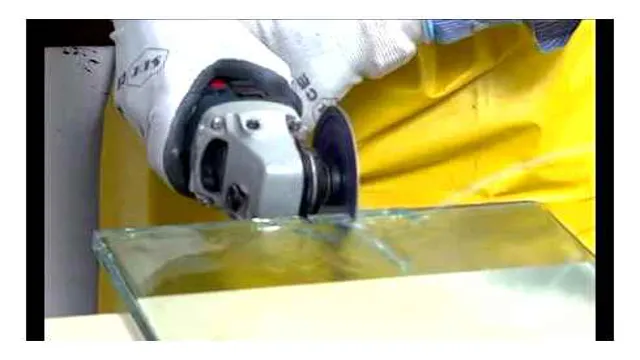
Have you ever had to cut glass for a DIY project? It can be a daunting task, especially if you don’t have the right tools. But fear not, because with an angle grinder, you can make precise cuts on glass with ease. An angle grinder is a versatile tool that is commonly used for cutting and shaping metal, but it can also be used for cutting glass.
It’s a great alternative to more specialized glass-cutting tools, as it’s more readily available and cost-effective. However, cutting glass with an angle grinder requires some caution and a bit of technique. You’ll need to use a diamond blade and take care not to overheat the glass or apply too much pressure.
But with some practice and patience, you’ll be able to create smooth, straight cuts in glass for your next project. In this article, we’ll cover the steps to cutting glass with an angle grinder, as well as some tips and tricks to make the process easier. Whether you’re a DIY enthusiast or a professional, this guide will help you achieve clean and precise cuts in glass every time.
So, let’s get started!
Introduction
If you’re wondering how to cut glass with an angle grinder, you’re not alone! It’s a common question for those looking to complete a home improvement project or create a unique piece of art. The good news is that it’s certainly possible to achieve this with an angle grinder, but it does require some practice and proper technique to get it right. Firstly, it’s important to ensure that you have the right type of blade for glass cutting, as the wrong blade can shatter the glass and cause injury.
Secondly, it’s essential to wear the appropriate protective gear, such as safety goggles and gloves, as well as consider using a water cooling system to prevent the blade from overheating. With these precautions in place, you can safely and effectively cut your glass with an angle grinder, allowing you to achieve your desired results with ease.
Why Use an Angle Grinder to Cut Glass?
glass cutting, angle grinder Cutting glass can be a challenging task, especially if you don’t have the right tools for the job. One tool that is gaining popularity among DIY enthusiasts and professionals alike is the angle grinder. While it may seem surprising to use an angle grinder to cut glass, this versatile tool can make the task much easier and more efficient.
By using the right type of blade and taking proper safety precautions, an angle grinder can quickly and accurately cut glass to the desired shape and size. With its ability to handle a variety of cutting tasks, an angle grinder can be a valuable addition to any workshop or home toolbox. So, whether you’re a seasoned pro or a newbie DIYer, consider using an angle grinder for your next glass cutting project.
Safety Precautions
Keeping oneself and others safe is always a top priority, and it is no different when it comes to workplace safety precautions. Whether you are working in an office environment or on a construction site, safety precautions are essential to prevent injuries and accidents. These precautions can range from wearing protective gear to following proper operating procedures.
One important safety precaution is to regularly inspect equipment and machinery to ensure that they are working properly. This can help prevent malfunctions or accidents that could lead to injuries or even fatalities. It is crucial to be aware of potential hazards and take preventative measures to avoid them.
By following safety precautions, you can help promote a safer work environment for yourself and others around you.
Materials Needed
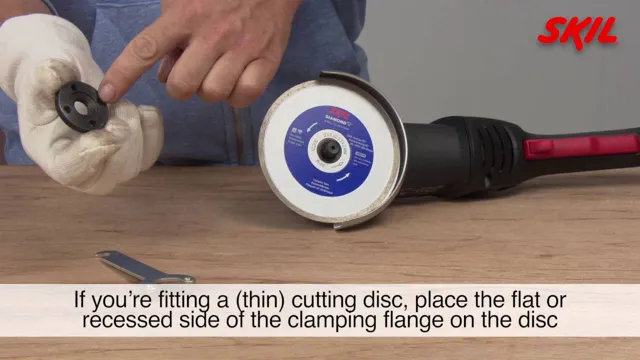
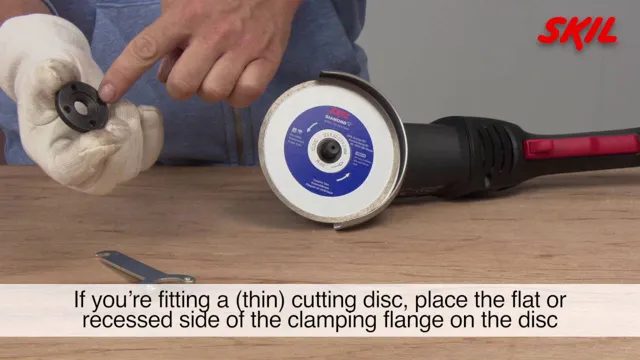
Cutting glass with an angle grinder might seem intimidating, but it can be done with the right tools and technique. To start, you’ll need a few materials: an angle grinder with a diamond blade, safety goggles and gloves, a ruler or measuring tape, a marker or pencil, and of course, the glass you want to cut. It’s important to choose the right type of diamond blade for glass cutting, as not all blades are designed to cut through this material.
Once you have your materials ready, it’s time to mark the glass where you want to make the cut. Use a ruler or measuring tape to ensure accurate measurements, and mark the glass with a marker or pencil. When you’re ready to make the cut, put on your safety gear and carefully guide the angle grinder along the marked line.
Remember to keep a steady hand and take breaks if you need to. With a little practice, cutting glass with an angle grinder can become a useful skill for a variety of projects.
Angle Grinder
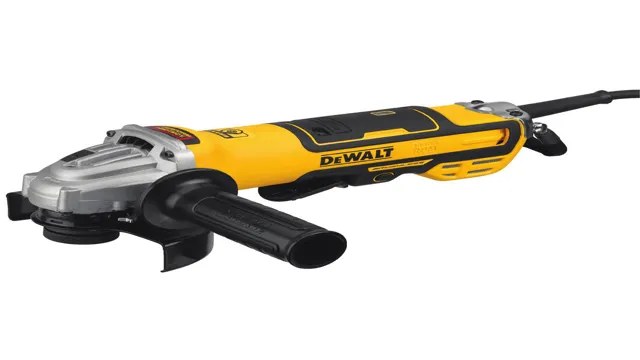
If you’re planning on using an angle grinder, there are a few materials you should gather beforehand. The most important, of course, is the angle grinder itself – make sure you choose a model that suits your needs and is easy to handle. You’ll also want to invest in a range of different discs, as these are the attachments you’ll use to perform specific tasks with the grinder.
For example, you might use a grinding disc to remove rust or other surface impurities, or a cutting disc to slice through metal or concrete. Other important materials include safety gear such as gloves, safety glasses, and a face mask to protect you from flying debris. Finally, it’s a good idea to set up a stable workbench or surface to hold your materials in place while you work.
With all the right materials in place, you’ll be ready to tackle any project that comes your way with your trusty angle grinder by your side.
Glass Cutter
When it comes to cutting glass, the right tools are essential. One of the most important tools you’ll need is a glass cutter. To get started, you’ll need a few key materials.
First and foremost, you’ll need the glass itself. This could be anything from a sheet of glass to a wine bottle. You’ll also need a straight edge, such as a ruler, to guide your cuts.
Another important material is cutting oil. This helps lubricate the cutter and keep it from getting too hot. And of course, you’ll need the glass cutter itself.
There are many different types of glass cutters, so make sure you choose one that’s suitable for your project. Some are designed specifically for curved cuts, while others are better for straight lines. Some are handheld, while others are mounted on a table.
With the right materials and a little practice, cutting glass can be a fun and rewarding hobby. So why not give it a try?
Safety Gloves and Goggles
When it comes to safety gloves and goggles, you want to make sure you are getting the best possible protection for your hands and eyes. But what materials do you actually need to achieve this? First and foremost, you want to look for gloves made from durable materials such as leather, PVC or nitrile. These materials offer great resistance to cuts, punctures, and abrasions, ensuring that your hands stay safe and protected.
Additionally, goggles made from polycarbonate or other shatterproof materials are ideal for eye protection, offering excellent impact resistance and protection against chemical splashes and dust. By investing in safety gloves and goggles made from these high-quality materials, you can rest assured that you are taking the necessary measures to keep yourself safe on the job.
Masking Tape
Masking Tape When it comes to painting or DIY projects, masking tape is a crucial tool that can make your work easier and more precise. What makes masking tape so helpful is its ability to stick to surfaces without leaving residue or damaging the underlying material. Plus, it can be easily removed and repositioned, giving you flexibility and control over your work.
To use masking tape effectively, you’ll need a few materials, such as: Masking tape – choose a high-quality tape that is suitable for your specific project. Consider the surface you’ll be attaching it to and the type of paint or finish you’ll be working with.
Scissors or a knife – cutting the tape precisely is essential for creating clean lines and avoiding mistakes.
Surface cleaner – before applying the tape, make sure to clean the surface thoroughly to remove any dirt, dust, or debris that could affect the tape’s adhesion. Paintbrushes or rollers – depending on your project, you’ll need the appropriate tools for applying paint or other finishes.
By using masking tape and these essential materials, you can achieve professional-looking results in your DIY projects. Just remember to take your time and be patient, and you’ll be amazed at what you can accomplish.
Water
Water is essential for life and is used for a variety of purposes such as drinking, cooking, and cleaning. To ensure that we have safe and clean water, we need certain materials. First and foremost, we need a water source such as a well, water treatment plant, or natural water bodies such as rivers or lakes.
We also need a pipe network to transport the water from the source to the places where it is needed. Pipes can be made from various materials such as PVC, copper, or galvanized steel. Additionally, we need water storage containers such as tanks or reservoirs to store water for future use.
Finally, we need water treatment facilities to purify the water and make it safe for consumption. This involves processes such as filtration, chlorination, and UV radiation. By having access to these materials, we can ensure that we have clean and safe water for our daily needs.
Step-by-Step Guide
If you’re wondering how to cut glass with an angle grinder, you’re in the right place. It might seem like a daunting task, but with the right tools and techniques, you’ll be able to cut glass effortlessly. First things first, you’re going to need a few things like safety glasses, a diamond-tipped blade, and of course, an angle grinder.
Once you have all those, you should measure the glass and mark the area where you want to cut it. Then, make sure to wet the area with water so that the glass doesn’t crack or shatter due to overheating. Next, turn on the angle grinder and slowly begin to make a shallow cut on the marked area.
Keep in mind to apply even pressure and make sure that the blade isn’t at too steep of an angle. Finally, just follow through the cut and voila! You now have a perfectly cut piece of glass. Remember to always prioritize safety practices when handling glass and power tools.
Step 1: Measure and Mark the Glass
When it comes to working with glass, precision is key. If you want to create a beautiful piece without any mistakes, the first step is to carefully measure and mark your glass. Start by measuring the length and width of the glass using a ruler or tape measure.
Be sure to note these measurements down for later reference. Next, use a glass marker to mark the points where you will make your cuts or create your design. Take your time and double-check your measurements and marks to ensure accuracy.
With a little patience and attention to detail, you’ll be one step closer to creating a stunning piece of glass art that will last a lifetime. So, grab your tools, take a deep breath, and let’s get started on bringing your glass masterpiece to life!
Step 2: Secure the Glass with Masking Tape
To secure the glass before painting or other DIY projects, the second step is to use masking tape. This step is crucial in preventing the glass from shattering or cracking during the project. To begin, choose a high-quality masking tape that is specifically designed for painting and can easily be removed without leaving residue on the glass.
Next, carefully measure out the desired placement of the tape and apply it to the glass, making sure to press down firmly to ensure that there are no air bubbles. Once the tape is in place, it is important to apply pressure to the edges to ensure that the tape is secure and won’t lift during the project. With the glass now fully secured with masking tape, you can move on to your next step with confidence, ensuring a successful and beautiful end result.
Step 3: Wet the Glass
When it comes to achieving perfectly clean and streak-free windows, wetting the glass is a crucial step in the process. To get started, you’ll want to get your hands on a high-quality squeegee and some warm, soapy water. Once you’ve applied the soapy water to the window, use the squeegee to evenly distribute it across the surface.
Be sure to work quickly and efficiently, keeping the squeegee at a slight angle to prevent any streaks from forming. If you notice any stubborn spots or areas that are particularly dirty, don’t hesitate to go back over them with the squeegee a few times until they’re completely clean. Remember to work systematically, starting at the top of the window and working your way down to the bottom.
By taking your time and paying attention to detail, you can achieve a flawless result that will leave your windows looking crystal clear.
Step 4: Cut the Glass with the Angle Grinder
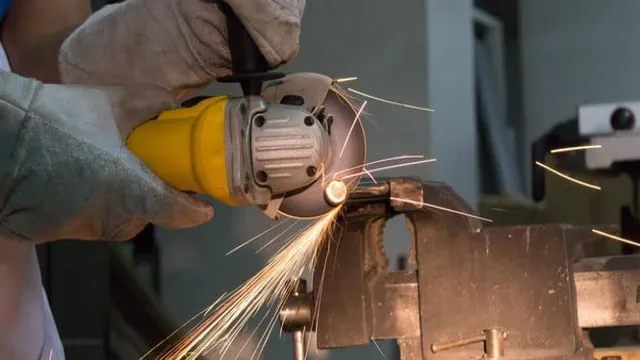
Glass cutting with angle grinder Cutting glass with an angle grinder can be a daunting task, but it’s not impossible. With a steady hand and a bit of patience, you can use an angle grinder to cut glass like a professional. Here is a step-by-step guide on how to cut glass using an angle grinder.
First, make sure that your workspace is clean and organized. Then, score the glass using a glass scoring tool, making sure to run the tool along the cut line several times to ensure a deep enough score. Next, attach a diamond blade to your angle grinder and adjust it to the appropriate depth.
Turn on the angle grinder and slowly move it along the scored line, applying even pressure. It’s essential to keep the glass cool by dipping it in water regularly. Once you’ve cut through the glass, use sandpaper or a honing stone to smooth out the edges.
Remember to wear eye and ear protection and work slowly to avoid injuring yourself or damaging the glass. With these simple steps, you can cut glass with precision using an angle grinder like a pro!
Step 5: Smooth the Edges
After you’ve finished engraving your design onto your chosen material, it’s time to smooth out the edges. This step is critical to achieving a polished and professional look for your work. You can use sandpaper or a sanding tool to smooth out any rough spots or uneven edges.
Be sure to work slowly and with gentle pressure to avoid accidentally scratching or damaging your work. If you’re working with wood, you may also want to use a wood filler to fill in any gaps or cracks before sanding. Take your time during this step and pay attention to the details to ensure that your finished product looks as great as you imagined it would.
Remember, attention to detail is key when it comes to creating something truly special.
Conclusion
There’s no denying that cutting glass can be a tricky task, but with the right tools and a steady hand, you can slice through it like a hot knife through butter. While a traditional glass cutter is the more conventional option, an angle grinder provides a faster and more efficient solution – just be sure to approach the job with patience, safety, and a good dose of confidence. So grab your safety glasses, crank up some tunes, and get ready to become a master glass cutter – it’s time to break some barriers (or, you know, cut them).
Final Thoughts
Final Thoughts: Step-by-Step Guide In today’s world, the internet plays a vital role in our daily lives. Whether it’s for work or leisure, we spend a considerable amount of time online. However, not everyone is aware of the various steps they can take to navigate the online world safely and securely.
That’s why we’ve put together this step-by-step guide to help you stay protected. Firstly, ensure that your passwords are strong and unique for each account you have. Secondly, be wary of phishing scams.
Scammers often send emails or messages pretending to be a reputable organization to lure users into giving away sensitive information. Thirdly, keep your software up-to-date to protect against vulnerabilities. Additionally, it’s essential to secure your home network by using a strong password and enabling WPA2 encryption.
Lastly, be cautious when using public Wi-Fi networks. Hackers can easily access your personal information when connected to unsecured networks. By following these simple steps, you can enjoy a safer online experience and protect your personal information from cyber threats.
Remember to Always Put Safety First
When it comes to any type of activity or project, it’s always important to prioritize safety. This holds especially true for anything that involves potential risks or hazards, such as construction. To ensure everyone involved is safe and secure, it’s crucial to follow a step-by-step guide.
Start by researching and understanding safety regulations and guidelines. Next, make sure everyone is properly trained and equipped with the necessary safety gear. Always double-check that all tools and equipment are functioning correctly before use.
Throughout the project, continuously assess for potential dangers and make adjustments as necessary. It’s also essential to have open communication and an emergency plan in case something unexpected happens. Remember, putting safety first is not only crucial for preventing accidents and injuries, but it also ensures a successful and productive project.
So, be sure to take the necessary precautions and always prioritize safety above everything else.
FAQs
What safety precautions should I take when cutting glass with an angle grinder?
Wear protective eyewear, gloves, and a dust mask, and make sure your work area is clear of any breakable objects or obstructions.
What type of grinding wheel should I use for cutting glass with an angle grinder?
Use a diamond blade or diamond-coated wheel specifically designed for cutting glass.
Can I use a regular angle grinder to cut glass, or do I need a special type of tool?
You can use a regular angle grinder, but you will need to attach a diamond blade or wheel designed for cutting glass.
Is it possible to cut complex shapes or curves in glass with an angle grinder?
Yes, it is possible, but it requires skill and practice to achieve smooth and precise cuts in curved or irregular shapes.
How can I prevent the glass from cracking or breaking while cutting with an angle grinder?
Make sure to keep the glass lubricated with water or oil, and avoid applying too much pressure or force when cutting.
Can an angle grinder be used for polishing or grinding the edges of cut glass?
Yes, a specialized diamond grinding wheel can be used to smooth and polish the edges of cut glass.
What are some common mistakes to avoid when cutting glass with an angle grinder?
Avoid applying too much pressure, cutting too quickly or aggressively, and not wearing proper protective gear. Additionally, always ensure that the glass is firmly secured and supported before cutting.

