How to Emboss with Heat Gun: A Step-by-Step Guide to Mastering the Technique

Are you looking for a way to add some extra dimension and texture to your crafts or DIY projects? Then look no further than embossing with a heat gun! This technique allows you to create raised designs and patterns on a variety of materials, including paper, fabric, and even metal. It’s a simple process that can be done with just a few supplies, and the results are truly stunning. In this blog, we’ll take you through everything you need to know to get started with heat embossing.
We’ll cover the tools and materials you’ll need, as well as some tips and tricks to help you achieve the best results. So, if you’re ready to elevate your crafting game and add some serious wow factor to your projects, let’s dive into the world of heat embossing with a heat gun!
What is Heat Embossing?
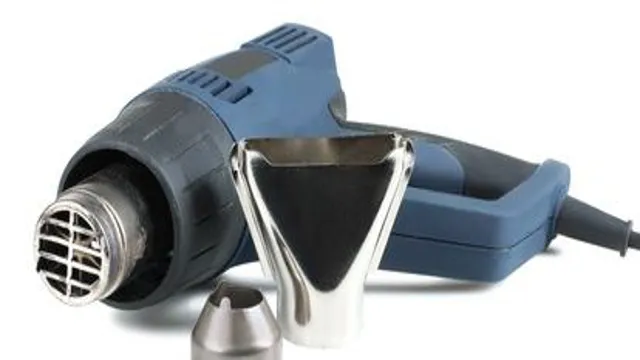
Have you ever wondered how you can add a little extra flair to your paper crafts or greeting cards? Heat embossing may be just the technique for you! By using a special heat gun and embossing powder, you can create raised and shiny designs on your projects. To emboss with a heat gun, first stamp your desired design with embossing ink onto your paper. Next, sprinkle embossing powder over the ink, making sure to cover all the stamped areas.
Then, use your heat gun to melt the powder, causing it to adhere to the paper and create a raised effect. Heat embossing is a fun and easy way to add dimension and interest to your crafts, and with a little practice, you’ll be a pro in no time!
Using a Heat Gun to Create Embossed Designs
Heat embossing is a fun and easy way to create raised designs on paper crafts. It involves using a heat gun to melt and raise embossing powder onto the paper surface, creating a beautiful and textured effect. The process is simple – stamp your image or sentiment onto the paper using an embossing ink pad, sprinkle on embossing powder, and then use the heat gun to melt the powder until it becomes raised and shiny.
The result is a unique and personalized design that will add depth and dimension to your projects. So why not try using a heat gun for your next crafting project and enjoy the endless possibilities of heat embossing!
Materials Needed
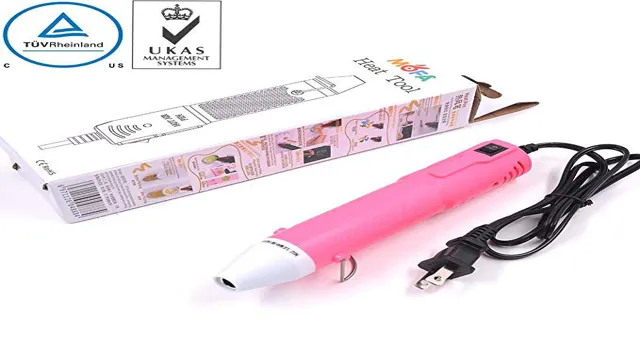
If you’re interested in adding an extra touch of elegance to your paper craft projects, then heat embossing might be the perfect technique for you! Heat embossing is a process that uses heat to melt powder onto paper, creating a raised and shiny effect. The materials needed for this technique are simple: embossing powder, a heat gun, and a stamp pad. To get started, ink your stamp with a sticky ink, like Versamark, and stamp it onto your paper.
Then, sprinkle embossing powder over the stamped image, tap off any excess, and use your heat gun to melt the powder. It’s important to keep the heat gun moving over the powder to avoid burning it, but with a little practice, you’ll be able to create beautiful embossed designs in no time. Heat embossing is a great way to add a personalized touch to cards, scrapbook pages, or any other paper crafts.
Give it a try and see what beautiful designs you can create!
Preparing Your Materials
Heat embossing is a technique that elevates any crafting project to the next level. It involves the use of special powders, mainly made of a thermoplastic material, that are melted with heat to create a raised and shiny image on a surface. This surface can be anything from paper to fabric to wood.
The process starts by stamping your design onto the surface using a special ink that is slow-drying and sticky. The powder is sprinkled over it and the excess removed. Then it’s time for the fun part, which is heating the powder using a heat tool.
As soon as the powder melts, it solidifies into the desired shape. After that, you can simply let it cool off and admire your beautiful creation. Heat embossing is an excellent way to add some flair to your DIY projects without breaking the bank.
Give it a try and get creative!
Steps to Heat Embossing
If you’re looking to add some pizzazz to your paper crafting projects, consider heat embossing! This technique involves using embossing powder and a heat gun to create a raised, glossy effect on your stamped designs. First, you’ll want to stamp your image with embossing ink and sprinkle the powder over it. Tap off any excess powder and use a small brush to remove any strays before heating it up with your heat gun.
Hold the gun a few inches away from the paper and move it around until the powder melts and becomes smooth. Once it cools, you’ll be left with a gorgeous, embossed design that’s sure to impress. So next time you’re wondering how to emboss with a heat gun, give this simple process a try!
Step 1: Stamp Your Design
Heat embossing is a unique technique that allows you to add a three-dimensional effect to your stamped designs. To get started, the first step is to stamp your chosen design onto your chosen surface, whether it be paper, fabric, or cardstock. This can be done by using a rubber stamp and ink pad, ensuring your image is clear and complete.
Once you have your design stamped onto your surface, it’s time for the fun part – embossing! This process involves applying a special embossing powder over your design and using a heat tool to melt the powder, creating a raised and glossy effect. The key to success in heat embossing is to ensure you have a clear, well-defined stamp image and use a quality embossing powder to achieve the best results. So why not give heat embossing a try and see your designs truly come to life!
Step 2: Sprinkle Embossing Powder
When it comes to heat embossing, the next step after applying the embossing ink is to sprinkle the embossing powder onto the inked surface. This is where the magic happens! You’ll want to move quickly, as the ink will dry and the powder won’t adhere properly. Sprinkle the powder generously over the inked area, making sure that all of the ink is covered.
Then, use a soft brush or your fingers to tap off the excess powder. You can also gently brush away any stray particles with a small paintbrush. If you’re using a colored powder, be sure to wipe any residue off the edges of your project before heat setting.
The powder will be attracted to any sticky or wet areas, so pay attention to where you touch your project to avoid smearing the powder. Once you’ve tapped off the excess, you’re ready to move on to the next step in heat embossing!
Step 3: Remove Excess Powder
After heating the embossing powder with a heat gun, the excess powder will still be left on your project. To make sure your embossed image is clean and crisp, it’s important to remove this excess powder carefully. Simply tap your project lightly to get rid of any loose powder, and use a small brush to remove any leftover powder that’s still clinging to the paper.
This is a crucial step, as any excess powder left on your project can cause smudging or smearing once you heat it for a second time. Don’t be tempted to blow away the excess powder as this can cause more issues. Be gentle and precise when removing the excess powder, ensuring that your final embossed image looks exactly how you envisioned it.
With this step completed, your project is now ready for a second round of heating to really bring out your design.
Step 4: Heat with Gun
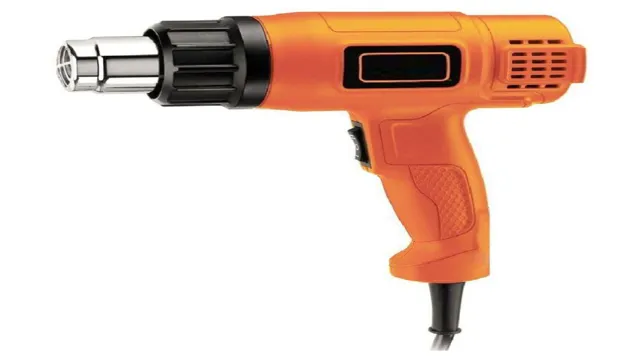
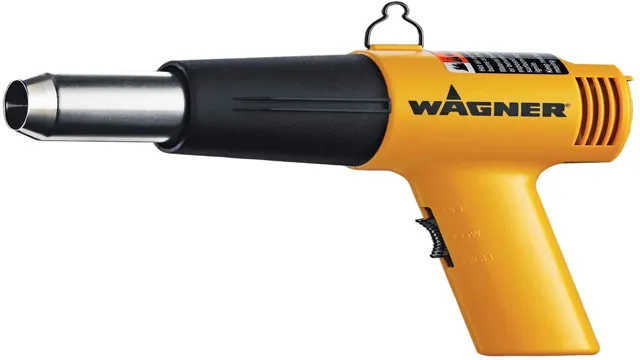
Heat embossing is a fun crafting technique that can add a touch of elegance and dimension to your projects. Step 4 of the heat embossing process is when you actually use a heat gun to melt the embossing powder and create a raised, glossy effect. It’s important to use a heat tool specifically designed for crafting, as household hair dryers or other heat sources may not get hot enough for the embossing powder to melt properly.
Hold the heat gun about six inches away from your project, and heat the powder until it melts and becomes shiny. Be careful not to overheat, as this could scorch your paper or even create air bubbles in the powder. Once your embossing powder is melted, let it cool for a few seconds before handling it, as it will be hot.
With this step complete, you’re almost ready to reveal your beautiful, embossed design!
Step 5: Wait and Cool
After heating and embossing your desired design, the next step is to wait and let it cool. This step is crucial as if you touch the embossed area while it is still hot, it can smudge or ruin the design entirely. Keep in mind that the cooling time may vary depending on the thickness of your paper and the amount of embossing powder used.
It usually takes a few seconds to a minute for the design to cool down completely. Some crafters use fan cooling or freeze sprays to speed up the process, but it’s best to wait it out to ensure a polished and neat finish. Once the design has cooled down, you can remove any excess powder using a brush or a dry cloth.
Your newly embossed project is now ready to display or use as desired! Remember to clean your tools and workspace after each use to prevent any unwanted embossing. So go ahead and experiment with different colors and textures of embossing powder and see what creative designs you can come up with!
Heat Embossing Tips and Tricks
If you’re new to heat embossing, it can seem overwhelming at first. But with a little practice and some helpful tips, you’ll be embossing like a pro in no time. The first step is to gather your supplies: an embossing stamp, embossing powder, and a heat gun.
Once you have everything you need, start by stamping your image onto your paper with the embossing ink. Then, sprinkle a generous amount of embossing powder over the stamped image and tap off the excess. Now comes the fun part – heating the powder with your heat gun.
Hold the heat gun a few inches away from the paper and move it around in a circular motion until you see the powder melt and turn shiny. Be careful not to overheat the powder or scorch your paper! If you’re struggling with getting the powder to stick or have excess powder sticking to areas it’s not supposed to, try using an anti-static tool before embossing. With these tips, you’ll be able to create beautiful, embossed designs that add a unique touch to your crafting projects.
Choosing the Right Embossing Powder
When it comes to heat embossing, choosing the right embossing powder is crucial for achieving the desired results. There are many different types of embossing powders to choose from, including metallic, opaque, translucent, and even glittery options. The key is to choose a powder that not only complements your project but also works well with the stamp ink you plan to use.
For example, if you are using a dark-colored ink, a light-colored powder may not show up well and could lead to frustration. On the other hand, if you want a bold, shiny effect, a metallic powder would be a great choice. Another factor to consider is the type of surface you will be embossing on.
Certain powders work better on porous surfaces, while others are better suited for non-porous surfaces. Overall, it’s important to experiment and find what works best for your specific project and materials. With a little trial and error, you’ll be able to create beautiful, professional-looking results.
Using Different Stamp Inks
When it comes to heat embossing, using different stamp inks can completely change the outcome of your project. Pigment inks work best for heat embossing, as they stay wet for a longer amount of time, allowing the embossing powder to easily adhere. However, dye inks dry quickly and are not ideal for heat embossing.
If you still want to use dye inks, you can apply a clear embossing ink over the image before applying the embossing powder. Another tip to keep in mind when heat embossing is to make sure your stamp is completely clean and free of any ink residue. This will ensure crisp and clear embossed images.
By experimenting with different stamp inks and following these tips, you can enjoy exciting and unique options for your heat embossing projects.
Getting the Perfect Heat Temperature
Heat embossing is a fun and creative way to add dimension and texture to your paper crafts. But getting the perfect temperature can be challenging for beginners. To start, it’s important to use the right embossing powder for your project.
A fine powder will require less heat than a chunky one. Next, test your heat tool on a scrap piece of paper to avoid scorching your final project. Hold the tool about 2-3 inches away from the paper and use a circular motion for even heating.
It’s better to start with a lower temperature and gradually increase it until the powder melts. Remember, every heat tool is different, so it’s crucial to practice and experiment to find the ideal temperature for your specific tool. With the right embossing powder and some practice, you’ll soon be creating beautiful and unique designs with ease.
Conclusion
In conclusion, embossing with a heat gun is like turning up the heat on your crafting game. With a few basic supplies and some creativity, you can add a whole new dimension to your projects. It’s like giving your paper crafts a hot makeover, and who doesn’t love a little bit of heat in their life? So, grab your heat gun and get embossing – you’re sure to make a sizzling impression!”
FAQs
What is embossing with a heat gun?
Embossing with a heat gun is a technique used to create a raised pattern on paper or other materials using special embossing powders and a heat tool such as a heat gun.
What materials can be embossed with a heat gun?
You can emboss a variety of materials including paper, vellum, cardstock, leather, and more. It’s important to choose a material that can withstand the heat from the embossing tool.
What kind of embossing powders can be used with a heat gun?
There are many types of embossing powders available in different colors and finishes. Some popular options include glitter, metallic, opaque, and clear embossing powders.
How do I prepare my materials for embossing with a heat gun?
First, you’ll need to stamp your design onto the material using embossing ink. Then, sprinkle the embossing powder over the stamped image and tap off the excess powder. Finally, use the heat gun to melt the powder until it’s raised and glossy.
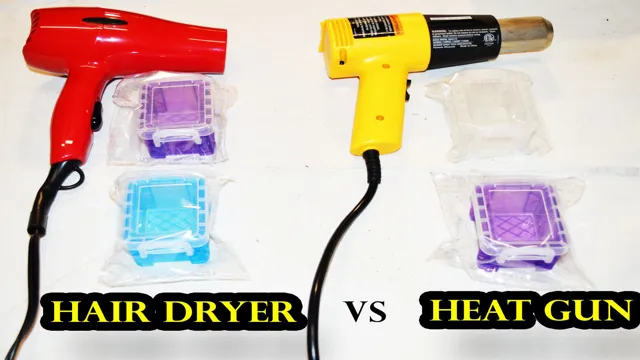
Can I use a regular hair dryer instead of a heat gun for embossing?
While it is possible to use a regular hair dryer for embossing, it may not produce the same results as a dedicated heat gun. A heat gun produces more concentrated heat, which is necessary for melting the embossing powder evenly.
How long should I heat the embossing powder with the heat gun?
You should heat the powder for about 20-30 seconds or until it is fully melted. Avoid overheating the material, as this can cause it to warp or burn.
What are some tips for achieving a clean embossed image with a heat gun?
To make sure your embossed image is clean and crisp, start by using a clean, lint-free cloth to wipe away any debris or oil from the surface of your materials. Also, hold the heat gun at least 6 inches away from the materials and move it around constantly to avoid overheating any single spot.

