How to Install Rain Sensor for Sprinkler System: A Step-by-Step Guide

Have you ever wanted to save water and money while keeping your lawn and plants healthy? Installing a rain sensor for your sprinkler system is the perfect solution. This simple device automatically detects rainfall and turns off your sprinklers, saving you from unnecessary water waste and watering costs. Not only does a rain sensor help the environment and your wallet, but it also helps prevent overwatering, which can lead to disease and pests in your lawn and plants.
Additionally, certain areas have local regulations that require the installation of a rain sensor in all new sprinkler systems. The good news is that installing a rain sensor is a quick and easy process that can be completed in under an hour, with no special skills or tools required. With just a few simple steps, you can have a rain sensor installed and working to save you both water and money.
What is a Rain Sensor?
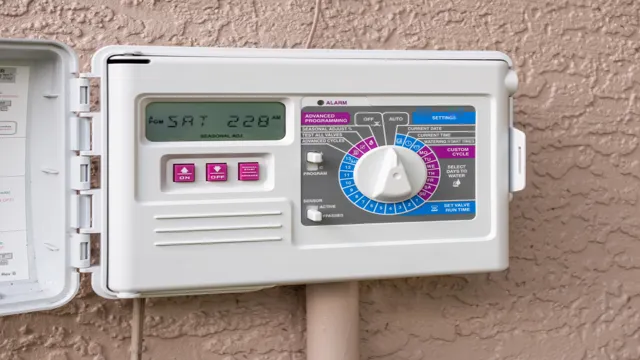
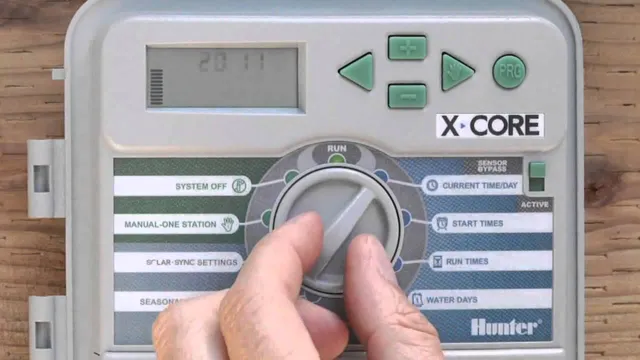
A rain sensor is an essential device that detects rain and signals the sprinkler system to avoid watering your lawn when it’s already wet. Installing a rain sensor is an easy DIY task that everyone can do. To start, you first need to select a location that’s close to the irrigation controller for easy wiring.
Next, mount the sensor on a flat surface in a spot that’s free from obstructions and where rain can reach it directly. Once the rain sensor is mounted, connect the wires to the controller terminals according to the installation instructions. Make sure to test the sensor after the installation to ensure that it’s working correctly.
From saving money on water bills to promoting water conservation, rain sensors are an excellent addition to any sprinkler system. By installing one yourself, you’ll be doing your bit for the environment and will experience the benefits firsthand. So, don’t hesitate to get started on your rain sensor installation today!
Definition and Benefits
A rain sensor is a device that automatically detects rainfall and triggers certain actions based on the amount of precipitation detected. These sensors are commonly used in automatic irrigation systems and smart home devices, as they can save homeowners time and money by preventing excessive watering or running sprinklers during a rainstorm. Plus, they promote water conservation by ensuring that plants only get the water they truly need.
Additionally, rain sensors can also signal to the user when it’s time to roll up the car windows or bring in outdoor furniture, keeping possessions safe from water damage. Investing in a rain sensor can be a simple yet effective way to streamline your daily routine, reduce your water usage, and protect your belongings from the elements.

Requirements for Installing a Rain Sensor
If you want to know how to install a rain sensor for your sprinkler system, there are a few requirements you need to keep in mind. First and foremost, you will need to purchase a rain sensor that can communicate with your sprinkler system. There are many different types of rain sensors available on the market, so make sure you do your research and select the right one for your system.
Once you have the rain sensor, you will need to install it in a location that can detect rain effectively. This typically means mounting it in an area that is exposed to the open sky and away from trees or other obstructions. Additionally, you will need to connect the rain sensor to your sprinkler system’s control panel and program it to recognize when it is raining.
By taking these steps, you can ensure that your sprinkler system only runs when it is necessary, helping to conserve water and save you money on your water bill.
List of Materials and Tools Needed
If you’re planning to install a rain sensor for your irrigation system, you’ll need a few materials and tools. First, you’ll need the rain sensor itself. Make sure you choose a high-quality sensor that’s compatible with your irrigation system.
You’ll also need a mounting bracket to attach the sensor to a nearby surface. Additionally, you’ll need a wire stripper to remove the insulation around the wires, as well as electrical connectors to make secure connections. Depending on the length of wire needed, you may also need wire cutters and pliers to twist and cut the wires.
Finally, you’ll need a screwdriver to secure the mounting bracket and attach the wires to the irrigation controller. With these materials and tools, you can easily install a rain sensor and save water by only watering when it’s necessary.
Step-by-Step Installation Process
Are you tired of watering your lawn with a sprinkler system, only to find that it’s still on during a rainstorm? Installing a rain sensor for your sprinkler system can help solve this problem by automatically turning off the sprinkler system when it starts raining. The installation process is relatively simple, and can be broken down into five easy steps. First, turn off the power supply to your sprinkler system.
Next, locate the wire that connects your sprinkler system to the controller and disconnect it. Then, connect the wires from the rain sensor to your controller. After that, mount the rain sensor on a high point in your yard, making sure it’s level with the ground.
Finally, turn the power supply back on and test the system to make sure it’s working properly. By following these simple steps, you’ll have a rain sensor installed in no time, saving you time and money on your water bill!
Locating and Mounting the Rain Sensor
Installing a rain sensor is an important step to ensure that your irrigation system does not water your lawn during wet weather. Finding the perfect spot to place the sensor is crucial to ensure its proper functionality. Look for areas that receive high exposure to precipitation, such as open areas or areas that are not blocked by trees.
When you have chosen the perfect spot for your sensor, you can then proceed with mounting it. This process typically involves securing the sensor onto a vertical surface, like a fence post or an exterior wall of your home. Make sure to use the appropriate screws and clips to guarantee a firm hold.
Installing a rain sensor is a straightforward process that doesn’t require much effort, and it’s something that can save water and reduce your water bill.
Connecting the Wires
The installation process for connecting wires can be intimidating, especially if you’re not familiar with working with electrical systems. The good news is that with a little bit of knowledge and caution, you can have your wires safely connected in no time. The first step is to make sure that you have all the necessary materials, including wire strippers, wire nuts, electrical tape, and pliers.
Once you have everything you need, you can begin stripping the ends of the wires and twisting them together. Then, use a wire nut to secure the connection and wrap it with electrical tape for added protection. It’s important to make sure that all connections are tight and secure to prevent any potential hazards or electrical issues.
By following these easy steps, you can confidently connect your wires and get your electrical system up and running.
Testing and Troubleshooting
When installing new software, following a step-by-step process is crucial for a successful installation and to avoid any potential issues. The first step is to check the system requirements and ensure that your computer meets them. Then, download the software from a reliable source and save it to your computer.
Next, open the installer and follow the prompts on the screen. During the installation process, carefully read all the information provided, including any licensing agreements and select the appropriate options as required. Once the installation is complete, launch the software and check for any error messages or issues.
If there are any issues, troubleshoot the problem by checking with the software’s support team or online forums. By following these steps and troubleshooting as needed, you can ensure a smooth installation process and fully enjoy the software’s features.
Tips for Maintaining Your Rain Sensor
If you have installed a rain sensor for your sprinkler system, it is important to know how to maintain it properly to ensure its effectiveness. One of the most essential steps in maintaining your rain sensor is to clean it regularly. Dust, debris, and dirt can accumulate on the sensor, which can result in incorrect readings and trigger the sprinkler system unnecessarily.
You should clean the sensor with a soft, clean cloth or brush, and avoid using chemical cleaners as they can damage the sensor. Secondly, you should consider testing your rain sensor regularly to ensure it is working correctly. You can do this by using a watering can to simulate rain or by hosing down the sensor.
If the sensor is functioning well, it should detect the moisture and deactivate your sprinkler system. In case of any issues or malfunctions, you should seek help from a professional to repair or replace the sensor. By following these steps, you can ensure your rain sensor remains in good working condition and prevents any wastage of water.
Remember to always keep your sprinkler system maintained properly, and having a rain sensor installed is a great way to do that!
Cleaning and Calibration
Maintaining Your Rain Sensor Keeping your rain sensor clean and calibrated is crucial to ensure its accuracy and longevity. The sensor’s accuracy can be affected by debris build-up, which can cause false readings. To prevent this, make sure to clean the sensor regularly using a soft cloth or brush and water.
Avoid using harsh chemicals that can damage the sensor. Calibration is also vital to ensure the sensor works correctly. Typically, calibration involves adjusting the contact points on the sensor to make sure it can accurately read the amount of rainfall.
To calibrate your sensor, follow the manufacturer’s instructions carefully. Regular maintenance of your rain sensor can help avoid unnecessary repair costs and ensure accurate readings. By cleaning and calibrating your rain sensor, you can get accurate rainfall readings and help prevent issues caused by buildup or damage.
So, take time to maintain your sensor and ensure it works correctly- your garden will thank you for it!
Conclusion and Final Thoughts
Congratulations! You’ve successfully installed a rain sensor for your sprinkler system and are now officially a weather-savvy, resourceful homeowner. With this little gadget working tirelessly to ensure the right amount of water is dispensed on your lawn, you can sit back and relax knowing that you’re not only saving money but also conserving water – a precious resource in today’s world. So next time it rains, raise a toast to your newly installed rain sensor and give yourself a pat on the back for being a responsible, environmentally conscious citizen.
“
FAQs
What is a rain sensor for sprinkler system?
A rain sensor is a device that shuts off your sprinkler system when rain is detected, conserving water and preventing overwatering.
Why should I install a rain sensor for my sprinkler system?
Installing a rain sensor for your sprinkler system can help save water and money on your water bill, and prevent overwatering your lawn.
How does a rain sensor work?
A rain sensor is triggered by raindrops, which interrupt a circuit inside the device. This causes the sensor to send a signal to the sprinkler system’s controller to shut off.
Can I install a rain sensor myself?
Yes, installing a rain sensor is typically a simple DIY project that can be completed in less than an hour.
Where should I mount my rain sensor on my sprinkler system?
The rain sensor should be mounted in an open area that is not obstructed by trees, buildings, or other objects. It should be placed in a location where rain can easily reach it.
What kind of maintenance does a rain sensor for sprinkler system require?
Rain sensors typically require little to no maintenance, but it’s important to check periodically to make sure it’s functioning properly and is free of debris.
Will a rain sensor work on any type of sprinkler system?
Rain sensors can be used on most types of sprinkler systems, including in-ground and above-ground systems. However, it’s important to check with your sprinkler system manufacturer to ensure compatibility.

