How to Remove Disc from Angle Grinder – Step by Step Guide
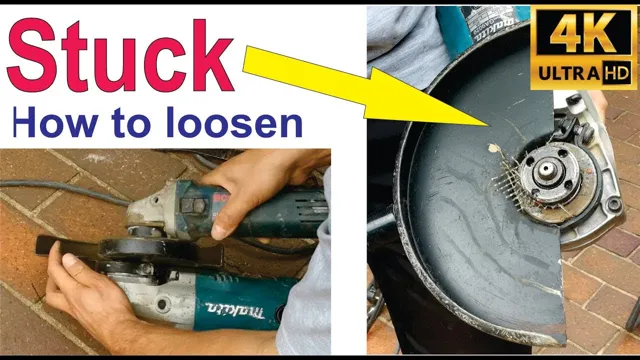
If you are operating an angle grinder, you must be aware of the importance of safety measures, and one of the most important rules is knowing how to remove the disc from the grinder correctly. It may appear to be a straightforward task, but if you do it incorrectly, it could result in severe accidents. Just imagine having the disc stuck on the grinder, and you are struggling to get it off while the machine is still running.
It is both hazardous and terrifying. Ensuring you understand the process of removing and replacing discs on your angle grinder correctly is the first step to preventing such harmful scenarios. In this blog post, we will explain the proper way to remove a disc from an angle grinder.
We’ve broken it down into a step-by-step guide to make it simple for you. By the end of this post, you will be prepared to safely and efficiently change your angle grinder disc. So, let’s start!
Safety first
When it comes to working with an angle grinder, safety should always be your top priority. This powerful tool is known for its ability to quickly remove material, but it can also be very dangerous if not handled properly. If you need to remove the disc from your angle grinder, be sure to follow these steps carefully.
First, turn off and unplug the grinder, ensuring that it’s completely powered down. Then, use a wrench to loosen the nut that holds the disc in place. Once you’ve removed the nut, carefully lift the disc off the spindle.
Be sure to handle the disc with care, wearing gloves if necessary, as it may still be hot or sharp. Once the disc is removed, inspect it for any damage or wear and replace it if necessary. Remember, always prioritize safety when working with power tools and take the necessary precautions to protect yourself and others.
Unplug the grinder
When using a grinder, it’s essential to prioritize safety to avoid accidents. Before starting any grinding task, it’s important to unplug the grinder. Even if you believe that the power tool is turned off and won’t start, err on the side of caution and unplug it.
Unplugging the grinder ensures that no power runs through the machine, preventing potential electrical shocks or injuries. This step may seem simple, but it’s crucial for avoiding accidents and maintaining a safe working environment. Remember, safety should always come first when using any power tool, and taking the time to unplug the grinder is a vital step in ensuring the safety of yourself and others around you.
Wear gloves and safety glasses
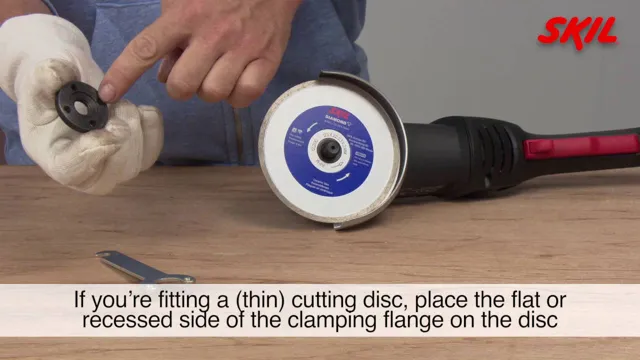
When it comes to any type of work that involves potential hazards, safety should always be your top priority. This is especially true when it comes to handling dangerous chemicals or substances. You always want to make sure that you take the necessary precautions to protect yourself from any harmful materials.
Wearing gloves and safety glasses is crucial in preventing any type of accidental exposure or injury. Gloves will not only protect your hands from any cuts or burns, but also prevent any chemical absorption through your skin. Safety glasses are also important as they protect your eyes from any chemical splashes or fumes that may cause damage or irritation.
By wearing these safety items, you can protect yourself and maintain a safe work environment. Remember, safety should always come first.
Loosen the nut
If you need to remove a disc from your angle grinder, the first step is to loosen the nut holding it in place. To do this, you’ll need a wrench that fits the nut on your grinder. Make sure the grinder is unplugged, then slide the wrench over the nut and turn it counterclockwise to loosen it.
Be sure to hold the disc steady with your other hand, to prevent it from spinning along with the nut. Once the nut is loose enough, you should be able to remove it by hand, along with the disc. If the nut is stuck, try tapping it gently with a hammer to help loosen it.
Just be careful not to hit the disc itself, as this could cause damage. With the nut removed, you can easily replace or remove the disc as needed. Remember to always wear protective gear when using your angle grinder, and be sure to follow the manufacturer’s instructions carefully.
Lock the spindle
Locking the spindle on your power tool is an essential step in securing your workpiece for safe and accurate cuts. To do this, you’ll first need to loosen the nut that’s holding the cutting blade or accessory in place. Depending on the tool you’re using, the nut may be located at the end of the spindle or at the base of the tool head.
Loosening the nut can usually be done by using the correct wrench or key that came with your tool. Once the nut is loose enough, you can then use your fingers or a quick-release mechanism to remove the blade or accessory. With the spindle now completely exposed, you can safely lock it in place using the locking mechanism provided on your tool.
This will prevent it from rotating while you adjust its position or change out its attachments. Remember, always double-check that the spindle is securely locked before turning your tool back on to avoid any accidents or injuries.
Hold the locking pin
If you want to take your bike’s front wheel off, one of the first steps you need to take is holding the locking pin. This will ensure that the wheel is secured in place while you perform the necessary actions. Once you have done this, it’s time to loosen the nut.
The nut holds the axle in place, so you need to loosen it in order to remove the wheel. To do this, you can use a wrench or pliers. It’s important to only loosen the nut and not completely remove it, as this can cause the wheel to fall off.
Once the wheel is loose, you can lift it off the fork and remove it completely. It’s important to remember to keep the locking pin in place until you need to replace the wheel, otherwise the fork can become misaligned. By following these simple steps, you can quickly and easily remove your bike’s front wheel.
Rotate the nut counterclockwise
If you’re attempting to loosen a bolt or a nut, the first thing you need to do is turn it counterclockwise. Sometimes, you may need to use a wrench or pliers to rotate the nut. It’s important to loosen the nut carefully and not apply too much force, as it can damage the bolt or nut.
Start with a gentle turn, and if it doesn’t move, try applying more force. If you’re still having trouble, you may want to consider applying some lubricant like WD-40 or using heat to make it easier to loosen. Remember that patience is key, and don’t get frustrated if it doesn’t work the first time.
With some perseverance, you’ll be able to loosen the nut successfully.
Remove the disc
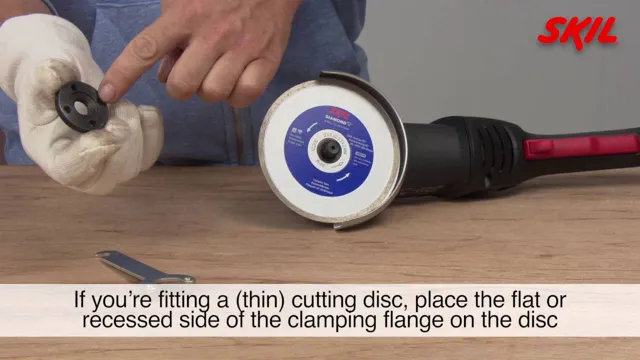
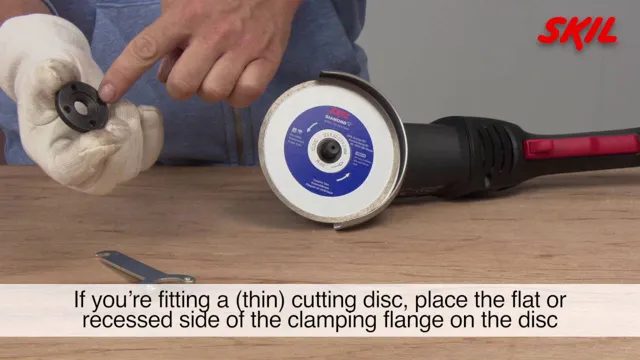
You’ve finished your project using an angle grinder and now it’s time to remove the disc. To do this, first unplug the tool to ensure your safety. Then, locate the spindle lock button on the tool and press and hold it down while using the included wrench to loosen the nut that holds the disc in place.
Turn the wrench counterclockwise to loosen the nut and carefully remove it, making sure not to touch the exposed disc. Once the nut is removed, carefully slide the disc off the spindle. It’s important to handle the disc with care as it can be sharp, and you don’t want to risk injury.
Now that the disc is off, you can safely clean and store your angle grinder until you’re ready to use it again. With these steps, you can easily remove the disc from your angle grinder and keep yourself safe while doing so.
Slide the disc off the spindle
Removing a disc from a spindle can be a tricky process, especially if you’re not used to it. However, with a little bit of practice and care, it can be done with ease. The first step is to make sure that the disc is not spinning.
If it is, gently press down on the center of the disc with your finger until it stops rotating. Once the disc is not spinning, slide it off the spindle. This should be done gently, as there is a risk of scratching the disc or damaging the spindle if you’re too forceful.
If the disc is stubborn and won’t come off, you can try gently wiggling it back and forth while applying gentle pressure until it slides off. Remember to always handle discs with care to avoid ruining them, and never force them off a spindle or risk damaging your equipment.
Inspect the disc for damage
If you’re experiencing issues with your disc, the first step you should take is to remove it from your device. Once you have done this, you can move on to the next step, which is to inspect the disc for any damage. The slightest scratch on the disc can lead to skipping or freezing issues that can ruin your entire experience.
To get a closer look, hold the disc up to the light and tilt it back and forth; this will allow you to identify any scratches or marks that may be causing the problem. If you notice any damage, you may want to consider having the disc repaired or replaced, as it could be irreparable. By checking the disc for damage, you can ensure that your device is running smoothly and that you’re getting the best quality experience possible.
Conclusion
In conclusion, the key to removing a disc from an angle grinder is to approach the situation with patience, caution, and a touch of finesse. Don’t dive in headfirst and start pulling at the disc willy-nilly; instead, take the time to carefully loosen the retaining nut, disengage any safety locks, and gently wiggle the disc until it slides free. Remember, an angle grinder may seem like a tough and rugged tool, but when it comes to changing out a disc, a delicate touch and a steady hand will always win the day.
And if all else fails, call in a professional – after all, there’s nothing more witty and clever than knowing when to ask for help!”
FAQs
What is an angle grinder and how does it work?
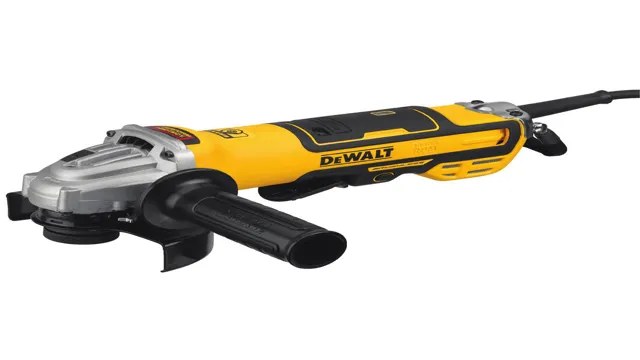
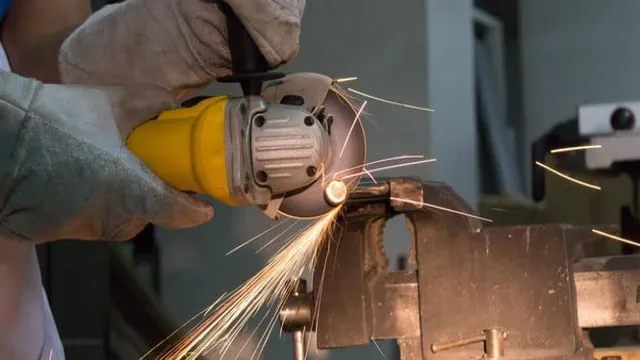
An angle grinder is a handheld power tool used for cutting, grinding and polishing. It works by rotating abrasive discs at high speeds.
How do I safely remove a disc from an angle grinder?
To remove a disc from an angle grinder, first turn off the tool and unplug it. Then, hold the disc lock button and use a wrench to loosen the nut holding the disc in place. Remove the nut and the disc and replace with a new disc.
Can I use the same wrench to tighten and loosen the nut on my angle grinder?
No, it is important to use the correct wrench for each task as not doing so can cause damage to the tool or lead to an unsafe situation.
How do I know which type of disc to use for a specific job on my angle grinder?
The type of disc to use depends on the material being worked on and the task at hand. Always consult the manufacturer’s guidelines before selecting the appropriate disc.
Can angle grinders be used for sanding?
Yes, some angle grinders can be used for sanding by attaching a sanding disc to the tool.
What safety precautions should I take when using an angle grinder?
Always wear proper personal protective equipment, such as safety glasses and gloves. Make sure the tool is properly grounded. Follow the manufacturer’s guidelines for usage and maintenance of the tool.
Can angle grinders be used for cutting metal?
Yes, angle grinders are commonly used for cutting through metal. However, it is important to use the appropriate disc for the material being cut and to take proper safety precautions.

