How to Sand Metal with Angle Grinder: Essential Tips and Tricks
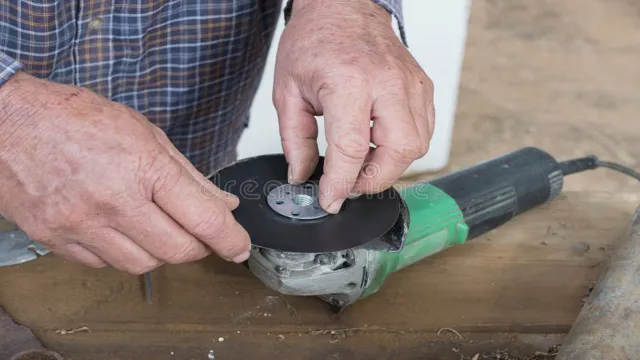
If you’re looking to sand metal surfaces using an angle grinder, you’re in the right place. Angle grinders are powerful tools that can be used for a variety of tasks, including sanding metal. Sanding metal with an angle grinder is a great way to remove rust and paint from metal surfaces, smooth rough edges, and make your metal projects look polished and professional.
But sanding metal with an angle grinder requires some know-how to do it right. With the wrong techniques, you can cause damage to your metal surfaces, ruin your grinder, or even cause injury. That’s why it’s essential to learn the proper steps to sanding metal with an angle grinder.
In this article, we’ll go over the steps you need to take to sand metal with an angle grinder, including what equipment you need, how to prepare your work area, and the techniques you need to know to get the job done right. We’ll also cover some tips and tricks to make sure you get the best results possible. Whether you’re a DIY enthusiast or a professional metalworker, this guide will help you master the art of sanding metal with an angle grinder.
So let’s get started!
Choose the Right Disc
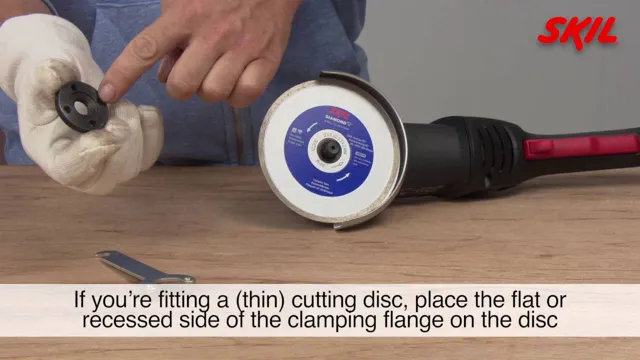
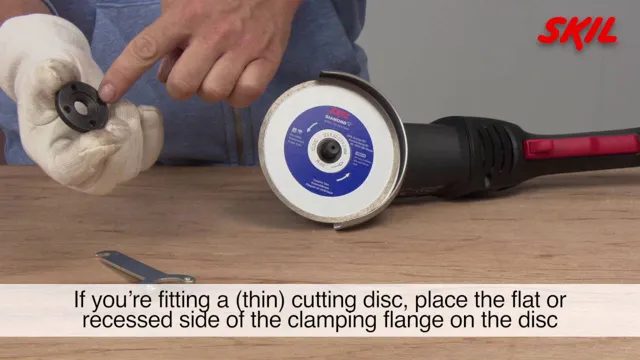
When it comes to sanding metal with an angle grinder, the choice of disc is crucial. The most common types of discs for metal sanding include flap discs, grinding discs, and sanding discs. Flap discs are great for smoothing surfaces and removing burrs, while grinding discs are ideal for heavy-duty grinding tasks.
Sanding discs, on the other hand, are perfect for finishing work and removing rust or old paint. It’s important to choose the right grit for the task at hand, as a rough grit can remove too much material and a fine grit may take too long to get the job done. Also, make sure to choose a disc that is compatible with your angle grinder’s size and speed.
With the right disc, your angle grinder can make sanding metal a breeze.
Grinding Discs for Metal
When it comes to grinding discs for metal, choosing the right one can make all the difference. Different metals require different types of discs, and using the wrong one can lead to inefficient grinding and potentially dangerous situations. One common type of disc is the abrasive grinding disc, which is used for heavy-duty grinding on metals like steel and iron.
These discs have rough surfaces that allow for fast and efficient grinding. However, they can be too abrasive for softer metals like copper and aluminum, which require a finer-grit disc. It’s important to know the type of metal you’re working with and choose a disc that is suitable for the job.
By selecting the appropriate grinding disc, you can increase productivity and ensure safety in your metalworking projects.
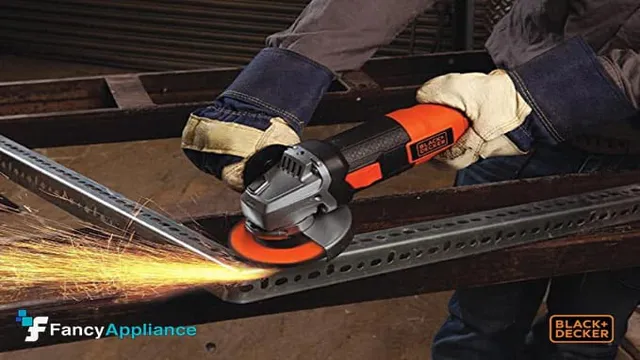
Flap Discs for Metal
Flap discs are an essential tool when working with metal, but choosing the right one for your project can be a bit confusing. With so many different types available, it’s important to understand the differences between them and what they are best suited for. When choosing a flap disc for metal, be sure to consider the grit size, abrasive material, and backing material.
Grit size determines the aggressiveness of the disc, with lower grit numbers being more aggressive and higher numbers being less so. Abrasive material, such as ceramic or zirconia, will also affect the disc’s performance. Finally, backing material, whether it be fiberglass or plastic, will determine the disc’s durability.
By choosing the right flap disc for your project, you can ensure a smooth, efficient, and effective grinding or finishing process.
Sanding Discs for Metal
Choosing the right sanding discs for metal can be a challenge, but it’s an important part of any metalworking project. The disc you choose will depend on the type of metal you’re working with and the level of aggressiveness you need. If you’re using a softer metal, like aluminum, a finer grit sandpaper will be necessary.
For tougher metals, like steel, a coarser grit will be needed to effectively remove bumps and scratches. It’s important to use a sanding disc that’s specifically designed for metal, as using the wrong type of disc can lead to damage or even injury. Look for discs that are labeled for metal use and have a durable backing material.
With the right sanding disc, your metalworking project will be smooth and successful.
Prepare the Metal Surface
If you’re looking to sand metal with an angle grinder, it’s important to properly prepare the surface before you begin. This means cleaning the metal thoroughly to remove any dirt or debris that might interfere with your sanding. Once the metal is clean, you’ll want to use a wire brush attachment on your angle grinder to remove any rust or corrosion from the surface.
This will help ensure that your sanding is effective and that you’re able to achieve a smooth, even finish. Finally, you’ll want to use a sanding disc on your angle grinder to remove any remaining rough spots or imperfections from the metal. By taking these steps to prepare your metal surface, you can actually save yourself time and effort in the long run by ensuring that your angle grinder is able to work effectively and efficiently.
Clean the Metal Surface
To achieve a smooth and even paint finish, it’s crucial to prepare the metal surface properly beforehand. The first step is to clean the metal surface thoroughly, removing any dirt, debris, oil, or rust. For smaller items, you can use soap water and a scrub brush, while for larger surfaces, a power washer or sandblaster may be required.
Additionally, you might need to use solvents like acetone or mineral spirits to get rid of stubborn stains or contaminants. Cleaning the metal surface ensures that the paint adheres properly, preventing it from peeling or chipping later on. By investing time in preparing the metal surface, you can ensure a professional-looking and long-lasting paint job.
So, roll up your sleeves and get ready to do some cleaning – your metal project will thank you for it!
Remove Rust and Paint
When it comes to removing rust and paint from metal surfaces, preparation is key. The first step is to thoroughly clean the surface to remove any dirt, grease, or debris. Next, use a wire brush or sandpaper to scrape away any loose paint or rust.
For more stubborn areas, a chemical rust converter or remover can be used. It is important to follow the manufacturer’s instructions carefully and wear gloves and goggles for protection. Once the rust and paint have been removed, the surface should be sanded to create a smooth surface for the new paint to adhere to.
Remember, taking the time to properly prepare the metal surface will ensure a smooth and long-lasting finish.
Smooth Out Rough Areas
If you want your metal surface to have a professional finish, then you should strive to smooth out rough areas as a critical first step. Not only will this give your project a visually appealing look, but it will also ensure that any paint or coatings adhere properly to the metal. Preparation is key, and it starts with identifying any areas that may need sanding or grinding.
Look out for bumps, scratches, oxidation, or uneven surfaces that can compromise the overall quality of your work. Once you’ve identified the rough areas, use a sanding tool to smooth them out. Alternatively, you can use an electric grinder or sandblaster if the rough areas are larger or more challenging to fix.
Keep in mind that with proper preparation, your metal project will look sleek and professional.
Begin Grinding
If you want to smooth out metal surfaces, you can do this process easily with an angle grinder. But before you start grinding, make sure to wear the appropriate safety gears. You must have on a pair of safety glasses and protective gloves.
Then, pick the right disc for your grinder. A diamond-tipped disc should be used on hard metals, while a flap disc is perfect for softer metals. Once you have settled on the right disc, begin grinding the metal from one end to the other.
Make sure to hold the angle grinder at a 30-45 degree angle throughout the entire grinding process. Keep the grinder moving in a consistent motion to avoid leaving scratches on the surface. Remember to be cautious and take it slowly to avoid damaging the metal.
By following these steps, you will have a properly sanded metal surface in no time, giving it a smooth and shiny finish.
Wear Protective Gear
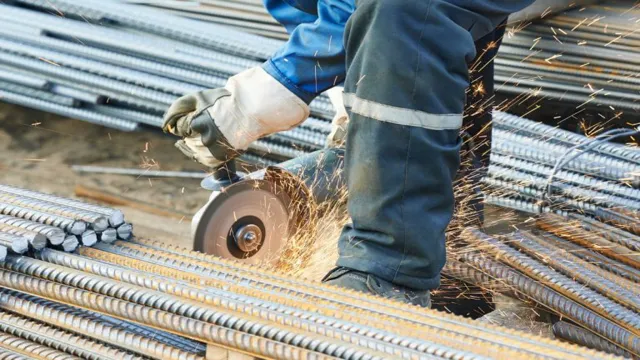
When it comes to grinding, it’s crucial to wear protective gear to keep yourself safe. Grinding can generate a lot of dust and debris that can harm your eyes, lungs, and even your skin. Therefore, it is paramount to wear safety goggles, a respirator, earplugs, and gloves.
It is also essential to select the appropriate gear that suits the task’s nature, such as a face shield for those projects that produce high-velocity debris. Wearing protective gear can prevent injury and ensure your safety in the workshop. So, before you begin grinding, make sure to gear up and prioritize your safety.
It may seem like an uncomfortable inconvenience, but in the long run, it can protect you from serious injury and promote a safer workplace. Remember, your safety should always be the top priority, and protective gear should never be an afterthought.
Hold the Angle Grinder with Both Hands
When it comes to using an angle grinder, it’s important to hold it with both hands for safety and control. You never know when the tool could kick back or slip, so having both hands on the grip will prevent any accidents or injuries. Once you have a secure hold, it’s time to begin grinding.
Start with a slow and steady pace, making sure to keep the grinder at a 90-degree angle to the surface you’re working on. You want to apply firm pressure, but not so much that the grinder overheats or the wheel cracks. Remember to wear eye and ear protection, as well as a dust mask, to avoid any debris flying into your face.
With a little practice, you’ll be able to master the art of using an angle grinder for a variety of DIY and home improvement projects.
Start Grinding from the Edge of the Metal
When it comes to grinding metal, starting from the edge is always the way to go. This is because the edge is the thinnest part of the metal, and if you start grinding from the thicker parts, you may end up removing more material than necessary. To get started, hold the grinder steady and start at the edge, working your way inwards to the thicker parts.
Keep the grinder at a consistent angle and apply even pressure to ensure a smooth and uniform grind. As you grind, check your progress frequently to avoid grinding too much material. Remember, the key to a successful grind is patience, practice, and careful attention to detail.
Before you know it, you’ll have a perfectly ground piece of metal ready for any task.
Use a 45-Degree Angle
When it comes to grinding, using a 45-degree angle is crucial for achieving the perfect outcome. Start by positioning the blade at a 45-degree angle against the grinding wheel, ensuring that you’re maintaining consistent pressure throughout the grinding process. Keep in mind that this angle is important because it allows the blade to be sharpened evenly, resulting in a sharp and effective cutting edge.
By using this technique, you’ll prevent the blade from becoming overheated while also avoiding the risk of creating uneven grinding patterns. So, before beginning the grinding process, make sure you set your grinding tool to the correct angle to ensure a precise and efficient outcome. Remember, a good angle is the foundation for a successful grinding experience.
Keep the Angle Grinder Moving
When it comes to using an angle grinder, it’s important to keep the tool moving to avoid burning the surface you’re working on. To begin grinding, first, make sure you have all the necessary safety gear on, such as eye protection and gloves. Then, start the angle grinder and hold it steadily with two hands.
Slowly move it across the surface, maintaining a constant speed and pressure. Remember to keep the angle grinder moving back and forth to prevent any one spot from getting too hot and burning the material. By using a continuous motion, you can achieve an even and smooth finish.
Just be sure to take breaks often to rest your arms and avoid any unnecessary strain. With a little practice and patience, you’ll soon become a pro at using an angle grinder!
Finish the Job
If you want to sand metal with an angle grinder, it’s important to finish the job properly. First, choose the right type of abrasive disc for the task at hand. For heavy-duty grinding, a diamond disc is ideal, while a flap disc is more appropriate for lighter work.
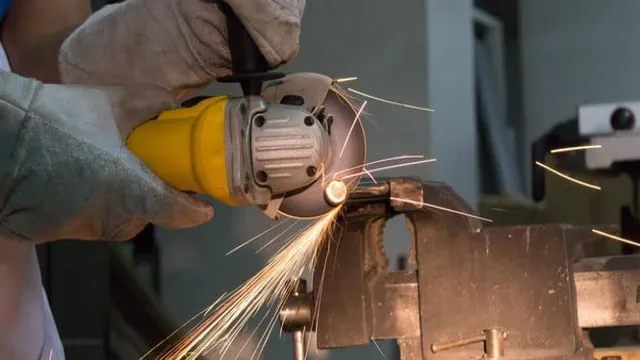
Once you’ve got the right disc, it’s time to get started. Make sure you’re wearing suitable protective gear, such as gloves and goggles. Hold the angle grinder firmly in both hands and begin sanding the metal in a back-and-forth motion.
Work slowly and gradually, making sure not to apply too much pressure, as this can damage the metal surface. Keep the angle grinder at a 45-degree angle and move it around the surface of the metal to ensure an even finish. Once you’ve sanded the metal thoroughly, you can move on to polishing or painting it, depending on your desired outcome.
With a bit of practice, sanding metal with an angle grinder can be a quick and effective way to achieve a smooth, clean finish.
Clean up the Metal Surface
After removing any old paint or rust from the metal surface, it’s important to finish the job by cleaning it thoroughly to ensure the new paint adheres properly. Any remaining debris, grease or grime can cause the new paint to blister or peel off, leaving the metal surface vulnerable to rusting. The best way to clean the surface is by using a clean cloth or brush with a degreaser or a mild detergent in warm water.
Make sure to rinse the surface thoroughly with clean water and allow it to dry completely before applying the new paint. It’s also important to avoid touching the metal surface with bare hands as the oils from the skin can affect the bonding of the new paint. Protect your hands with gloves or a clean cloth.
By taking these extra steps, you’ll ensure that your metal surface is clean and ready to withstand the elements with a fresh coat of paint.
Apply a Metal Finish or Paint
When it comes to metal finishes, there are plenty of options to choose from. Whether you’re looking to add a touch of luxury with a polished chrome or brass finish, or you want to go for a more industrial look with a rough textured finish, there’s an option out there for you. But adding a metal finish is only half the battle when it comes to finishing a job.
Once the metal finish has been applied, you’ll need to add a protective coating to keep it looking fresh and new. The best option for a metal finish is often a clear coat or wax that will protect against scratches and abrasions. However, if you want to add some color to your metal finish, a paint job can be a great way to go.
Just make sure to choose a paint that’s designed for use on metal surfaces and properly prepare the surface before applying the paint to ensure a long-lasting finish. By adding the right finish to your metal surface, you can take your project to the next level and protect your beautiful new surface for years to come.
Store Your Angle Grinder Safely
If you’ve ever used an angle grinder, you know just how powerful and useful they can be for all sorts of DIY and professional projects. But when the job is done, it’s important to store your angle grinder safely to protect yourself and others. One of the best ways to do this is to invest in a storage case or bag specifically designed for angle grinders.
This will help keep your tool protected from damage and prevent it from accidentally turning on and causing harm. Another important tip is to unplug the grinder and remove the disc or blade before storing it. This not only makes it safer to handle, but also helps prevent wear and tear on your tool.
By taking these simple precautions, you can ensure that your angle grinder is ready and waiting for your next project.
Conclusion
So there you have it, folks – sanding metal with an angle grinder is a task that can be easily achieved with a few simple steps. From choosing the right disc to maintaining a steady hand, this process requires a delicate balance of precision and power. And just like an artist with a brush or a musician with a chord, mastering the angle grinder can transform a rough, unpolished surface into a gleaming work of art.
So go forth and sand, my friends – the possibilities are endless!”
FAQs
What safety precautions should I take when sanding metal with an angle grinder?
Always wear safety glasses, gloves, and a dust mask. Make sure the work area is clear of any flammable materials and secure enough to hold the metal piece you are sanding in place.
Can a regular grinding disc be used for sanding metal with an angle grinder?
No, a regular grinding disc is too coarse and can remove too much material from the metal surface. Use a sanding disc or flap disc specifically designed for metal sanding.
Is it necessary to use a lubricant when sanding metal with an angle grinder?
It can be helpful to use a lubricant such as cutting oil to cool and lubricate the sanding disc and prevent overheating. This can prolong the life of the disc and prevent damage to the metal surface.
What is the best angle grinder disc for sanding metal?
A flap disc made with aluminum oxide is a good choice for sanding metal. These discs are durable and can provide a smoother finish than other types of discs.
Can an angle grinder be used for both grinding and sanding metal?
Yes, angle grinders are versatile tools that can be used for both grinding and sanding metal. Just make sure to use the appropriate disc for each task.
How do I know when I’ve sanded the metal surface enough?
Check the surface for any scratches or rough spots. You can also compare it to a nearby smooth surface to see if it has a similar finish. Continue sanding until you achieve the desired result.
Is it necessary to clean the metal surface before sanding with an angle grinder?
Yes, it is important to remove any dirt, rust, or other debris from the surface before sanding. This can prevent damage to the sanding disc and help achieve a smoother finish.

