How to Set Up Makita Angle Grinder: A Comprehensive Guide
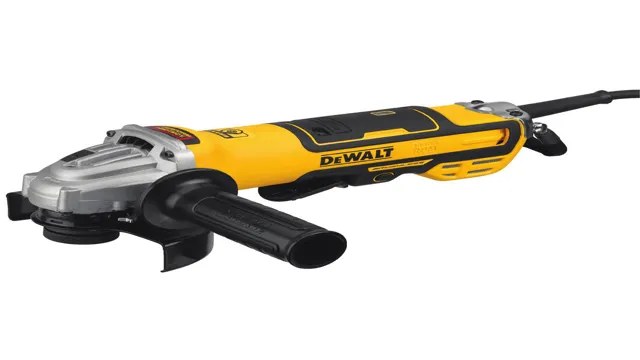
Are you struggling to set up your Makita angle grinder? Don’t worry! Whether you are a beginner or a DIY enthusiast, setting up an angle grinder can seem daunting, but it’s actually easier than you think. In this post, we will guide you through the steps of setting up your Makita angle grinder, so you can start cutting and grinding with ease. From assembling the tool to adjusting the guard, we’ve got you covered.
So, grab your Makita angle grinder and let’s get started!
Step 1: Choose the Right Disc
If you’re wondering how to set up your Makita angle grinder, the first step is to choose the right disc for the job. There are a variety of discs available for different tasks, such as cutting, grinding, polishing, and sanding. Before selecting a disc, consider the material you’ll be working with, the type of task you’ll be performing, and the size of your grinder.
For example, if you’re working with metal, you’ll want a disc designed for metal cutting, while if you’re grinding concrete, you’ll need a diamond cup wheel. It’s crucial to choose the right disc, as using the wrong one not only reduces efficiency but also poses a safety hazard. Once you’ve selected the appropriate disc, you’re ready to move on to the next step in setting up your Makita angle grinder.
Make sure the disc you’re using is compatible with your grinder.
When it comes to using an angle grinder, it’s essential to select the right disc for the job. Choosing the wrong disc can lead to inadequate results and even pose a safety hazard. That’s why it’s crucial to ensure that the disc you’re using is compatible with your grinder.
Before purchasing a disc, take a look at the specifications of your grinder and compare them with the discs available in the market. You’ll find that each disc comes with its own set of instructions, which indicate the materials it is recommended for. For instance, a masonry disc is great for cutting through stone, while a metal disc is ideal for working with metal.
By selecting the right disc for your grinder like a professional, you can ensure that your projects turn out exactly the way you want while keeping yourself safe.
Step 2: Attach the Disc
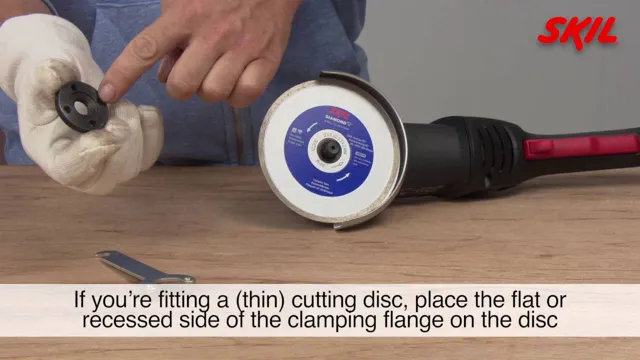
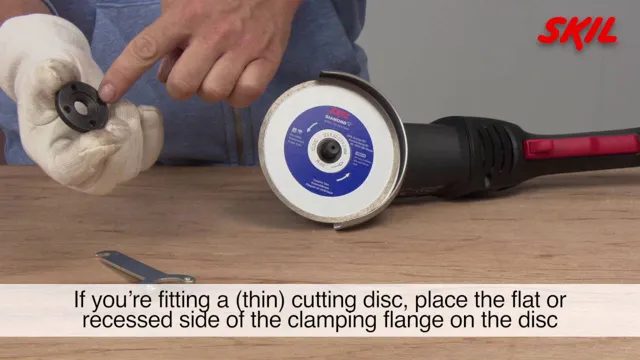
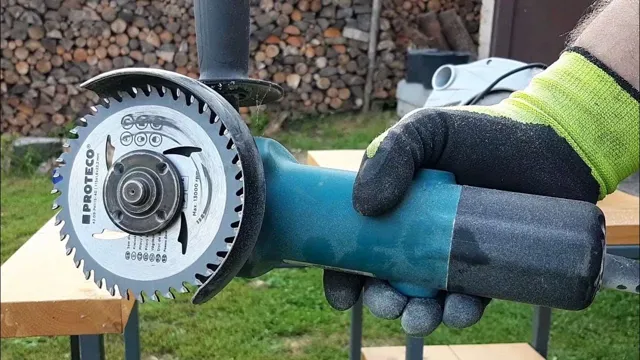
The second step in setting up your Makita angle grinder is to attach the disc. Before you do so, make sure that you have the correct type of disc for the job at hand and that it is the appropriate size for your angle grinder. Next, loosen the lock nut that secures the disc guard in place and adjust it to the appropriate position for your needs.
Once the guard is in place, it’s time to attach the disc. Align the hole in the center of the disc with the spindle of the angle grinder and place it on, making sure that it is seated securely. Once the disc is in place, tighten the lock nut on the spindle to secure it.
Don’t overtighten the nut, as this could damage the disc. With the disc securely attached and the guard in place, your Makita angle grinder is now ready to use.
Follow the manufacturer’s instructions to attach the disc securely.
When attaching a disc to your device, it is crucial to follow the manufacturer’s instructions carefully to ensure a secure attachment. Depending on the type of device and disc, the process may vary. However, in general, it is essential to align the disc correctly and use the appropriate method to attach it.
This process not only ensures optimal performance but also prevents damage to the disc, device, or surrounding items. It is essential to avoid using excessive force or applying pressure to the disc, as this may cause scratches, cracks, or other damage. Remember, the key to successful disc attachment is to take your time, follow the instructions carefully, and handle the disc and device with care.
By following these guidelines, you can enjoy error-free operation and uninterrupted entertainment. So, the next time you are setting up your device, don’t forget to securely attach the disc to avoid issues and ensure a seamless experience.
Step 3: Adjust the Guard
Now that you’ve attached the disc and tested the grip, it’s time to adjust the guard on your Makita angle grinder. This step is crucial for two reasons. First, the guard protects you from debris and sparks.
Second, it keeps the right amount of the disc exposed for the task at hand. To adjust the guard, locate the locking nut on the spindle and loosen it with the wrench provided. Next, slide the guard forward or backward to expose the correct amount of the disc depending on the angle you’re grinding at.
Once the guard is in place, tighten the locking nut and give the disc a gentle spin to ensure it doesn’t hit the guard. Voila! Your Makita angle grinder is now set up and ready to use. Remember to wear protective gear and always follow safety guidelines when using power tools.
Adjust the guard to protect yourself from flying debris.
When using tools like saws, it’s important to take the necessary safety measures to protect yourself. One key component is adjusting the guard to shield you from any flying debris that may come your way. This step is crucial and should never be overlooked.
To adjust the guard, simply locate the adjustment mechanism and move it into the appropriate position. This will vary based on the type of saw or tool you are using, so make sure to consult your manual for specific instructions. When the guard is in place, you can rest assured that you are protected from any wood chips, dust, or other debris that might come your way.
By taking the time to adjust the guard, you are not only protecting yourself but also ensuring that your work is done efficiently and effectively. Don’t be tempted to skip this step, as it could result in serious injury. Stay mindful of safety as you work, and you’ll have no problem completing your project with confidence.
Step 4: Adjust the Handle
After setting up the guard and the blade, it’s important to adjust the handle on your Makita angle grinder. The handle helps with stability and control during use, so it’s important to ensure it’s adjusted properly. First, locate the handle mounting hole on the side of the grinder.
Then, insert the handle and use the tool provided to tighten it securely. It’s important to ensure the handle is perpendicular to the blade for optimal control and stability. Once tightened, give the handle a few gentle tugs to make sure it’s firmly in place.
With the handle properly adjusted, you can confidently tackle your grinding tasks with ease. Don’t forget to wear proper safety gear before use!
Adjust the handle to a comfortable position for your grip.
When it comes to using tools, comfort is essential. After all, no one wants to have to struggle to use a tool. That’s why in step four, you need to adjust the handle to a comfortable position for your grip.
Depending on the type of tool, this may mean adjusting the angle, the height or the grip itself. By doing so, you’ll not only ensure that you’re comfortable but also that you have better control and precision. Imagine trying to use a hammer with a handle that’s too long or too short.
It would be like trying to hit a nail with a broomstick. Adjusting the handle to fit your grip is crucial for not only a more pleasant experience but also for a better outcome. So, take the time to adjust the handle before starting your work and enjoy the many benefits it brings.
Step 5: Test the Grinder
Now that you’ve assembled your Makita Angle Grinder, it’s time to put it to the test. Before using it on any materials, make sure you take the necessary safety precautions, such as wearing gloves and safety goggles. Once you’ve got those on, plug in your grinder and test it out on a scrap piece of metal or wood.
Listen for any odd noises or vibrations, as these can be signs of a problem. You should also check that the guard is properly installed and adjusted, as this will protect you from flying debris. If everything seems to be in order, you’re good to go! Remember to always use your grinder responsibly and to follow the manufacturer’s instructions.
By keeping safety in mind and practicing proper usage, you can get the most out of your Makita Angle Grinder and complete your projects with ease.
Plug in the grinder and make a test cut on a scrap piece of material.
Now it’s time to put your grinder to the test! Before you start working on your project, you want to make sure that the grinder is working the way you want it to and that it’s going to give you the results you’re after. Take a scrap piece of material and plug in your grinder. Make sure you have all the necessary safety gear on before you begin.
Place the grinder on the material and start making a cut. Observe how the grinder handles the material, how much pressure you need to apply, and how quickly it gets the job done. If everything looks good, you’re all set to start working on your project.
If things aren’t going as planned, take a closer look at the grinder’s settings or consult the user manual to get a better sense of how to adjust the grinder to your needs. By performing this simple test, you can avoid costly mistakes and ensure that your grinder is ready for any task you throw its way.
Step 6: Adjust Speed and Depth
When it comes to working with a Makita angle grinder, adjusting the speed and depth is a crucial step to ensure optimal performance. The speed of the grinder can be adjusted by using the dial located on the top of the machine. It’s important to select the appropriate speed based on the type of material you’ll be working with.
For example, if you’re working with a hard material, a slower speed may be necessary to prevent damage to the tool or the material. Additionally, adjusting the depth of cut is also important to consider. The depth of cut can be adjusted by using the lever located on the side of the grinder.
This allows you to change the depth of the cut based on the job at hand. Taking the time to adjust both the speed and depth will ensure that your Makita angle grinder is operating at its best and help to avoid any potential accidents or injuries.
Adjust the speed and depth of cut to your desired settings.
When it comes to using a cutting tool, adjusting the speed and depth of cut is crucial to achieving your desired results. Whether you’re working on a delicate project or need to remove a significant amount of material, having the ability to adjust these settings can make all the difference. Start by determining the appropriate speed and depth for your specific task, considering factors such as material type and thickness.
Once you have a rough idea, you can fine-tune the settings for optimal precision and efficiency. Keep in mind that using a slower speed and shallower cut will result in a cleaner, more precise finish, while a higher speed and deeper cut will remove material more quickly but may leave rougher edges. By taking the time to adjust your speeds and depths to your specific needs, you’ll be able to achieve professional-quality results with ease.
Conclusion
In conclusion, setting up your Makita angle grinder is not rocket science but it still requires some attention to detail. Remember to choose the right disc for your intended task, properly secure it to the tool, and adjust the guard to protect your hands and face from flying debris. And when in doubt, always refer to the instruction manual.
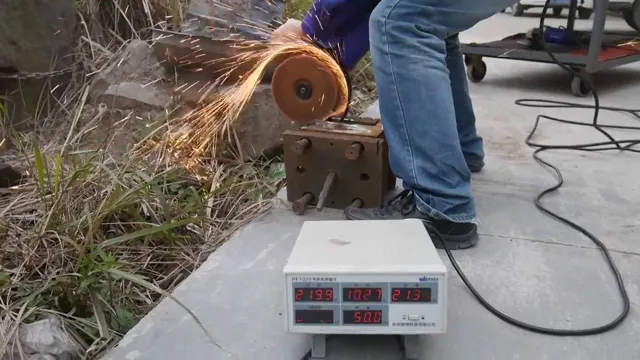
With these steps, your Makita angle grinder will become your trusty companion in tackling tough materials and achieving professional-quality results. So go ahead, get grinding and let sparks fly (safely). “
By following these steps, you can easily set up your Makita angle grinder and start using it for your projects.
Once you have your Makita angle grinder turned on and ready to go, it’s important to adjust the speed and depth before you begin your project. The speed of your grinder can be adjusted based on the type of material you’re working with and the level of precision you require. Lower speeds are ideal for delicate materials such as wood or plastic, while higher speeds are better for metal or tough materials.
As for depth adjustments, this will determine how deep your grinder cuts into the material you’re working on. Higher depths can be useful for larger projects, but be cautious not to cut too deeply and risk damaging your workpiece. By taking the time to tune your grinder’s settings for your specific project, you’ll achieve the best results possible with your Makita angle grinder.
FAQs
What safety precautions should I take before setting up my Makita angle grinder?
Before setting up your Makita angle grinder, make sure you wear eye and ear protection, gloves, and a dust mask. Make sure no flammable materials are nearby and secure your workpiece before you begin.
How do I attach a grinding or cutting disc to my Makita angle grinder?
First, make sure the grinder is unplugged. Then, loosen the disc nut by turning it counter-clockwise. Place the disc on the spindle, making sure it is facing the correct direction. Tighten the disc nut by turning it clockwise while holding down the spindle lock button.
Can I use my Makita angle grinder to cut metal?
Yes, Makita angle grinders are versatile tools and can be used for cutting a variety of materials, including metal. Just make sure you use the appropriate cutting disc for metal and follow all safety precautions.
How can I maintain my Makita angle grinder to ensure optimal performance?
Regular maintenance can help prolong the life of your Makita angle grinder. This includes cleaning the tool and its accessories after use, checking for any signs of wear or damage, and lubricating moving parts as needed. Refer to the instruction manual for more specific maintenance tips.
What is the difference between an angle grinder and a cut-off tool?
While both tools are used for cutting and grinding, they have different designs and uses. An angle grinder typically has a larger wheel diameter and can be used for heavy-duty tasks, such as cutting and grinding metal or concrete. A cut-off tool has a smaller wheel diameter and is used for lighter-duty tasks, such as cutting bolts or trimming plastic.
Can I use my Makita angle grinder to polish surfaces?
Yes, with the appropriate polishing pads and compounds, you can use your Makita angle grinder to polish various surfaces, such as metal, stone, or concrete. Always follow safety precautions and use the appropriate accessories for the job.
How do I adjust the speed of my Makita angle grinder?
Most Makita angle grinders come with a variable speed control dial, allowing you to adjust the speed based on the task at hand. Simply turn the dial to the desired speed setting. If your grinder does not have a variable speed control, it will run at a fixed speed.

