Angle grinders are an essential tool in any handyman’s arsenal, commonly used for cutting, grinding, and polishing a wide variety of materials. However, they can be intimidating to use, especially for beginners, and without proper setup, they can be extremely dangerous. In this guide, we’ll take you through all the necessary steps on how to set up an angle grinder, from selecting the right discs to securing the workpiece and ensuring safety.
By the end of this blog, you’ll be ready to unleash the power of your angle grinder with confidence and precision. So, grab your grinder and let’s get started!
Safety Precautions Before Setting Up
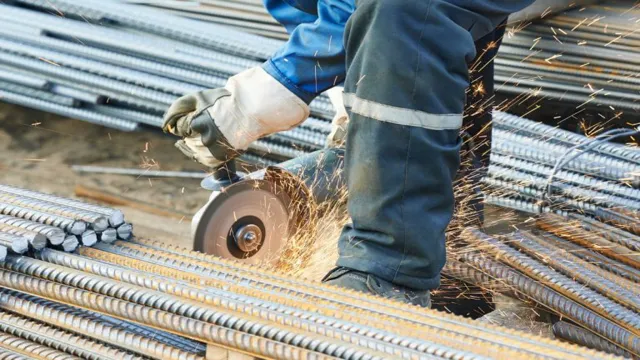
Before setting up an angle grinder, it’s important to take some safety precautions. Firstly, you should wear protective gear such as safety glasses, gloves, hearing protection, and a face shield. This will protect you from any flying sparks or debris that may occur during the grinding process.
Additionally, make sure the work area is clean and free of any flammable materials. It’s also recommended to have a fire extinguisher nearby just in case. Before plugging in the angle grinder, inspect the tool for any damage or defects.
Furthermore, make sure the wheel is securely attached and properly aligned. Finally, it’s important to read the instruction manual provided by the manufacturer. This will ensure you are using the tool correctly and will prevent any accidents or injuries from occurring.
By taking these safety precautions, you can set up your angle grinder with confidence and avoid any potential hazards.
Wear Protective Gear
Before setting up any task that involves potential hazards, one must take the necessary safety precautions to prevent any possible injuries. One essential thing to consider is wearing protective gear. Protective gear such as gloves, safety goggles, helmets, and steel-toed boots can save you from serious injuries.
The right gear will vary based on the task, so always make sure to check with your employer or supervisor to know which gear is necessary for the job. Not wearing protective gear can cause severe injuries or even death. Shielding your body from potential hazards should always be taken seriously, and failure to do so can have life-altering consequences.
Don’t forget to wear your protective gear and stay safe while working.

Check the Grinder’s Condition
When setting up a grinder, it’s important to check its condition before use to ensure it’s safe and functioning properly. Oftentimes, grinders can become damaged or worn down over time, making them dangerous to use and potentially causing harm to the user. Before setting up your grinder, take the time to inspect it closely for any cracks, chips, or other signs of damage.
Additionally, check to make sure all the parts are in good working order and securely attached. By making sure your grinder is in top condition, you can avoid accidents and ensure a clean and effective grinding experience. Remember, safety should always come first!
Plug in the Grinder
Before plugging in your grinder, it’s important to take some safety precautions to ensure you don’t accidentally injure yourself. First off, make sure the grinder is placed on a stable surface and that the cord isn’t tangled or frayed. Then, check that the safety guard is in place to prevent any debris from flying out while grinding.
Never wear loose clothing or jewelry that could get caught in the machine’s moving parts, and always wear safety glasses to protect against any flying debris. Finally, make sure to keep your fingers and hands away from the grinding wheel at all times, and only use the appropriate grinding disc for the material you’re working with. By taking these simple steps, you can ensure a safe and successful grinding experience.
Attaching the Grinding Wheel
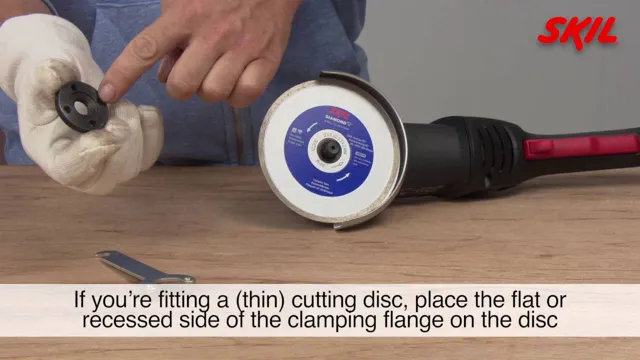
Attaching the grinding wheel is an essential step when setting up an angle grinder. Before beginning, make sure the angle grinder is unplugged for safety. Begin by selecting the correct grinding wheel for the job at hand and check the label for maximum RPMs (revolutions per minute).
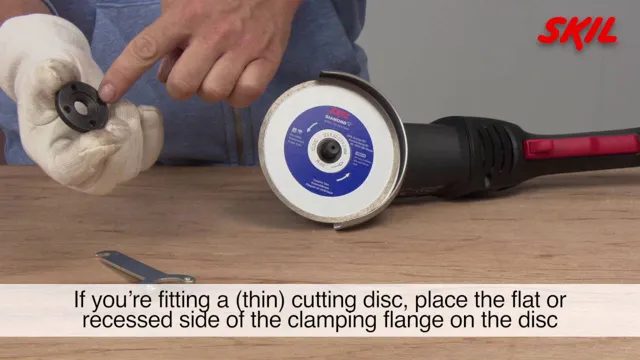
Then, loosen the nut that holds the wheel cover in place and remove it. Slide the chosen grinding wheel onto the spindle and ensure it is seated securely. Finally, replace the wheel cover and thread the nut onto the spindle.
Tighten the nut using a wrench while holding the spindle lock button. It’s important not to overtighten the nut to avoid damaging the grinding wheel or spindle. Properly attaching the grinding wheel ensures that the angle grinder will function safely and effectively.
Remember to always follow manufacturer instructions for the specific model of your angle grinder.
Choose the Right Disc for Your Task
When it comes to using a grinding wheel, it’s important to choose the right disc for your task. The type of disc you need will depend on what you want to achieve. For rough grinding or shaping, an abrasive disc will work best.
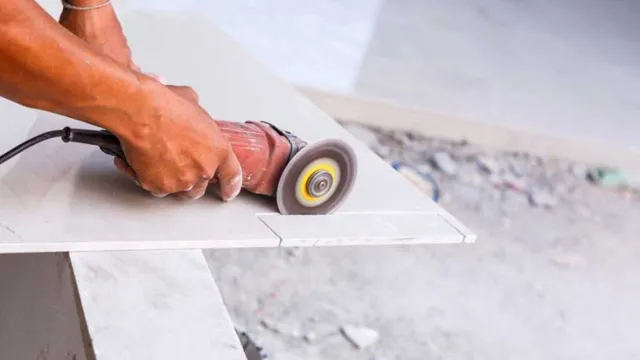
Meanwhile, for finishing or smoothing, a finer diamond or CBN disc is more appropriate. Whatever disc you choose, it’s crucial to ensure it’s secured tightly to the grinder. The last thing you want is for the disc to dislodge during use, potentially causing injury.
Remember to inspect your discs before use, looking out for any chips or cracks. If you spot any damage, dispose of the disc immediately and replace it with a new one. Overall, by selecting the right disc and securely attaching it, you’ll be able to work efficiently and, most importantly, safely.
Attach and Tighten the Disc
Attaching and tightening the grinding wheel on a power tool can be overwhelming for beginners, but it’s an important skill to master. First, make sure you have the correct type of grinding wheel for your tool, as using the wrong one can be dangerous. Then, loosen the nut on the arbor using a wrench.
Place the wheel on the arbor with the side labeled “This Side Out” facing outward and ensure it sits flush on the arbor. Tighten the nut by turning it clockwise with the wrench until it’s snug, making sure not to over-tighten it. To ensure your safety, always wear proper eye and ear protection when using power tools and inspect the attachment for damages, cracks, or deformations before each use.
Following these steps ensures your grinding wheel is securely attached and ready to use for your next project.
Setting the Guard
Setting up an angle grinder may seem daunting at first, but it’s actually a rather simple process. The most important thing to start with is ensuring that the guard is properly set up. The guard is meant to protect you from injury caused by flying debris or accidental blade contact.
First, make sure the power is off and unplugged. Then, loosen the nut that holds the guard in place and slide it up the grinder’s spindle. Place the guard in the position that best suits the job at hand and tighten the nut securely.
Keep in mind that the guard should never be removed, as it is an essential safety feature. With the guard set up and secured, you can now focus on attaching your chosen disc or blade.
Adjust the Guard Based on the Task
When it comes to setting the guard, it’s important to adjust it based on the task at hand. Different jobs require different levels of security, and it’s essential to have the right guard in place to protect your property and people. For instance, if you’re dealing with high-value items, it’s best to have a guard who’s trained to handle those situations and has experience in dealing with theft prevention.
On the other hand, if you’re simply dealing with foot traffic, you may just need a guard who can manage the flow of people and watch for any suspicious activity. By setting the right guard for the task, you can ensure that your property and people are protected while maintaining a safe and secure environment. So, it’s crucial to assess your specific needs and set the right guard for your job to ensure everything runs smoothly.
Adjusting the Handle
If you’re setting up an angle grinder, adjusting the handle is an essential step that shouldn’t be overlooked. The handle can be rotated to achieve a comfortable grip for both left- and right-handed users. To adjust the handle, locate the locking screw on the grinder’s body and loosen it with a wrench.
Next, rotate the handle to the desired position and tighten the screw once again. It’s crucial to ensure that the handle is securely fixed in place to avoid any accidents while using the tool. A loose handle can cause the grinder to wobble and potentially cause harm, so double-check it’s firm before usage.
So, whether you’re working on a home renovation project or a professional job site, taking the time to adjust the handle properly will make the job easier and more comfortable, ultimately resulting in a more polished end result.
Set Up the Handle for Comfort and Control
When it comes to using tools like hammers or screwdrivers, having a comfortable and secure handle is key to getting the job done right. The same goes for using gardening and landscaping tools. Adjusting the handle on your tool can make a huge difference in how well you can maneuver it, reducing the strain on your hands and wrists.
To start, make sure the handle is at the right height for your body. It should be long enough that you can grip it comfortably with both hands, but not so long that you have to stretch to reach it. You can also adjust the angle of the handle to make it easier to use.
Experiment with different settings until you find the one that feels most comfortable and gives you the most control. By taking the time to adjust the handle on your tool, you’ll be able to work more efficiently and with less strain on your body.
Testing Your Angle Grinder
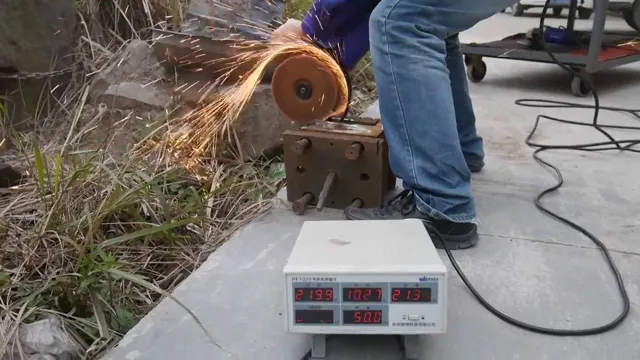
If you have just purchased a new angle grinder and are wondering how to set it up, one of the most important things you need to do is test it out. Before you start using your angle grinder on any material, you need to make sure that it is functioning properly and that the blade is properly installed. To start, connect the grinder to a power outlet and turn it on for a few seconds without any material attached to it.
This will help you determine if the grinder is running smoothly and if there is any unusual noise or vibration. Then, you can attach the blade and test it on a piece of scrap metal to see if it is cutting properly. Make sure to wear protective gear like gloves and safety glasses during the test.
With these steps, you can ensure that your angle grinder is set up and ready to use for any DIY or home improvement project.
Conclusion
In conclusion, setting up an angle grinder is like preparing for battle. You need the right tools and skills to conquer your project. From choosing the right blade to adjusting the guard, every step is crucial.
So, don’t rush into battle unprepared. Take your time, follow the instructions, and don’t forget to wear your safety gear, or risk becoming the latest victim of the angle grinder’s wrath. With these tips in mind, you’ll be a pro at setting up an angle grinder in no time.
Now, let’s go out there and grind some metal (safely)!”
FAQs
What safety precautions should I take before using an angle grinder?
Before using an angle grinder, you should always wear eye and ear protection, gloves, and a dust mask. Make sure the work area is clear of debris, and that the tool is secured properly.
What are some common uses for an angle grinder?
An angle grinder can be used to cut materials, grind surfaces, remove rust or paint, and sharpen blades.
What type of blade should I use with my angle grinder?
The type of blade you should use with your angle grinder depends on the task at hand. Diamond blades are best for cutting hard materials like concrete, while abrasive blades are better for cutting metal and other soft materials.
How do I change the blade on my angle grinder?
To change the blade on your angle grinder, you’ll need to disconnect the power source and remove the old blade. Install the new blade by following the manufacturer’s instructions, and make sure it’s properly tightened before use.
How do I adjust the speed on my angle grinder?
Depending on your model, you may be able to adjust the speed of your angle grinder using a dial or switch. If not, you’ll need to use the appropriate disc for the job to achieve the desired speed.
What size angle grinder should I use?
The size of angle grinder you should use depends on the task at hand. Smaller grinders (4-1/2 inch) are great for general use, while larger grinders (7 inch) are better for heavy-duty tasks.
How should I store my angle grinder?
When not in use, you should store your angle grinder in a cool, dry place that’s out of reach of children and pets. Make sure the power cord is wrapped neatly and that the tool is stored securely.


