How to Turn on Sprinkler System in Spring for a Lush and Healthy Lawn

As the winter snow melts away and the sun starts to shine, it’s time to turn on your sprinkler system for the spring season. It can be confusing to know where to start and how to do it, but don’t worry, we’ve got you covered. In this blog, we’ll walk you through the steps on how to turn on your sprinkler system in the spring, so you can enjoy a healthy and lush yard all season long.
Whether you’re a first-time homeowner or just need a refresher, keep reading to learn more.
Check the System for Damage
Now that spring has arrived, it’s time to prepare your sprinkler system for the upcoming season. Before turning it on, it’s important to perform some checks to ensure your system isn’t damaged. Start by inspecting the sprinkler heads for any cracks or damage.
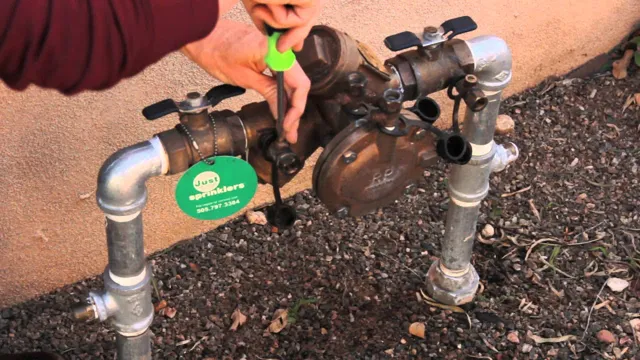
If you notice any, replace them before turning on the system. Check the valves for any leaks or damage, especially those located above or below ground. For underground pipes, you can use a metal detector to locate the valves for inspection.
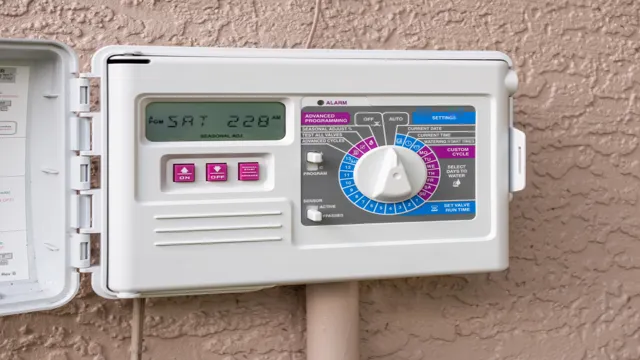
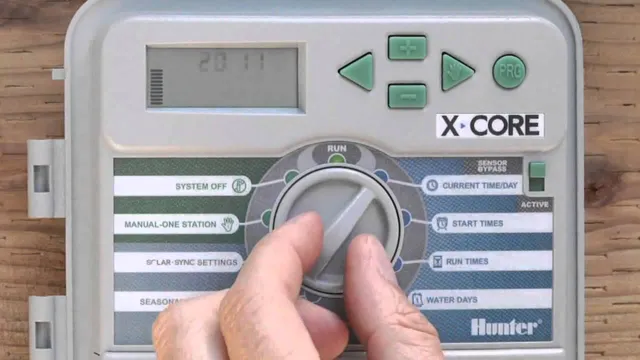
Also, take a look at the controller and make sure it’s working correctly. Replace any batteries if necessary and reset the timer. Once you’re confident that everything is in working order, it’s time to turn on the water supply.
Slowly open the main valve and let the water flow through the pipes for a few minutes before turning on the system to prevent any damage. By following these steps, you’ll be able to turn on your sprinkler system safely and maintain a lush and healthy lawn.
Inspecting Sprinkler Heads and Nozzles
When it comes to keeping your sprinkler system working properly, regularly inspecting your sprinkler heads and nozzles is essential. One key aspect of this inspection is checking for any damage to the system. Whether it’s from natural wear and tear or accidental damage, damaged sprinkler heads and nozzles can cause serious problems if left unchecked.
For example, a damaged or broken nozzle can cause water to spray in the wrong direction, leading to wasted water and possibly even damage to your landscape or property. By regularly inspecting your system for damage, you can catch and repair any issues quickly, keeping your sprinkler system running smoothly and efficiently. So, next time you’re inspecting your sprinkler system, make sure to take a close look at your sprinkler heads and nozzles and check for any signs of damage!

Looking for Signs of Leakage or Wear and Tear
If you own a property with a centralized HVAC system, it is crucial to check it for signs of damage and wear and tear regularly. Leakage or damage to the system can cost you a significant amount of money and energy waste. The first thing to look out for is air leaks.
Inspect your ductwork joints and seams and make sure they are tightly sealed. Also, check for any cracks, tears, or holes in the ducts that could cause airflow issues. Don’t forget to check your air filters, too.
Dirty and clogged filters can reduce airflow, causing your HVAC system to work harder than necessary, leading to increased energy consumption and higher bills. A damaged or leaking HVAC system can also lead to decreased air quality, which can impact your health and that of your family or employees. Therefore, make sure to inspect your HVAC system regularly to avoid any risks associated with it.
Whether you’re a homeowner, business owner or property manager, the last thing you want is to encounter HVAC issues that result in thousands of dollars in repair and replacement costs. Keep your HVAC system well-maintained and operate it as efficiently as possible by addressing any damage, leaks, or wear and tear as soon as they arise.
Prepare the Controller
Now that it’s springtime, you might be wondering how to turn on your sprinkler system. The first step in getting your sprinkler system ready is to prepare the controller. Make sure that it’s in the “off” position and that the power is turned off at the circuit breaker.
Next, remove the cover and examine the controller for any damage. Look for worn or loose wires, and check to make sure that the terminals are clean and free from corrosion. You’ll also want to replace the backup battery if it’s been more than a year since it was last replaced.
Once you’ve inspected and prepared the controller, you’re ready to move on to the next steps in getting your sprinkler system up and running for the season.
Replace the Batteries if Needed
To ensure the controller is ready for use, it’s important to prepare it properly. If you’ve noticed that the controller doesn’t seem to be working properly, the first thing to check is the batteries. If they are low or dead, replacing them can make a big difference.
Once you’ve done this, it’s a good idea to clean the controller to remove any dirt or debris that may be clogging the buttons or joysticks. You can do this with a damp cloth or a small amount of rubbing alcohol on a cotton ball. Be sure to give the controller a once-over to make sure all the buttons are working correctly and that the controller is responding as it should.
With a little TLC, your controller will be in prime condition for gaming.
Reset the Controller to Factory Settings
If you want to reset your controller to its factory settings, you’ll need to prepare beforehand. First, make sure you have a complete backup of all your data and settings, so you don’t lose anything important. Then, disconnect any external devices from your controller, such as USB drives or headphones.
Once you’ve done that, locate the reset button on your controller. It’s usually a small button located on the back or bottom of the controller. Press and hold the button for about five seconds until the controller’s lights blink rapidly.
This means that the reset process has started. Once the lights stop blinking, the reset is complete, and your controller should be back to its original factory settings. Restart your controller, and you’re good to go! Resetting your controller to its factory settings may seem like a daunting task, but if you follow these simple steps, you should be able to do it without any issues.
Just be sure to prepare first and make a backup of all your important data and settings. That way, you can easily restore them if you need to. Remember, always be careful when resetting your controller or any other device, and follow the manufacturer’s instructions closely to avoid causing any damage or voiding your warranty.
With a bit of preparation and care, you can easily reset your controller to its original factory settings and enjoy a fresh start.
Open the Water Valve
Spring is here, and it’s time to start watering your lawn again. To turn on your sprinkler system, the first thing you’ll need to do is locate the main water valve. It’s usually located near your water meter or in your basement.
Once you’ve found it, turn the valve counterclockwise to open it and allow the water to flow to your sprinkler system. Next, turn on your sprinkler controller and set your watering schedule for the desired days and times. Make sure to also check your sprinkler heads and make any necessary repairs or adjustments before fully utilizing your system.
And remember, regular maintenance is key to keeping your sprinkler system in good working condition for years to come. With these simple steps, you’ll be able to enjoy a lush and healthy lawn all season long.
Locate the Water Valve for the System
“Water Valve” When it comes to turning on your water system, the first step is to locate the water valve. This valve is usually located near the main water line and controls the flow of water into your home. The valve may be a lever or a knob that you can turn to open and close the water flow.
Once you’ve located the valve, open it slowly to avoid any sudden bursts or blasts of water. This will ensure that water flows into your system at a steady pace without causing any damage to your pipes or fixtures. Remember, it’s important to turn off the water valve when you’re done using the system to prevent any leaks or other issues.
By locating and properly opening your water valve, you can ensure that your water system is working properly and efficiently.
Ensure the Main Water Supply Is Turned On
When moving into a new home, it’s essential to ensure that the main water supply is turned on. Without doing so, you’ll be unable to access running water in your house. To open the water valve, you’ll need to locate the main shut-off valve, typically found near the water meter.
Turn the valve counterclockwise to open it fully, and allow the water to flow. It’s crucial to check for any leaks or damage to the plumbing system before turning on the water, as this could result in costly repairs later on. By taking the time to open the water valve and inspect your plumbing, you’ll have peace of mind knowing that your new home’s water supply is functioning correctly.
Remember, a little bit of preventative maintenance can go a long way in avoiding water-related issues down the line. So, make sure to take the necessary precautions before turning on the water.
Slowly Open the Valve to Allow Water to Flow
When it comes to turning on the water supply, it’s important to do it slowly and carefully to prevent any accidents or damage. Start by locating the valve, usually found near the water meter or main line. Once you’ve found it, make sure it’s fully closed before beginning.
Slowly turn the valve, using a wrench if necessary, to begin the flow of water. It’s important to open the valve gradually to avoid any sudden surges or increases in pressure that could cause damage to the pipes or fixtures in your home. Think of it like the opening of a faucet; turn it on too quickly and you risk a sudden burst of water.
By opening the valve slowly and carefully, you’ll ensure a steady, safe flow of water into your home. With a little care and attention, you’ll be able to enjoy all the benefits of your water supply without any unexpected surprises.
Activate the Sprinkler System
Spring is here, and it’s time to activate your sprinkler system after the long winter months. The process of turning on your sprinkler system in spring is not a difficult task, but it does require some steps to ensure proper water flow. First, locate the main water valve and turn it on slowly to prevent a sudden rush of water that could damage the pipes.
Next, open the control valve slowly to start the water flowing to the system. After that, check for leaks or any damage to the system components. Finally, turn on the sprinkler controller to the desired settings.
Once the system is activated, it’s important to pay attention to the weather patterns and adjust the sprinkler schedule if necessary. Proper maintenance of the system, including regular inspection, cleaning, and repairs, can help ensure its longevity and efficiency. With these simple steps, you can have a well-functioning sprinkler system, keeping your lawn and garden healthy and green throughout the spring and into the summer.
Check Each Zone Individually for Operation
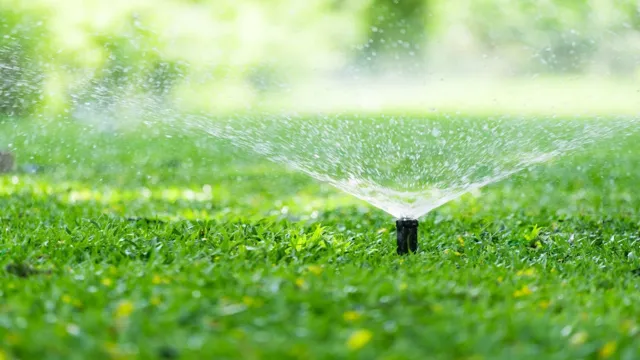
When it comes to activating your sprinkler system, it’s important to check each zone individually for operation. This means turning on each valve and making sure that the sprinklers in that zone are working properly. Start by turning on one zone at a time and checking to see if the sprinklers are all popping up properly and spraying water evenly.
If any heads appear to be malfunctioning, check for clogs or damage and make sure they are adjusted correctly. Move on to the next zone and repeat the process until you have tested all of the zones. This may seem like a time-consuming task, but it will help ensure that your entire lawn and garden receive the proper amount of water for healthy growth.
So, take the time to activate your sprinkler system the right way to avoid any issues later on.
Adjust Sprinkler Head Arc and Range as Needed
Before adjusting the sprinkler head arc and range, it’s important to activate the sprinkler system. This can be done by locating the main valve and turning it on. Once the water is flowing, it’s time to adjust the sprinkler heads.
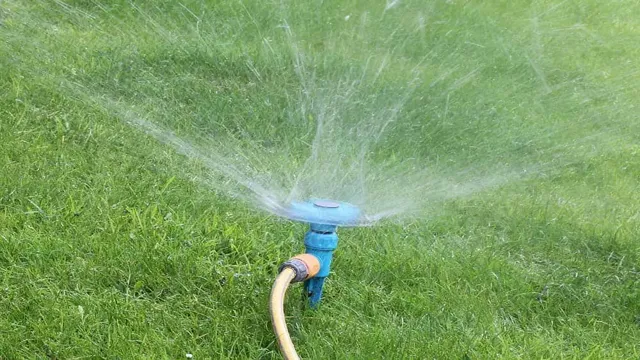
To adjust the arc of the sprinkler head, turn the adjustment screw located on the sprinkler head. To adjust the range, use the distance control knob on the sprinkler head. It’s important to adjust the arc and range as needed to ensure that every inch of your lawn and garden is being properly watered.
A great way to check this is to walk around your lawn while the sprinklers are on, ensuring that there are no dry spots or areas being overwatered. Remember that the key to a healthy and beautifully green lawn is proper watering and maintenance.
Schedule Regular Maintenance
Now that spring is here, it’s time to turn on your sprinkler system and get ready for lush green lawns and beautiful blooming flowers. The first step in doing so is to schedule regular maintenance for your system. This will ensure that it operates correctly and efficiently throughout the season.
Start by checking for any leaks or broken sprinkler heads and replace or repair them immediately. Also, examine the controller and make sure it’s programmed correctly and has fresh batteries. Once everything is in proper working order, turn on your system and test each zone to make sure water is flowing evenly and there are no clogs.
By following these steps and scheduling regular maintenance, you’ll have a reliable and efficient sprinkler system ready to keep your lawn and garden looking their best all spring and summer long.
Conclusion
In conclusion, turning on your sprinkler system in the spring is easy-peasy lemon-squeezy. Just follow these simple steps: check for any leaks or damaged parts, turn on the water supply, set your controller to the appropriate settings, and give your lawn and garden the refreshing dose of H2O they need to thrive. Just remember, water responsibly and with an eco-conscious mindset, ensuring that you don’t over-water or waste this precious resource.
Happy sprinkling!”
FAQs
What steps should I follow to turn on my sprinkler system in spring?
Before turning on your sprinkler system, it is important to check for damage and replace any broken parts. Then, turn on the water supply, activate the control panel, and adjust the watering schedule according to your needs.
Can I turn on my sprinkler system myself or should I hire a professional to do it?
If you are familiar with your system and feel confident in your abilities, you can turn on your sprinkler system yourself. However, if you are unsure or have a complex system, it is recommended to hire a professional to ensure it is done correctly.
Is it necessary to clean my sprinkler system before turning it on in spring?
Yes, it is important to clean and flush out your sprinkler system to remove any dirt, debris, or stagnant water that may have accumulated over the winter. Failing to do so can cause damage to your system and harm your plants.
How often should I water my lawn after turning on my sprinkler system in spring?
The frequency of watering depends on factors such as weather, soil type, and plant type. Generally, it is recommended to water your lawn deeply once or twice a week instead of frequent shallow watering.
What should I do if my sprinkler system is not working properly after turning it on in spring?
If your sprinkler system is not working properly, first check for clogs, leaks, or damaged parts. If you cannot identify the issue, it is best to call a professional to diagnose and repair the problem.
Can I adjust the watering schedule of my sprinkler system after turning it on in spring?
Yes, you can adjust the watering schedule of your sprinkler system at any time to better fit the needs of your lawn and plants. Many systems also have features like rain sensors and smart controllers that automatically adjust the watering schedule based on weather conditions.
Is it important to winterize my sprinkler system after turning it off in fall?
Yes, it is crucial to winterize your sprinkler system in fall to prevent freezing and damage to the pipes and valves. Winterization involves draining the system and blowing out any remaining water with compressed air.

