How to Use a Laser Level on a Floor for Accurate and Level Results

Laser levels have revolutionized the way we work on floors, making previously time-consuming tasks quick and easy. Whether you’re installing tiles, hardwood, or vinyl floors, using a laser level ensures your floor is level and consistent, eliminating any bumps or waves that could impact the overall look of your project. But how exactly do you use a laser level on a floor? In this blog, we’ll walk you through the basics of using a laser level on a floor, including how to set up your laser level and how to adjust it for accurate results.
By the end, you’ll be a pro at using a laser level to achieve perfectly level floors every time.
What is a Laser Level?
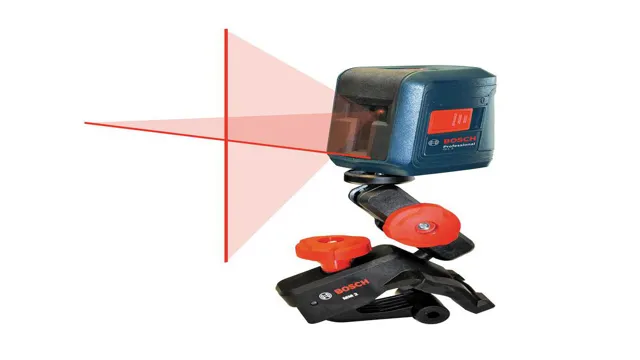
Using a laser level on a floor is a smart way to achieve precise measurements. A laser level emits a laser beam that can be either a single dot, a crosshair, or a line. The dot is mainly for positioning objects, while the crosshair and line can be used to align surfaces such as floors.
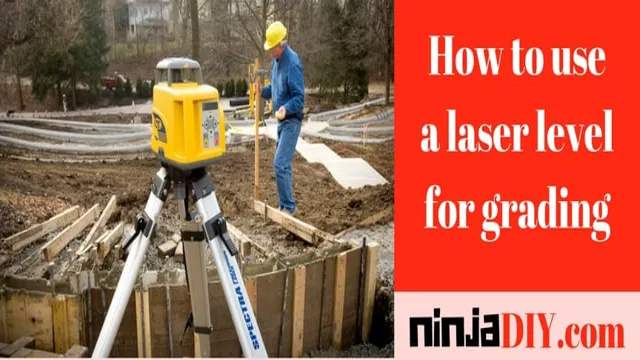
To use a laser level on a floor, you need to choose the right type of laser level and position it appropriately. First, you need to select a laser level that is designed for indoor use with good visibility. Next, place the laser level on a sturdy tripod at a point that is easy to view and where it can project a level line onto the floor.
Always ensure the laser level is stable and not prone to movement. Finally, turn on the laser level and adjust the height and position until the laser line is visible on the floor. Once you have achieved the desired level, you can start working knowing that the surface of the floor is level.
It is essential to follow the manufacturer’s instructions when using a laser level to ensure accuracy in your work.
Definition and Types of Laser Levels
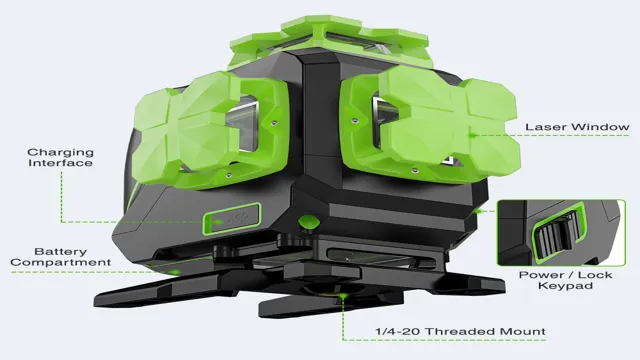
A laser level is a tool that projects a laser beam onto a surface, providing a straight and accurate horizontal or vertical reference line. It is commonly used in construction and DIY projects to ensure level surfaces for tasks such as installing tiles, hanging shelves, or laying foundations. There are three main types of laser levels: dot lasers, line lasers, and rotary lasers.
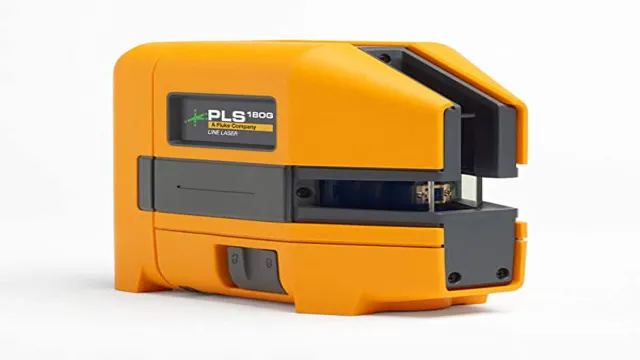
Dot lasers project multiple dots onto a surface, allowing for quick and easy alignment. Line lasers project a straight line, useful for laying flooring or tiling walls. Rotary lasers project a 360-degree rotating line, perfect for outdoor leveling and large-scale construction projects.
It is important to choose the right type of laser level for your project and ensure proper calibration for accurate results.

Preparing for Use
Using a laser level on a floor may seem daunting at first, but with a few simple steps, it can be a breeze. The first step is to ensure that the batteries are fully charged or replaced. Once this is done, place the laser level in the desired location and adjust the tripod to the appropriate height.
Next, turn on the laser level and check the bubble vials to make sure that it is level. If not, adjust the tripod until it is. Once the laser level is level, turn on the rotation and adjust it to project the laser beam in the desired direction.
Lastly, mark the location of the laser beam on the floor with a pencil, and repeat the process as needed until the entire area is covered. Overall, using a laser level on a floor is a straightforward process that can save time and ensure accuracy in any project.
Step-by-Step Guide to Preparing Your Laser Level
Preparing your laser level for use is an essential step in ensuring accurate and precise measurements. Before starting any task, make sure the surface on which you’ll place the device is clean and level. This action guarantees that the laser beam will project straight and error-free.
Check the battery levels and install new ones if necessary, as low battery power causes inaccuracies and shortens the tool’s lifespan. Next, adjust the tool to your preferred height, depending on the task at hand, and lock it in place to avoid any accidental movement. Ensure the device’s accuracy by calibrating it by adjusting the bubble vials.
Place the tool and direct it to the designated area, making sure the bubble vials read level. After completing these steps, your laser level is ready for action, providing precise measurements for all your projects.
Using the Laser Level on a Floor
If you’re looking to level a floor with precision, a laser level can be a great tool to get the job done. Before beginning, make sure the surface is clean, free of debris, and dried completely. Then, take the laser level and place it as close as possible to the center of the room you’re working in.
Turn the device on and locate the bubble indicator, making sure the level is perfectly flat. Set the laser to your desired height and begin measuring, marking the floor as necessary with a pencil or masking tape. Continue measuring and marking until you’ve covered the entire space, being careful not to move the level during the process.
Once you’ve finished, you should have an accurate and level surface to work with. Remember to always wear proper eye protection when working with a laser level.
Tips for Accurate Floor Leveling with a Laser Level
Floor leveling with a laser level can be tricky, but with the right tips, it can be done with precision. First, it’s important to calibrate your laser level before starting. Make sure the bubble vials are level on both axes and adjust the laser to the desired height.
Next, mark your starting point and use the laser level to project a straight line across the floor. As you move the laser further down the floor, make sure the line stays level by checking with a bubble level. Finally, mark any areas that need adjustment and repeat the process until the entire floor is level.
By following these steps, you can ensure accurate floor leveling using your laser level.
Common Mistakes to Avoid When Using a Laser Level on a Floor
“laser level on a floor” When using a laser level on a floor, there are a few common mistakes that you should try to avoid. One of the most significant errors is not leveling out the floor beforehand. If the floor is not level, then the laser level will not produce accurate measurements.
Additionally, make sure that the laser level you choose is suitable for the space you’re working in. Some laser levels may not work well in brightly lit areas or outside. When setting up the laser level, it’s essential to ensure that it is stable and not at risk of being bumped or moved, as this will also negatively affect the accuracy of your measurements.
Finally, always double-check that the laser level is calibrated correctly. Failure to do so can result in inaccurate readings and wasted time. By avoiding these common mistakes when using a laser level on a floor, you can save yourself frustration and ensure that your measurements are as accurate as possible.
Conclusion
Now that you have the level-playing field (pun intended) on how to use a laser level on a floor, you can confidently tackle any flooring project with ease. Just remember to follow our tips and tricks and don’t let anyone tell you that you’re “laser-level obsessed.” With this nifty tool by your side, you’ll be sure to impress your friends and enemies alike with your perfectly leveled floors.
Happy leveling!”
FAQs
What is a laser level and how does it work on a floor?
A laser level is a tool that emits a laser beam to create a straight and level line on a surface. To use it on a floor, simply place the tool at one end of the room and turn it on. The laser beam will create a line that can be used as a guide to lay tiles, install cabinets or any other task that requires level alignment.
Can laser levels be used on uneven floors?
Yes, laser levels can be used on uneven floors. However, it is important to have a tripod stand or an adjustable base to ensure the laser level is level on the uneven surface.
How accurate is a laser level on a floor?
The accuracy of a laser level on a floor can vary depending on the quality of the tool and the distance from the tool to the surface. As a rule of thumb, the accuracy should be within 1/8 inch at 30 feet.
Can laser levels be used in bright sunlight on a floor?
Some laser levels are equipped with a special light filter that allows them to be used in bright sunlight. However, it is important to check the specifications of the tool before purchasing to ensure it is suitable for outdoor use.
How do you calibrate a laser level on a floor?
To calibrate a laser level on a floor, start by placing the tool on a level surface or tripod stand. Then, turn it on and adjust the bubble level until it is centered. Next, rotate the tool 180 degrees and check that the laser beam aligns with the original line. If it does not, adjust the tool until the line is straight.
Can laser levels be used for measuring distances on a floor?
Some laser levels are equipped with a distance measuring tool, which allows them to measure distances in addition to creating level lines. However, these tools are typically more expensive and may not be necessary for most tasks.
How do you use a laser level on a floor to install tiles?
To use a laser level on a floor to install tiles, simply place the tool at one end of the room and turn it on. The laser beam will create a line that can be used as a guide to lay the first row of tiles. Continue to use the laser level to create additional rows, checking periodically to ensure the tiles are aligned with the laser line.

