How to Use a Schumacher Car Battery Charger for Optimal Performance
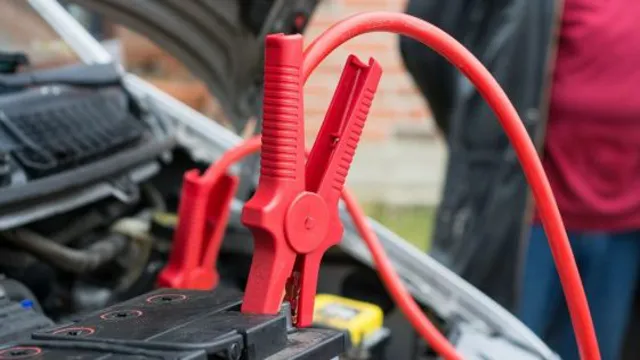
Have you ever struggled with a dead battery in your car? It can be frustrating and inconvenient, especially when you’re in a rush. That’s where a Schumacher car battery charger comes in handy. This device can help you bring your battery back to life quickly and easily.
But if you’re new to using one, you may be wondering how to use a Schumacher car battery charger effectively. In this blog, we’ll guide you through the steps to ensure you can use your Schumacher charger without any trouble.
Introduction
If you’re looking for a reliable and easy-to-use car battery charger, the Schumacher brand is a great choice. With its advanced technology and high-quality components, using a Schumacher car battery charger can give your vehicle’s battery the boost it needs to get back on the road. To start using your Schumacher charger, you’ll need to first connect the clamps to the battery terminals, making sure you have a solid and secure connection.
Then, plug in the charger and wait for it to start charging the battery. It’s important to monitor the charger’s progress and adjust the settings if necessary. Once the battery is fully charged, simply disconnect the clamps and your car should be ready to go.
With a little practice and patience, you can confidently use your Schumacher car battery charger to keep your vehicle’s battery in top condition.
What is a Schumacher Car Battery Charger?
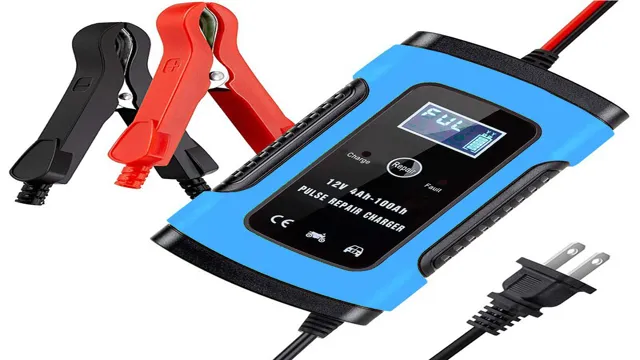
A Schumacher car battery charger is a device that helps charge car batteries. It essentially uses electrical power to deliver a charge to the battery, which can then power the car. These chargers come in different varieties, including portable versions that can be used on-the-go or mounted in a workshop.
The name Schumacher comes from the brand that produces these chargers, which are known for their quality and reliability. These devices are essential for car owners who experience battery issues, which can happen for a variety of reasons, including extreme temperatures, overuse, or a dead battery. With a Schumacher car battery charger, drivers can quickly recharge their batteries and get back on the road in no time.
Plus, many of these chargers come with various safety features that protect the battery and the car from overcharging or other potential issues.

Why Do You Need a Schumacher Car Battery Charger?
Schumacher Car Battery Charger Are you tired of dealing with dead car batteries? If so, investing in a Schumacher car battery charger could be a game-changer for you. This high-quality charger is designed to provide fast and efficient charging for a wide range of battery types, including standard lead-acid and AGM batteries. Whether you’re a weekend warrior looking to keep your classic car in top shape or a busy professional who needs a reliable charging solution for your fleet vehicles, a Schumacher car battery charger is an excellent choice.
Not only will it save you time and hassle when dealing with dead batteries, but it can also extend the lifespan of your batteries and save you money in the long run. So why wait? Invest in a Schumacher car battery charger today and experience the convenience and peace of mind that comes with having a reliable charging solution at your fingertips.
Step-by-Step Guide
Learning how to use a Schumacher car battery charger is essential for any car owner, especially those who don’t want to wait for a jumpstart or a tow truck if their battery encounters any problems. To use this battery charger properly, the first step is to ensure that you have the correct type of charger for your car battery. Once you have the correct charger, you can start by reading the user manual carefully to understand all the features and functions.
Next, you need to connect the charger to your car battery correctly, ensuring that the positive and negative cables are connected to the right battery terminals. After that, you can plug the charger into an electrical outlet, turn the charger on, and select the appropriate charging mode. Different Schumacher chargers have different charging modes, including fast, slow, and trickle charging, so choose the right one based on the level of battery charging required.
Finally, it’s essential to keep a close eye on the charger throughout the charging process, monitoring the progress and not leaving it unattended. With these simple steps, you can use a Schumacher car battery charger with ease and maintain your car battery’s longevity.
Step 1: Safety Precautions
One of the most important steps in any DIY project is ensuring safety precautions are taken. This is especially true when working on a home improvement project involving power tools or heavy equipment. Before starting any work, make sure you have the proper safety gear such as gloves, goggles, and a respirator.
It’s also important to ensure the work area is well lit and ventilated. Another key aspect of safety is having a first-aid kit nearby in case of accidents. Always read and follow the instructions for any tools or equipment you’ll be using, and never work alone if possible.
By taking these precautions, you’ll help minimize the risk of injury and be able to focus on the task at hand. Remember, safety should always come first in any DIY project.
Step 2: Connect the Charger to the Battery
Now that you have prepared the battery for charging, it’s time to connect the charger to the battery. Before you start, make sure the charger is turned off, and the power source is unplugged or turned off to avoid any accidents. Locate the positive and negative terminals on the battery.
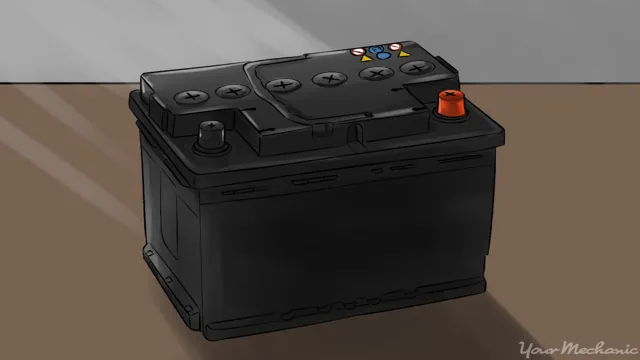
The positive terminal is marked by a plus sign (+), and the negative terminal is marked by a minus sign (-). Connect the positive terminal of the charger to the positive terminal of the battery, and the negative terminal of the charger to the negative terminal of the battery. Make sure the connections are secure and tight to avoid any sparks or loose connections.
Once the charger is connected to the battery, you can turn on the power and start the charging process. Keep an eye on the charger and battery during the charging process to ensure everything is functioning correctly. With these simple steps, you can ensure your battery is charged properly and ready to use again.
Step 3: Set the Charger Settings
When it comes to setting up your electric vehicle charger, the next step is to configure its settings properly. The charger settings can make a big difference in the efficiency and effectiveness of the charging process. Some charging stations come with preset settings, while others require manual configuration.
You may need to adjust the amperage, voltage, or charging time to suit your vehicle’s needs and the available power source. It’s essential to follow the manufacturer’s instructions and guidelines to ensure safe and optimal charging performance. Proper configuration can also help you avoid overloading the circuit, tripping the breaker, or damaging the battery.
Overall, taking the time to set up your charger correctly can lead to faster, smoother, and more reliable charging sessions, giving you peace of mind and convenience. So, don’t skip this crucial step and make sure to personalize your charger settings for maximum benefits.
Step 4: Start Charging the Battery
Step 4: Start Charging the Battery Now that you have properly connected the battery to your vehicle, it’s time to charge it. Before you start, make sure the charging cables are not damaged and are securely attached to both the battery terminals and the charger. It is important to follow the manufacturer’s instructions when using a battery charger for the first time.
Some chargers have different settings that can be adjusted based on the type and size of the battery. Once you have set the charger, simply connect the charger’s positive cable (usually red) to the positive battery terminal, and the negative cable (usually black) to the negative battery terminal. Then turn on the charger.
Charging times can vary based on the type and size of the battery, so be sure to keep an eye on the charger and the battery’s condition while it charges. Avoid charging the battery too quickly, as this can damage the battery and reduce its lifespan. Once the battery is fully charged, disconnect the charger cables, starting with the negative cable, then the positive.
Now your car battery is ready to go!
Tips and Tricks
“Using a Schumacher car battery charger can be intimidating at first glance, but with a few easy steps, you’ll have your battery back up and running in no time! First, make sure to read the manual thoroughly. You’ll need to identify the type of battery you have and match it with the correct setting on the charger. Next, connect the charger’s clamp to the corresponding battery terminals.
Be sure to connect the red clamp to the positive (+) terminal and the black clamp to the negative (-) terminal. Once you’ve made the proper connections, turn on the charger and wait until it reaches a full charge. It’s important to keep an eye on the charger while it’s in use, and never leave it unattended.
Once it’s finished charging, disconnect the clamps and store your charger in a cool, dry place. Using a Schumacher car battery charger can seem overwhelming, but by following these simple steps, you’ll be able to confidently charge your battery with ease.”
Tip 1: Use a Digital Multimeter to Check if the Battery is Fully Charged
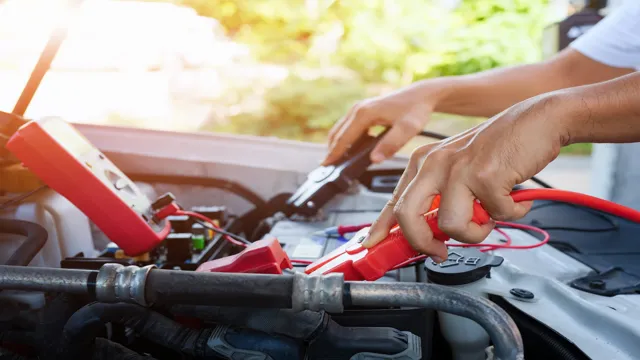
A digital multimeter can be a handy tool to check if your battery is fully charged. By simply taking a reading of the voltage output, you can determine if your battery is charged to its maximum capacity. To use the multimeter, make sure the battery is disconnected from any power source and turn the multimeter to the DC voltage setting.
Then, connect the red lead to the positive terminal of the battery and the black lead to the negative terminal. The reading should show around 16 volts if the battery is fully charged.
Anything lower than that indicates that the battery might need further charging. Using a digital multimeter can save you time and effort by giving you a quick and accurate reading of your battery’s charge level. By regularly checking your battery’s charge, you can extend the life of your battery and avoid unexpected failures.
Tip 2: Clean the Battery Terminals before Charging
When it comes to charging your device, one important tip to keep in mind is to clean the battery terminals before doing so. Over time, dust, dirt, and other particles can accumulate on the battery terminals, which can affect the charging process and prevent your device from getting the full charge it needs. To clean the battery terminals, start by turning off your device and removing the battery.
Use a clean, dry cloth to remove any visible dirt or dust. Then, use a cotton swab dipped in rubbing alcohol to gently wipe away any remaining residue. Once the terminals are clean, you can safely charge your device and ensure that it gets the maximum battery life possible.
By following this simple tip, you can prevent potential charging issues and keep your device running smoothly.
Conclusion
In conclusion, using a Schumacher car battery charger is as simple as letting your car inhale some rejuvenating energy. Just like how you recharge yourself after a long day, your car battery needs the same love and care. So, plug in your Schumacher charger, sit back, and watch as your car comes back to life.
After all, it’s not just the destination that matters, but also the journey that gets you there. Here’s to a smooth ride with a fully charged battery!”
FAQs
What is a Schumacher car battery charger and how does it work?
A Schumacher car battery charger is a device used to recharge dead or nearly dead car batteries. It works by converting AC power into DC power and controlling the flow of the current to properly charge the battery.
Can a Schumacher car battery charger charge any type of car battery?
No, not all Schumacher car battery chargers are designed to charge all types of car batteries. It’s important to check the specifications of your charger to ensure it is compatible with your battery.
How long does it typically take to fully charge a car battery with a Schumacher charger?
The amount of time it takes to fully charge a car battery with a Schumacher charger can vary depending on the charger and the battery’s capacity. However, it usually takes between 2 to 6 hours.
Can a Schumacher car battery charger jump-start a car?
No, a Schumacher car battery charger is not designed to jump-start a car. It’s important to use a jump-starter or other type of device specifically designed for jump-starting a car if needed.
Can a Schumacher car battery charger overcharge a car battery?
Yes, it is possible for a Schumacher car battery charger to overcharge a car battery if left connected for too long. It’s important to follow the manufacturer’s instructions and disconnect the charger once the battery is fully charged.
Is it safe to leave a car battery charging with a Schumacher charger overnight?
It is generally not recommended to leave a car battery charging with a Schumacher charger overnight. Overcharging the battery can lead to damage or even explosion.
Can a Schumacher car battery charger be used to charge other types of batteries?
Yes, depending on the model, a Schumacher car battery charger can be used to charge other types of batteries such as motorcycle batteries, ATV batteries, and marine batteries. It’s important to check the charger’s compatibility with the specific type of battery before using it.

