How to Use a Staple Gun for Upholstery: Tips and Tricks for Perfect Results
Have you been eyeing that old, worn-out couch or chair in your living room, just waiting for the right opportunity to give it a much-needed refresh? Maybe you’re hesitant to shell out the money for professional upholstery services, but don’t worry, you can do it yourself! And the best part? All you need is a staple gun. That’s right, a staple gun is one of the most essential tools for anyone looking to take on an upholstery project. By using a staple gun, you can effortlessly attach new fabric to your furniture, achieving a professional-looking finish in no time.
But hold on, before you start firing away with staple bullets, it’s important to understand the proper techniques and safety precautions when working with a staple gun. In this blog post, we’ll dive into everything you need to know about using a staple gun for upholstery, from choosing the right type of staple gun to learning the correct way to staple fabrics. Whether you’re a seasoned DIY-er or a beginner, this article will provide you with all the information you need to tackle your next upholstery project with confidence.
So, grab your staple gun and let’s get started!
What You’ll Need
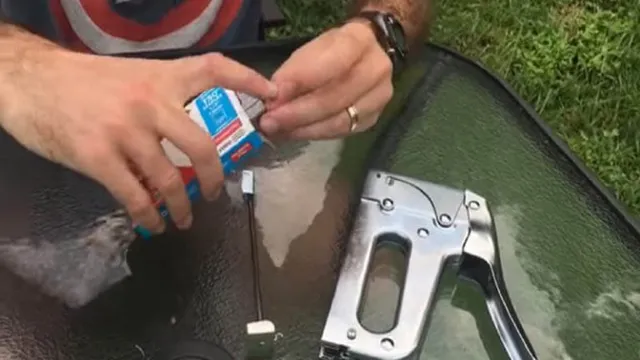
If you’re looking to tackle an upholstery project, you’ll need a staple gun to secure your fabric in place. But before you get to work, you’ll need to make sure you have a few other key items on hand as well. First, make sure you have the right type of staples for your project.
Upholstery staples are thicker and stronger than regular staples, so be sure to purchase the appropriate size for your staple gun. You’ll also need a pair of fabric scissors to cut your fabric to size, a measuring tape to make sure your measurements are accurate, and a sturdy surface to work on. Once you have all your materials, it’s time to start stapling.
Simply load your staple gun with the appropriate staples, position your fabric where you want it, and press the trigger to secure it in place. With a little practice, you’ll be able to create beautiful, customized upholstered pieces in no time.
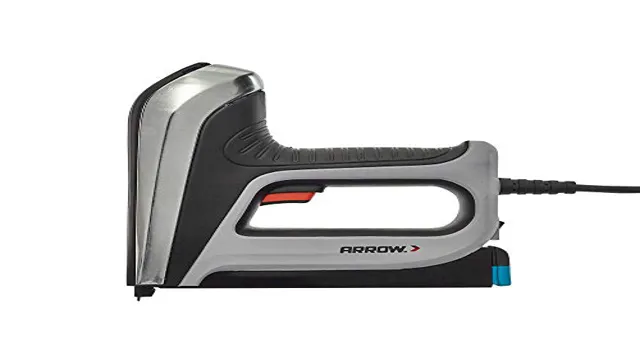
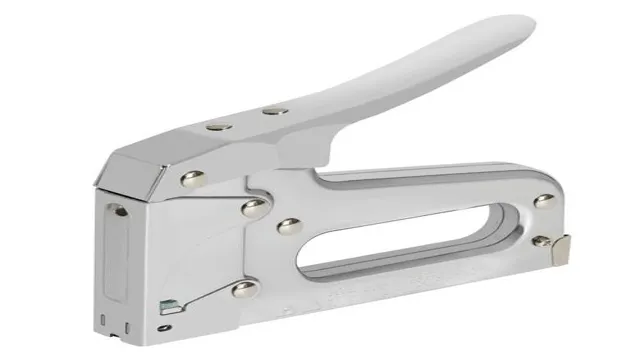
Staple gun
If you’re looking to put up some new curtains or hang up some posters, a staple gun can make the job a lot easier. Before you get started, there are a few things you’ll need to make sure you have on hand. First and foremost is the staple gun itself.
You’ll want to choose a staple gun that’s appropriate for the job you’re doing, so consider the size and type of staples it can handle. You’ll also need the correct type and size of staples to fit your staple gun. Depending on the surface you’re stapling into, you may need additional reinforcement such as a hammer and nails or screws.
Finally, it’s always a good idea to have a pair of safety goggles on hand to protect your eyes from any rogue staples that might shoot out in the wrong direction. With these tools at the ready, you’ll be able to tackle any stapling project with ease.
Upholstery fabric
If you’re going to reupholster your furniture, there are some essential materials you’ll need to get started. Upholstery fabric is at the top of the list, and there are many options to choose from. To begin, measure your furniture and add 10-15% to account for pattern matching and mistakes.
Then, decide on the weight and type of fabric you want. Heavier fabrics are more durable while lighter fabrics are easier to work with. Look for fabric made from natural fibers like cotton, linen, or wool for a softer feel or synthetic fibers like polyester or nylon for a more resistant fabric.
In addition to the upholstery fabric, you’ll need some other materials such as a staple gun, foam, batting, and thread. Remember, your chosen fabric’s durability and texture will affect the furniture’s longevity and feel, so it is essential to take your time and choose the right fabric for your project. Consider the style of your furniture, your lifestyle, and the space where it will be used.
If you have pets or kids, choose a sturdy and easy-to-clean fabric that will withstand wear and tear. A leather or vinyl fabric may be a better option for high-use furniture. On the other hand, if you want a cozy feel, consider a soft chenille or velvet fabric.
Whatever decision you take, make sure that it’s your own unique decision, so your furniture can reflect your personality.
Foam or batting
If you’re working on a sewing project that requires filling, you may be wondering whether to use foam or batting. Before deciding, consider the purpose of your project and the effect you want to achieve. Both materials have their strengths and weaknesses.
Foam is more firm, supportive, and long-lasting, making it ideal for cushions, mattresses, and other items that require structure. However, it may be more challenging to work with and may need special tools. Batting, on the other hand, is more flexible and soft, making it ideal for quilts, blankets, and other items that require warmth and comfort.
However, it may compress over time, losing its shape and loft. Depending on your project, you may need to use a combination of foam and batting for the best results. Ultimately, it comes down to personal preference and the specific requirements of your project.
Scissors
When it comes to cutting hair, one of the most essential tools you’ll need is a pair of scissors. But not just any scissors will do. In fact, using the wrong kind of scissors can actually damage your hair and make it more difficult to style.
So what kind of scissors should you look for? First, consider the size and weight of the scissors. You want them to feel comfortable in your hand and be easy to maneuver. Next, look for scissors made from high-quality materials, like stainless steel, which will stay sharp for longer.
Finally, make sure to choose scissors specifically designed for cutting hair, since these will have sharp, precision blades that will make it easy to achieve clean, straight cuts. Overall, investing in a good pair of hair-cutting scissors will make all the difference in achieving a professional-looking haircut at home.
Staples
When it comes time to stock up on office supplies, there are a few staples you won’t want to forget. First on the list, of course, is paper. Without it, nothing else in the office runs smoothly.
Whether you prefer traditional printer paper or something more specialized, like cardstock or glossy photo paper, make sure you have enough on hand to handle all of your printing needs. A good set of pens and pencils is also essential, as they are the backbone of note-taking, brainstorming, and outlining. Don’t forget the tools necessary to keep your work area clean and organized, such as sticky notes, file folders, and a stapler.
Lastly, technology is an indispensable part of any modern business. Be sure to invest in quality equipment, like a dependable printer and a high-speed internet connection, to ensure that your team can work efficiently and effectively. By keeping these essential items stocked up and organized, you’ll be well on your way to running a seamless, successful office.
Preparing the Staple Gun
Before starting any upholstery project, it’s important to prepare your staple gun for use. First, ensure that the staples you have are the correct size for your staple gun. This is vital as using the wrong size can damage the tool and make it difficult to bind fabric and wood materials together.
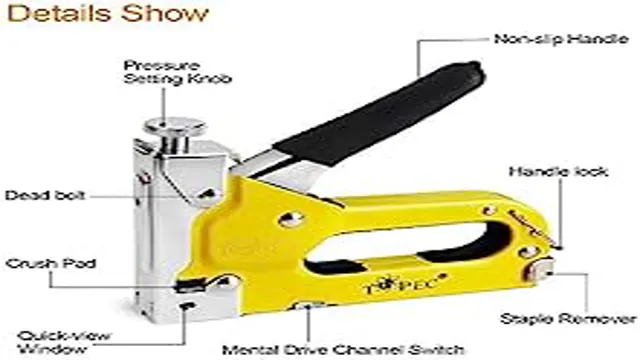
Once you are sure you have the correct size, load the staples by opening the staple gun’s magazine and sliding them into place. Make sure they are rectified and pushed firmly into the magazine to avoid the gun jamming. Also, some staple guns come with adjustable pressure features, which can be useful when working with different fabrics and materials.
If so, set the pressure accordingly, ensuring the staples penetrate the material without damaging it. By taking these simple steps, you’ll be ready to use your staple gun for upholstery and ensure professional-looking results.
Load the staple gun with staples
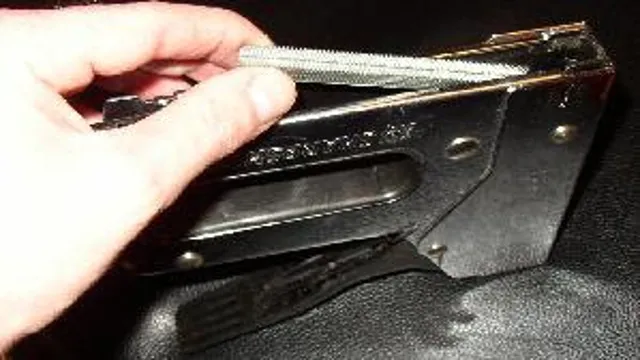
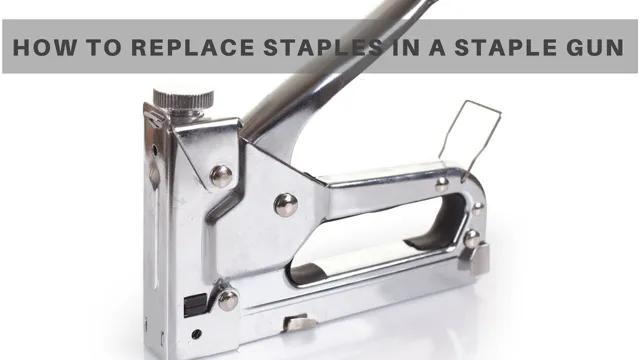
Before using a staple gun, it’s important to prepare it properly. One of the first steps is to load the staple gun with staples. To do this, you will need to locate the staple chamber of the gun, usually found near the front of the device.
Check the size of the staples that will fit in your gun and purchase accordingly. Choose a strip of staples and align them in the chamber with the pointed end facing down. Push them gently until they are secured in place.
Make sure the staples are aligned straight and are not bent or overlapping. Once the staples are locked in place, test the staple gun on a scrap piece of material to ensure they are firing correctly. With the staple gun loaded and ready to go, you can start working on your project with confidence.
Don’t forget to wear safety goggles and gloves to protect your hands and eyes. With a little practice, you’ll be a stapling pro in no time!
Adjust the depth of the staple gun
Adjusting the depth of your staple gun is an important step in preparing it for use. You don’t want your staples to be too shallow or too deep, as this can affect the quality of your work. First, you need to locate the depth adjustment knob on your staple gun.
It is usually located near the nose of the tool and may be labeled “depth control” or something similar. You can adjust the depth by turning the knob clockwise or counterclockwise depending on the desired depth you want. It’s important to test your staple gun on a scrap piece of material before you start your project, to ensure that the staple depth is just right.
You want to hear a satisfying “pop” sound when the staple is fired, indicating that it has penetrated the material to the correct depth. With a well-adjusted staple gun, you’ll be able to produce high-quality work every time.
Upholstering with a Staple Gun
Learning how to use a staple gun for upholstery may seem daunting, but it’s actually a fairly straightforward process. Firstly, it’s important to choose the right staple size for your project. Typically, a 3/8-inch or 1/2-inch staple will suffice for most upholstering jobs.
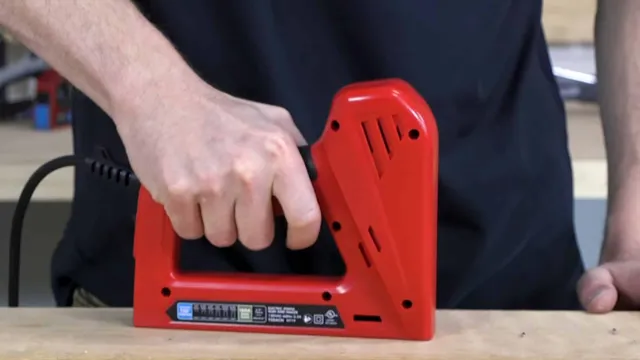
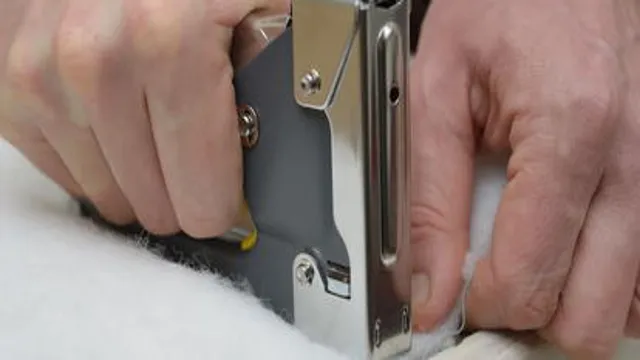
Next, load your staple gun and adjust the pressure as necessary. Then, carefully and firmly press the staple gun against the surface of the fabric and pull the trigger to release the staple. It’s crucial to work methodically and accurately, ensuring that your staples are tightly spaced and the fabric is pulled taut throughout the process.
A great tip is to start in the middle of your fabric and work your way outwards towards the edges to avoid wrinkles or bunching. By taking your time and following these simple steps, you’ll quickly become a pro at using a staple gun for all your upholstery projects.
Stretch the fabric over the foam or batting
When it comes to upholstering furniture with a staple gun, one of the most important steps is stretching the fabric over the foam or batting. Without proper stretching, the material can become loose and wrinkle, ruining the overall appearance of your finished product. To start, lay your foam or batting onto your furniture piece and cut your fabric so that it is bigger than your foam or batting.
Begin by stapling the material in the center of the back of your furniture item, then work your way outwards, gently pulling the fabric as you go. Make sure the fabric is taut, but not too tight, as this can cause unnecessary stress on the material and may cause tearing. Use your staple gun to secure the fabric in place, being careful to not staple too close to the edges.
Remember to take your time and use small, even pressure when stapling to prevent any unwanted creases or folds. By following these simple tips, you can create a beautiful and professional-looking upholstered furniture piece that will last for years to come.
Secure the fabric with one staple in the center of one side
Upholstering with a staple gun is a quick and easy way to give your old chairs or couches a brand new look. However, it can be a little overwhelming if you have never done it before. The first step is to secure the fabric with one staple in the center of one side, making sure it is taut but not too tight.
Then, move to the opposite side and repeat the process, making sure there are no wrinkles or creases. Continue working your way around the piece, pulling the fabric taut and stapling it into place every few inches. It’s important to work slowly and carefully, making sure the fabric is smooth and even before moving on to the next section.
Once you have finished stapling the fabric to the frame, trim off any excess material and enjoy your newly upholstered furniture! With a little practice and patience, you will be able to give new life to all sorts of old pieces.
Stretch the fabric taut and staple the opposite side
When upholstering furniture, one of the essential tools you need is a staple gun. To create a clean and professional look, it’s crucial to stretch the fabric taut and staple the opposite side. This method ensures that there are no wrinkles or bunching on the front of the furniture.
Start by pulling the fabric taut and using a staple gun to staple it onto the frame. Then, work your way around the furniture, pulling the fabric taut as you go and placing staples every few inches. It’s essential to keep the fabric tight but not too tight, as this can cause warping or sagging over time.
Once you’ve stapled one side, stretch the fabric as taut as possible, then staple the opposite side. This creates an even and smooth look across the entire piece of furniture. Remember, taking the time to stretch the fabric taut and staple the opposite side is the hallmark of a professional upholsterer, and can make all the difference in the finished product.
Repeat on remaining sides
Once you have successfully upholstered one side of your furniture, it’s time to move on to the remaining sides. Using a staple gun can make this process much easier and quicker compared to using traditional upholstery methods. Start by pulling the fabric taut across the next adjacent side, ensuring there are no wrinkles or creases.
Begin stapling along the edge of the fabric, close to the furniture frame. Work your way along the entire side, spacing the staples evenly and making sure the fabric remains taut. Repeat this process on the opposite adjacent side before moving on to the final two remaining sides.
Taking your time and ensuring precision in your staple placement can make all the difference in achieving a polished, professional-looking upholstery job.
Trim excess fabric and batting
After stapling the fabric onto your furniture, it’s important to trim any excess fabric and batting. This step will give your finished piece a neat and professional look. To do this, use scissors or a utility knife to carefully trim away any excess material.
Be sure to leave a small amount of fabric at the edges to ensure it’s properly secured to the frame. It’s important to be precise when trimming to avoid cutting too much fabric and exposing the staples or hurting yourself. A good tip is to trim in small increments and continually check your progress to ensure you achieve the desired fit.
With the excess material removed, step back and admire your newly upholstered furniture that’s ready to be used. This simple step may seem small but it’s essential in achieving a polished end result that will make your furniture look brand new again.
Final Thoughts
Using a staple gun for upholstery may seem daunting at first, but with a few simple tips, you can easily master this useful tool. Before starting, make sure to choose the right staple gun for your project. Check the size of the staples and the strength of the gun to ensure it is suitable for the job.
When using the staple gun, always keep your fingers away from the trigger and be mindful of your surroundings. It’s important to use a steady hand and apply even pressure to avoid misfires or mistakes. It can also be helpful to practice on a spare piece of fabric before starting your project to get a feel for the staple gun and build confidence.
Remember to always follow safety guidelines and never leave the staple gun unattended. With a little practice and attention to detail, you can achieve professional-looking results on all your upholstery projects.
Conclusion
If you want to take your upholstery game to the next level, a staple gun is an essential tool. But use caution, because once you start stapling, you’ll never want to stop! Remember to prep your surface, choose the appropriate staples, and aim for precision. And don’t worry if you make a mistake, just pull out your trusty staple remover and try again.
With a little practice, you’ll be an upholstery pro in no time! So grab your staple gun, get creative, and staple away like a boss!”
FAQs
What kind of staple gun should I use for upholstery?
It’s recommended to use an electric or pneumatic staple gun for upholstery rather than a manual one.
What size staples should I use for upholstery?
Generally, 3/8 inch or 1/2 inch staples are suitable for most upholstery projects.
How do I load staples into a staple gun for upholstery?
Refer to the manufacturer’s instructions for the specific staple gun you have. Generally, you will need to open the staple gun, insert the staples, and then close it securely.
How do I ensure the staples are going into the correct place for upholstery?
Prior to using the staple gun, mark the areas where you want to place the staples to ensure accuracy. You can use a fabric pencil or chalk for this.
What safety precautions should I take when using a staple gun for upholstery?
Always wear safety glasses and keep your fingers away from the staple exit point. Also, make sure the staple gun is unplugged or the air source is disconnected when reloading staples.
How do I remove staples from upholstery if I make a mistake?
Use needle-nose pliers or a staple remover tool to gently pull out the staples. Be careful not to damage the fabric.
Can I use a staple gun for other DIY projects besides upholstery?
Yes, staple guns can be used for a variety of DIY projects such as framing, crafting, and even hanging decorations. Just make sure to use the appropriate size and type of staples for the job.

