How to Use a Voltage Tester on a Light Switch: A Step-by-Step Guide for Beginners
Have you ever been stumped by a light switch that just won’t turn on? It’s frustrating, especially when you’re not sure whether the issue lies with the switch itself or with the wiring behind it. Fortunately, there’s a simple solution: a voltage tester. This handy tool allows you to test whether electricity is flowing properly through your switch, making it easy to diagnose the problem and fix it quickly.
In this blog post, we’ll walk you through everything you need to know about using a voltage tester on a light switch. From understanding the basics of voltage testing to getting hands-on with your own switch, we’ve got you covered. So why wait? Let’s get started!
What is a Voltage Tester?
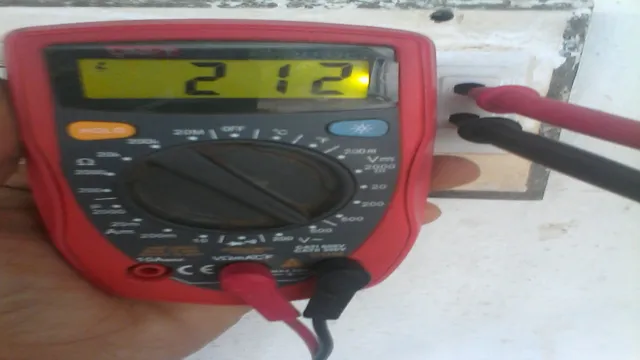
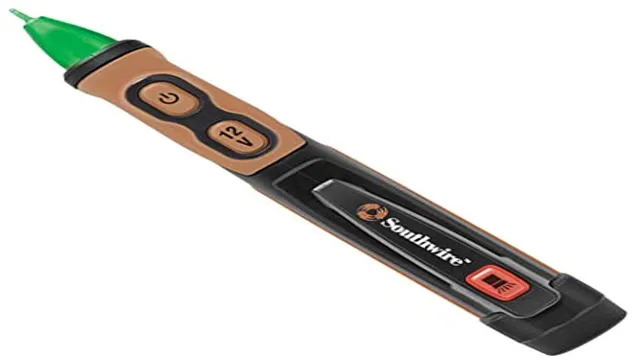
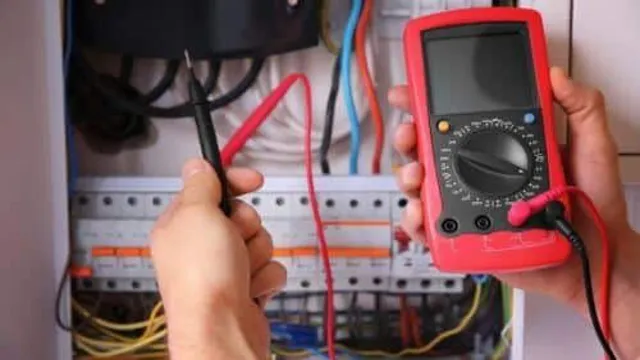
If you want to install a new light switch or replace an existing one, you’ll need to use a voltage tester. A voltage tester is a tool that helps you determine if there’s electrical power flowing through a wire. To use it, simply place the tester’s probes on the wires you want to test and read the results on its display.
The voltage tester will light up or make a sound if there’s power, or show no reaction if there’s no power. This is very important when working with electricity, as it could potentially harm you if not properly handled. When using a voltage tester on a light switch, make sure to turn off the power to that circuit before connecting the probes, to avoid any accidental shocks.
With a voltage tester in hand, you’ll be able to confidently check whether there is power present in the wires, ensuring that your wiring is safe and secure.
Explanation of the Tool
A voltage tester is an essential tool for anyone who works with electrical systems. It’s used to determine if there’s a flow of electrical current in a circuit and to identify the presence of live wires. Voltage testers can help prevent accidents and avoid potential hazards, making them a crucial tool for both professionals and DIY enthusiasts.
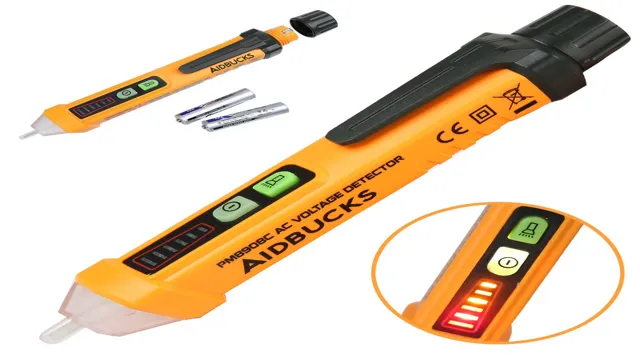
This device typically consists of a probe that’s inserted into an electrical outlet or circuit, and a digital readout that displays the voltage level. The device emits an audible or visual signal to indicate the presence of electricity, making it easy to identify potentially dangerous situations. In short, a voltage tester is a tool that is designed to help you stay safe when you work with electricity by identifying live wires and detecting the flow of electrical current.
It’s an essential part of any toolbox and can save you from accidents and injuries. Whether you’re an electrician, a contractor, or just someone who likes to tinker with electronics, a voltage tester is an indispensable tool that you shouldn’t be without. So, be sure to invest in a good quality device and learn how to use it properly to stay safe and avoid potential hazards.
Safety Precautions to Take Before Testing
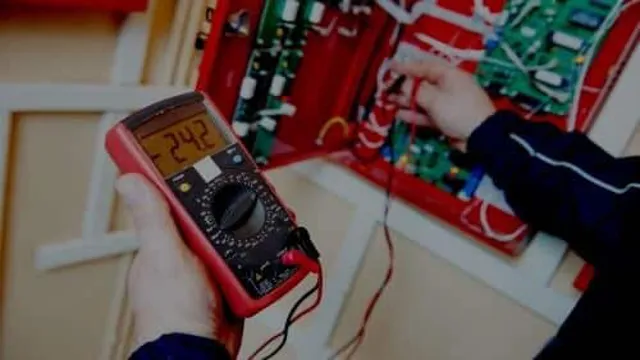
Before testing a light switch with a voltage tester, it’s important to take certain safety precautions to avoid serious injury. First, turn off the power supply to the circuit you’ll be working on by flipping the corresponding breaker or removing the fuse. Test the circuit to verify that there’s no power.
Then, use a non-contact voltage tester to confirm that the wires you’ll be handling aren’t live. Wear gloves and safety glasses during the entire process and avoid coming into contact with any metal parts. When testing the light switch, always double check that it’s off and use a voltage tester to make sure there’s no current flowing through the switch before proceeding.
Remember, safety should always come first when dealing with electrical work, especially when using a voltage tester on a light switch.
Turning Off the Power
Before you start testing any electrical components or circuits, it’s crucial to take safety precautions to avoid accidents or electrocution. One of the most important steps to take is to turn off the power source. When dealing with a circuit or device that is powered by electricity, always assume that it’s still active.
Before you do anything, switch off the breaker that controls the circuit you’re working on. If the circuit isn’t connected to a breaker, unplug the device from the outlet. Remember to check that the power is off by using a voltage tester before you start testing.
This simple step can save you from severe injury or even death. Always prioritize safety when working with electrical components, and never take shortcuts.
Wearing Protective Gear
Before you start testing any equipment or material, it is important to take the necessary safety precautions to protect yourself from potential harm. One of the most important safety measures is wearing appropriate protective gear. Depending on the nature of your testing, you may need to wear a variety of safety equipment such as gloves, goggles, face shields, respirators, and ear protection.
It is essential to make sure that all protective gear is in good condition before using it and that it fits you properly. It may seem inconvenient to wear all this gear, but it is crucial to note that accidents can happen even in seemingly safe environments. Taking the time to wear proper safety equipment minimizes the risk of injury and ensures that you are ready to test safely.
Remember, your safety is paramount!
Testing the Light Switch
If you are experiencing problems with a light switch, it’s important to know how to use a voltage tester to diagnose the issue. First, turn off the power to the switch by switching off the circuit breaker. Once the power is off, remove the switch’s cover plate and locate the two wires connected to the switch.
Use the voltage tester to touch each wire while it’s still connected to the switch. If there is voltage on both wires, the switch is functioning properly and the issue lies elsewhere, such as the light fixture or wiring. However, if there is no voltage or a lower voltage on one of the wires, the switch may be faulty and in need of replacement.
Always be sure to exercise caution when working with electricity and call a professional if you are unsure or uncomfortable with the process. Remember, safety first!
Selecting the Correct Setting on the Voltage Tester
When it comes to testing a light switch with a voltage tester, selecting the correct setting is crucial. It’s important to choose a setting that matches the voltage of the electrical circuit you’re testing. Always start by turning off the power to the switch to avoid any possible electrical shock.
Then, select the proper voltage range on your tester. If you’re unsure of the voltage of the circuit, check the breaker or consult an electrician. Once you’ve selected the correct setting, hold the tester leads against the switch terminals.
If there is power flowing through the switch, the tester will indicate with a light or sound. If not, the switch may need to be replaced. Remember, safety should always come first when working with electrical circuits.
Touching the Probes to the Wires
When it comes to testing a light switch, there’s a certain level of caution that needs to be taken. Before touching the probes to the wires, it’s important to turn off the power and ensure that the area is safe to work in. Once safety is established, touch the probe to the hot wire and the other probe to the neutral wire.
If the circuit is closed, the light will turn on, and if the circuit is open, the light will remain off. This test helps to ensure that the switch is functioning properly and that there are no issues with the wiring. Remember, safety always comes first, so be sure to take all necessary precautions before starting any work on electrical systems.
Interpreting the Results
Now that you’ve used a voltage tester on a light switch, it’s time to interpret the results. If the voltage tester shows a reading of zero volts, it means the switch isn’t getting any power from the electrical panel. This could be due to a problem with the wiring or a tripped circuit breaker.
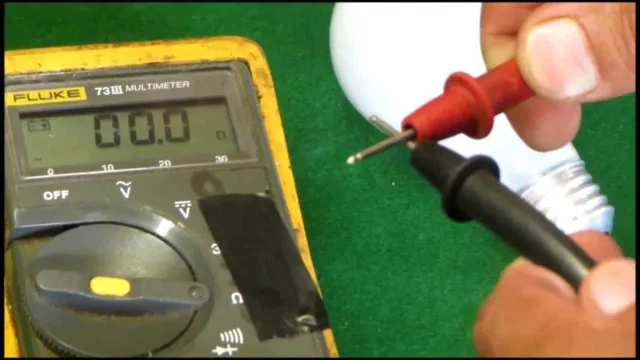
However, if the voltage tester shows a reading of 120 volts or more, it means that the switch is getting power from the electrical panel. This is good news, but it doesn’t necessarily mean that the switch is working properly. To be sure, you should also test the switch itself for continuity using a multimeter.
If the switch is faulty, you’ll need to replace it. Remember to always take safety precautions when working with electricity, such as turning off the power to the switch before testing it. By using a voltage tester on a light switch, you can diagnose and fix electrical issues in your home without the need for a professional electrician.
What a Reading of 0V Means
When performing electrical measurements, it’s crucial to interpret the results accurately. One common reading that can cause confusion is 0V. A reading of 0V means that there is no voltage present in the circuit being measured.
While this may seem straightforward, it’s essential to note that 0V can also mean that the measuring instrument is not properly calibrated or is malfunctioning. It’s always important to double-check the measuring instrument and ensure that it’s working correctly before concluding that there is no voltage in the circuit. Moreover, when dealing with complex circuits, it’s essential to examine the individual components to determine potential causes of the 0V reading.
In short, when interpreting a reading of 0V, it’s crucial to take into account not only the instrument but also the larger context in which the measurement is being taken to ensure that the results are accurate and reliable.
What a Reading of 120V Means
When measuring the voltage in an electrical circuit, a reading of 120V is relatively common. This means that the current flowing through the circuit is at a consistent level, which is important for ensuring that electrical devices and appliances function properly. It’s important to note, however, that a reading of 120V alone cannot accurately indicate the health of a circuit or whether it is overloaded.
Other factors, such as the overall load on the circuit, should also be considered in order to fully interpret the results. Additionally, it’s important to regularly monitor the voltage of your electrical circuits, as changes or fluctuations in voltage can indicate issues with the electrical system. By paying attention to voltage levels and properly interpreting the results, you can ensure that your electrical system is functioning safely and efficiently.
Conclusion and Recap
Congratulations! You are now a master of voltage testing on light switches. With a steady hand and a keen eye, you can confidently test for potential electrical hazards and ensure the safety of your home or workplace. Remember, safety first and always trust in your tester to guide you through the glowing world of electricity.
Now, go forth and light up your life with confidence and a newfound appreciation for the power of a voltage tester.”
FAQs
What is a voltage tester and why is it necessary for light switch testing?
A voltage tester is a handheld device used to detect the presence or absence of an electrical current in a circuit. It is necessary for light switch testing to ensure that the switch is not carrying any current before performing maintenance, repairing, or replacing it.
How do I use a voltage tester on a light switch?
First, turn off the power to the switch by flipping the circuit breaker or removing the fuse. Next, insert one probe of the voltage tester into the hot wire connected to the switch, and the other probe into a neutral wire or a ground wire. If the tester shows no voltage, the switch is safe to work on. If voltage is detected, the switch is still carrying current and should not be worked on.
Can I use a voltage tester on a live circuit?
No, it is not safe to use a voltage tester on a live circuit. Always turn off the power to the circuit before using the tester.
How can I identify the hot wire on a light switch?
The hot wire on a light switch is typically black or red, or sometimes blue or brown depending on the wiring system. The neutral wire is typically white and the ground wire is green or bare copper. Use a voltage tester to test the wires if you are unsure.
What should I do if my voltage tester detects voltage on a light switch?
If your voltage tester detects voltage on a light switch, do not work on the switch. Turn off the power to the circuit and double-check that it is off with the voltage tester. Once you are sure the circuit is safe, you can proceed with your maintenance or repair.
Are there different types of voltage testers for light switches?
Yes, there are different types of voltage testers for light switches. Some testers are non-contact, meaning they do not require physical contact with the wire, while others are contact testers. Some testers can also identify the type and level of voltage present in the circuit.
How often should I use a voltage tester on my light switches?
It is recommended to use a voltage tester on your light switches whenever you perform maintenance, repair, or replacement on them. Additionally, it is a good practice to test your light switches periodically to ensure they are not carrying any current unnecessarily.


