How to Use a Wheel Marking Gauge for Precise Woodworking Measurements
Are you a woodworking enthusiast looking to perfect your craft? One essential tool that should be in your arsenal is a wheel marking gauge. While it may seem like a simple tool, it can make a significant difference in the precision and accuracy of your woodworking projects. But, how exactly do you use it? Think of a wheel marking gauge as a compass that can mark lines of a predetermined distance.
By adjusting the wheel on the tool, you can set the distance that you want to mark and effortlessly glide it along the wood’s surface to create a precise line. Whether you’re marking out a mortise and tenon or a joint, a wheel marking gauge should be your go-to tool. Using a wheel marking gauge is relatively straightforward.
With practice, you can become an expert in no time. In this blog post, we’ll take a closer look at how to use a wheel marking gauge to produce perfect results every time. From adjusting the gauge to making a mark that will guide your tool’s cuts, we’ll cover everything you need to know.
So, get your wheel marking gauge ready, and let’s dive in!
What is a Wheel Marking Gauge?
If you’re wondering what a wheel marking gauge is and how to use it, you’re in the right place. A wheel marking gauge is a precision tool that uses a small wheel to score a line on wood. It’s popular among woodworkers because it’s accurate, easy to use, and adjustable.
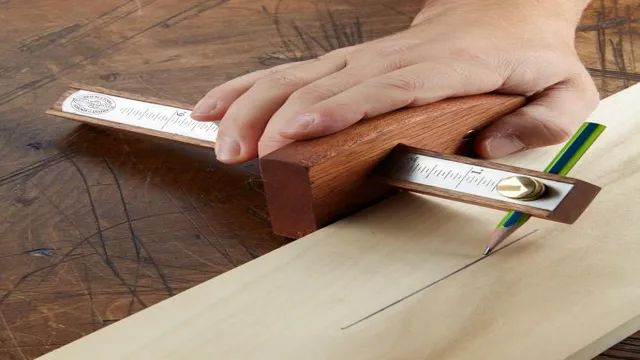
To use a wheel marking gauge, start by setting the distance between the wheel and the fence (the flat part of the gauge that slides along the edge of the wood) to the desired measurement. Then, glide the wheel along the wood, pressing gently but firmly, until you’ve marked your desired line. The result is a clean and precise line that makes it easy to cut or drill.
Whether you’re a beginner woodworker or a seasoned pro, a wheel marking gauge is a great tool to have in your arsenal.
Explanation of a Wheel Marking Gauge and its Parts
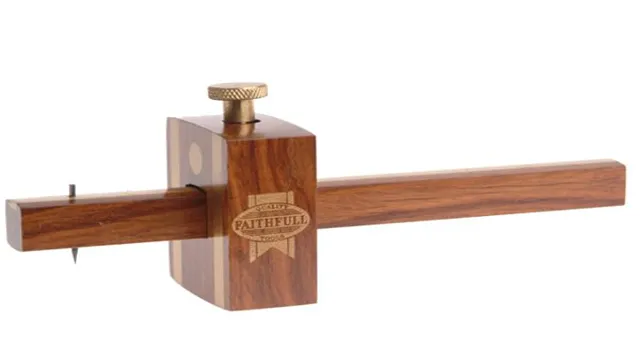
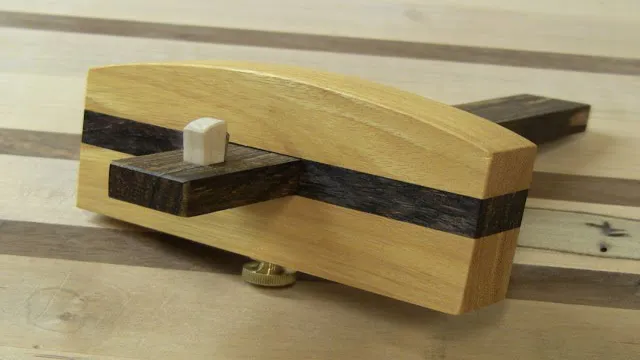
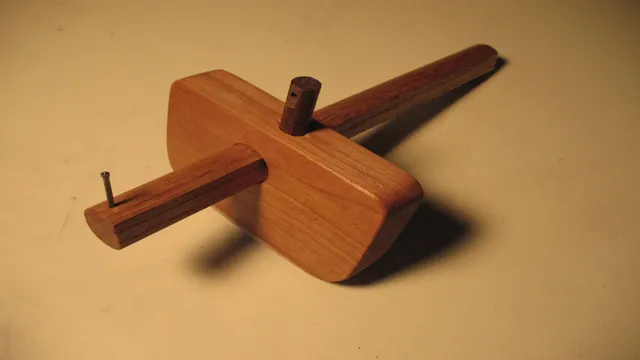
A wheel marking gauge is an important tool for any woodworker as it helps to create precise and accurate markings on wood. It consists of several parts, including a beam, a marking wheel, and a locking mechanism. The beam is the long and flat part of the gauge that is typically made of wood, while the marking wheel is a small wheel with a sharp edge that is used to mark the wood.
The locking mechanism is used to hold the wheel in place at the desired distance from the edge of the wood. The wheel marking gauge is used by dragging the marking wheel along the edge of the wood, which creates a line that can be used to guide the saw or chisel. The gauge can be adjusted for depth and distance to create different types of markings.
Overall, a wheel marking gauge is an essential tool for any woodworker who wants to ensure precision in their work.

Step-by-Step Guide to Using a Wheel Marking Gauge
If you’ve ever worked on a woodworking project, chances are you’ve come across a wheel marking gauge. This useful tool is designed to help you make precise and consistent markings on your materials. Here’s a step-by-step guide on how to use a wheel marking gauge: First, adjust the depth of the gauge to your desired marking depth.
Next, loosen the locking screws on the marking wheel and slide it to the desired distance from the face of the stem. After that, apply gentle pressure to the gauge’s body and drag the marking wheel across the material to create your desired marking. Repeat as necessary for all your markings.
It’s important to note that you should always work with the grain of the material, and never force the marking wheel. With a little practice, you’ll be creating perfect markings in no time! So go ahead and try using a wheel marking gauge on your next woodworking project for more precise and consistent results.
Preparing the Wood for Marking
To use a wheel marking gauge properly, the wood must be appropriately prepared. Start by ensuring that the surface of the wood is smooth and even to avoid any markings that may be distorted or inaccurate. Sand the wood to remove any rough patches that might distort the markings, then wipe it clean with a clean cloth to get rid of any sawdust or debris.
Making sure that the end grain is level is equally important. If the end grain of the wood is not level, it can lead to incorrect measurements. It’s necessary to use a plane to level the end grain before marking.
It’s also critical to identify the direction in which the wood should be marked. The grain direction plays a crucial role in ensuring that the marking is accurate and precise. Mark in the direction of the grain to avoid any discrepancies.
By preparing the wood for marking before beginning the actual marking process, you are ensuring that the markings are precise and accurate. This eliminates the need for any do-overs, which saves both time and material. The key to using a wheel marking gauge is to start with a well-prepared surface.
Setting the Desired Measurement on the Gauge
When it comes to using a wheel marking gauge, one of the most important steps is setting the desired measurement on the gauge. This ensures that you get accurate and consistent markings every time. To do this, first, loosen the locking screw that holds the gauge head in place.
Then, slide the gauge head along the beam to the desired marking distance. Once you have set the desired measurement, use the locking screw to secure the gauge head in place. Make sure that the measurement is set correctly by double-checking it with a ruler or tape measure.
This simple step is crucial to ensure precision and accuracy in your woodworking projects. By taking the time to properly set the wheel marking gauge, you’ll be able to create professional-level markings quickly and easily. So next time you’re using a wheel marking gauge, don’t forget to set the desired measurement!
Marking the Wood with the Gauge
When it comes to woodworking, making precise cuts is essential to achieving the desired results. And for this purpose, a wheel marking gauge is an indispensable tool. It helps you accurately mark your wood or other material to ensure that your cuts are straight and consistent.
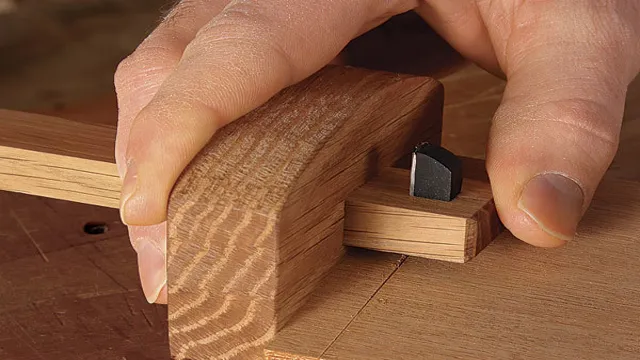
To use a wheel marking gauge, you must first set the distance between the wheel and the stem. Once you’ve done that, hold the gauge firmly and run the wheel along the wood, applying gentle pressure. This will create a clean, visible line that will guide your saw or other cutting tool.
The beauty of using a wheel marking gauge is that it’s easy to use and incredibly precise. You can rely on it to ensure that all your cuts are the same depth and angle, giving your work a professional look. So, if you want to step up your woodworking game, invest in a quality wheel marking gauge today.
It’s a small tool that can make a big difference.
Tips and Tricks for Using a Wheel Marking Gauge
If you’re looking to achieve precise and consistent markings on your woodworking projects, a wheel marking gauge could be your new best friend. To begin, make sure the cutter is sharpened and positioned at the desired depth. Place the gauge on the stock, ensuring the fence is flush with the edge.
Apply slight pressure and roll the wheel along the surface to create your mark. For accuracy, it’s important to use consistent pressure throughout the marking process. Additionally, it’s recommended to clean the gauge after every use to prevent buildup.
With a little practice, a wheel marking gauge can become an essential tool in your woodworking arsenal.
Maintaining a Sharp Cutting Edge
If you’re a woodworking enthusiast, you must know that maintaining a sharp cutting edge is crucial for performing accurate cuts. One of the tools that woodworkers usually use is a wheel marking gauge. To use this tool properly, you must know some tips and tricks to maintain its cutting edge.
First, always make sure to retract the blade when not in use to avoid dulling the blade’s edge. Additionally, you can use some wax to lubricate the cutting edge, which will help it glide smoother and prevent it from getting stuck or chipped. Another useful trick is to sharpen the blade at a slight angle so that the cutting edge is slightly tilted, which will help it make cleaner and more accurate marks.
Finally, always clean the tool after use, using a soft cloth or a brush to remove dust and debris that can accumulate on the blade and impair its cutting ability. By following these simple tips, you can ensure your wheel marking gauge stays sharp and provides precise cutting for your woodworking projects.
Avoiding Tear-Out on the Wood
When working with wood, tear-out can be a frustrating and costly problem. Fortunately, a wheel marking gauge can help you avoid this issue and create clean, precise lines. To get the most out of your gauge, start by selecting the right wheel size for your project.
For softer woods, a larger wheel will be more effective, while harder woods benefit from a smaller wheel. You should also pay careful attention to the direction of the grain, as working against it can increase the risk of tear-out. If you’re ever unsure about the direction of the grain, try using a light pencil mark and making a small test cut before committing to your final line.
By following these simple tips and tricks, you can use your wheel marking gauge with confidence and avoid tear-out on your wood projects.
Conclusion
In conclusion, using a wheel marking gauge is like driving a car: it’s all in the control. With the right amount of pressure and precision, you can mark your woodwork with ease and accuracy. Just like how you need to check your mirrors and stay within the lines on the road, using a wheel marking gauge requires attention to detail and practicing good habits.
So remember, take your time, stay focused, and you’ll be marking up your wood like a pro in no time!”
FAQs
What is a wheel marking gauge?
A wheel marking gauge is a woodworking tool used to accurately mark a line parallel to the edge of a board.
How do you adjust the depth of the marking wheel on a wheel marking gauge?
To adjust the depth of the marking wheel on a wheel marking gauge, loosen the screw that secures the wheel shaft, then rotate the wheel to the desired depth and tighten the screw.
What is the advantage of using a wheel marking gauge over a traditional marking gauge?
The advantage of using a wheel marking gauge over a traditional marking gauge is that the wheel marking gauge is easier to use and provides more accurate and consistent marks.
Can a wheel marking gauge be used for marking curves or irregular shapes?
No, a wheel marking gauge is not designed for marking curves or irregular shapes. It is best used for marking straight lines parallel to the edge of a board.
How do you maintain a wheel marking gauge?
To maintain a wheel marking gauge, keep the wheel clean and well-oiled, and store it in a dry place to prevent rust.
What materials can a wheel marking gauge be used on?
A wheel marking gauge can be used on a variety of materials including wood, plastic, and metal.
How do you use a wheel marking gauge?
To use a wheel marking gauge, first adjust the depth of the marking wheel to the desired depth. Then, place the marking wheel on the edge of the board and slide the gauge along the board to create a parallel line. Repeat on the other side of the board for consistent marks.

