How to Use an Angle Grinder to Remove Mortar: Tips and Techniques

Do you have an old brick wall with crumbling mortar that needs some TLC? Are you looking for a cost-effective solution to remove the old mortar and replace it with fresh one? An angle grinder can be your best friend in this scenario. This versatile power tool can help you remove mortar quickly and efficiently, leaving you with a clean slate to work on. In this blog post, we will guide you through the process of using an angle grinder to remove mortar from brick walls.
So, grab your safety gear and let’s get grinding!
Understanding the Angle Grinder
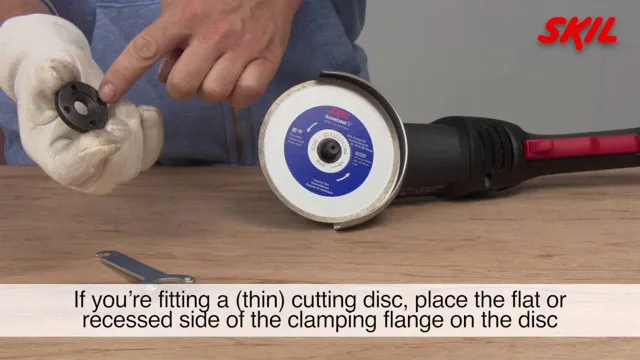
When it comes to removing mortar, an angle grinder can be a valuable tool, but it’s important to use it correctly to avoid damaging your workpiece. Start by selecting the appropriate grinder disc, such as a diamond cup wheel for particularly tough mortar, and securing it tightly to the grinder. Wear protective gear, including eye and ear protection and a dust mask, and be aware of the direction of the spinning disc.
Begin by making shallow cuts in the mortar, following the direction of the joint, and gradually increasing the depth until the mortar is removed. Keep the grinder moving to avoid grooves or dips in the surface, and periodically clean away dust and debris to maintain visibility and prevent overheating. With patience and care, an angle grinder can effectively remove old mortar and prepare your work surface for further repairs or renovations.
Selecting the Right Grinder
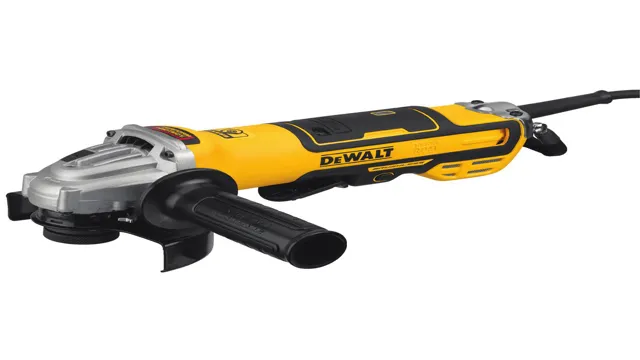
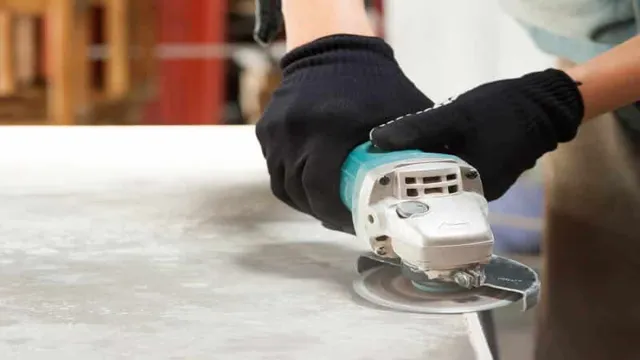
Angle Grinder An angle grinder is a versatile and powerful tool that can help you with various cutting, grinding, and sanding tasks. Before selecting the right grinder, it’s important to understand what an angle grinder is and how it works. An angle grinder is a handheld power tool that features a rotating abrasive disc.
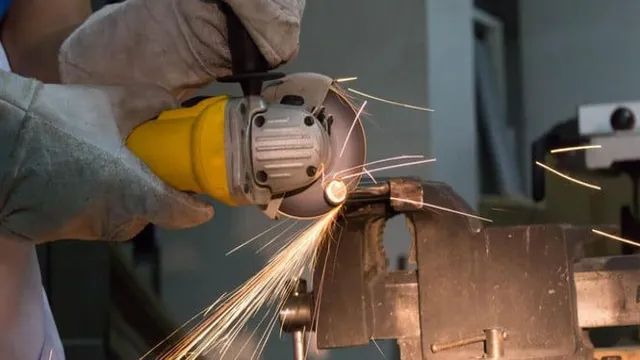
The disc spins at a high speed, allowing you to cut, grind, or sand various materials, including metal, concrete, and stone. One of the main benefits of an angle grinder is its versatility. With the right accessories and attachments, you can use it for different tasks like cutting, grinding, sanding, and polishing.
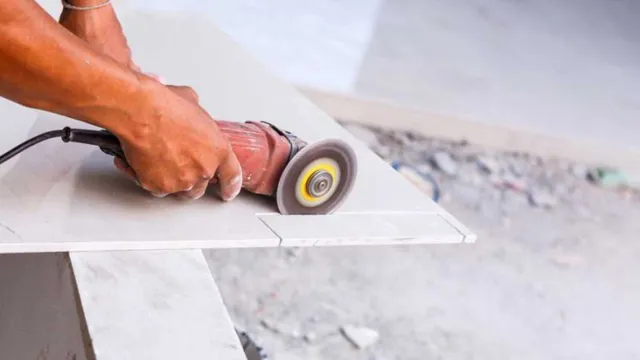
For example, you can use a diamond grinding wheel to cut through concrete, an abrasive disc to remove rust from metal, or a sanding disc to smooth out rough surfaces. Another important factor to consider when selecting the right angle grinder is the size of the disc. You can find angle grinders with different disc sizes, ranging from
5 inches to 9 inches. Smaller grinders are easier to handle and maneuver, making them ideal for jobs that require precision and control. Larger grinders, on the other hand, are more powerful and can handle tougher tasks that require more force.
Overall, understanding the basics of an angle grinder can help you make an informed decision when selecting the right grinder for your needs. Make sure to consider factors like disc size, power, and versatility to find the grinder that will work best for your projects.
Choosing the Right Disc
When it comes to cutting or grinding metal, the angle grinder is an essential tool. But to get the best results and avoid any accidents, you need to choose the right disc for the job. There are several types of discs available, including cutting, grinding, and sanding discs, and each has its own specific use.
For instance, if you’re cutting through thick metal, you’ll need a thick cutting disc designed for heavy-duty tasks. On the other hand, if you’re removing rust or paint, a sanding disc will do the job without damaging the underlying metal. It’s crucial to use the appropriate disc for your task to prevent not only accidents but also damage to the machine and the material you’re working on.
Therefore, take your time to choose the appropriate disc based on the material you’re cutting or grinding to ensure a clean, precise, and safe cut or grind.
Preparing for the Task
Using an angle grinder to remove old mortar from brick walls or floors can be a challenging but manageable task with the right preparation. Before you start, make sure to equip yourself with appropriate safety gear, including earplugs, goggles, and a respirator. Next, choose the right size of the angle grinder and a diamond blade that will best suit the project, and ensure that the blade is well adjusted and securely fastened onto the grinder.
It’s also essential to clear the work area of obstacles and debris and to mark the lines of mortar that need to be cut accurately. Finally, ensure that the power cord is securely plugged in and that you have access to a power source. By following these steps, you’ll be better equipped to handle the task at hand and ensure maximum safety and efficiency when using an angle grinder to remove mortar.
Wearing Protective Gear
When embarking on any task that requires protective gear, it is essential to prepare and ensure you have the right equipment for the job. Protective gear is essential in safeguarding against injuries and potential hazards that may arise as you work. Whether you’re working on a construction site or in a laboratory, the type of protective gear you need may vary depending on the task at hand.
The first step towards preparing for the task is to identify potential hazards and assess the risks involved. This will help you determine the appropriate protective gear you will need and ensure you are adequately protected. For instance, if you are working with chemicals, you will need to wear gloves, goggles, and a lab coat to prevent chemical burns and inhalation.
Additionally, ensure that you wear protective gear that fits correctly and is comfortable to wear for extended periods. Wearing appropriate protective gear can make a significant difference in your safety and well-being as you work, making it a vital aspect of any job.
Preparing the Work Area
Preparing the work area is an essential step before starting any task. It not only ensures safety precautions but also increases efficiency. The first step is to clear all unnecessary items from the area, creating enough space for the task at hand.
The next step is to ensure that all required tools and equipment are readily available. Proper lighting, ventilation, and a comfortable working height are also critical components to consider. Additionally, laying down protective materials such as drop cloths or plastic sheeting can prevent damage to the surfaces around the work area.
Preparing the work area sets the tone for a successful task completion, and taking the time to properly set up the area can save time and effort in the long run. It is important to remember that a well-prepared work area allows for a smoother workflow and encourages safe practices, ultimately leading to better outcomes.
Removing the Mortar
Removing old mortar with an angle grinder can be a challenging task. Before you start, ensure you have the right safety gear such as gloves and goggles. The most efficient way to use an angle grinder to remove mortar is by using a diamond blade.
These blades are specifically designed to cut through masonry materials including mortar. To avoid damaging the bricks, use a particular tool, keeping the angle grinder at 30° angle to the wall. Keep in mind the diamond blade might produce a lot of dust, so it’s essential to work in a well-ventilated area or use a dust mask.
If you find that the method isn’t working, you can also try using a chisel to remove the deeper sections of the mortar and then follow up with the angle grinder. Overall, with the right technique, angle grinder, and safety gear, you can have an easy time removing old mortar.
Making Initial Cuts
When it comes to removing old tiles, the first step is to make initial cuts using the right tools and techniques. One of the most crucial parts of this process is removing the mortar that holds the tiles in place. To do this, a chisel and hammer can be used to loosen and break away the mortar from the edges of the tiles.
It’s important to wear safety goggles and gloves to protect yourself from flying debris. You can then use a scraper or putty knife to remove any remaining mortar and grout from the surface. This process can be time-consuming and messy, but it’s essential to ensure a clean and level surface for the new tiles to be installed.
By taking the time to properly remove the old mortar, you’ll have a strong foundation for your new tiles and ensure they last for years to come.
Working in Sections
When it comes to removing mortar from sections during a renovation project, it’s important to approach each section carefully and methodically. Trying to rush the process can lead to damage to the surrounding tile or brick, causing even more headaches and expenses down the line. One important step is to use the right tools, such as a chisel and hammer, or even a specialized mortar removal tool.
It’s also important to clear away any debris regularly and keep the work area clean to avoid accidents or damage. Overall, taking the time to work in sections and remove the mortar carefully will ultimately lead to a more successful and efficient renovation project.
Finishing Touches and Clean-up
Once you’ve laid your tiles and allowed sufficient drying time, it’s time for the finishing touches and clean-up. The first step is to remove the excess mortar that has squeezed out between the tiles. You don’t want to leave this on the tiles or it will dry and leave an unsightly discoloration.
To do this, use a damp sponge or cloth to gently wipe away the excess. Be careful not to press too hard or you may displace the tiles. If there are any stubborn bits of mortar left behind, gently scrape them away with a plastic scraper or putty knife.
Once all of the excess mortar has been removed, use a clean, damp sponge to wipe down the tiles and remove any remaining residue. This will ensure that your tiles look clean and polished, ready to showcase your hard work.
Final Thoughts
In conclusion, using an angle grinder to remove mortar can be a great option for those seeking to tackle this DIY project. It’s important to ensure that you take the proper safety precautions, such as wearing eye and ear protection and using a proper respirator mask. Additionally, it’s important to select the correct wheel for your grinder, as choosing the wrong one can result in damage to both the tool and yourself.
Taking the time to properly prepare your area and your tools before beginning can save you a lot of time and frustration in the long run. Finally, while using an angle grinder can be a powerful and effective tool, it’s crucial to use caution throughout the process and to approach the task with a steady hand and careful attention. By following these tips and guidelines, you should be able to successfully remove mortar using an angle grinder.
Conclusion
In conclusion, using an angle grinder to remove mortar is like playing a game of Jenga: you carefully pick away at the pieces without causing the entire structure to come crashing down. With a steady hand, a well-ventilated workspace, and proper safety gear, you can achieve smooth and even results. So, embrace your inner DIY-er and get ready to grind it out like a pro!”
FAQs
What safety precautions should be taken when using an angle grinder to remove mortar?
Safety goggles, earplugs, gloves, and a dust mask should be worn for protection. It’s also recommended to use a dust collection system and to keep loose clothing and hair away from the spinning disc.
Can any type of angle grinder be used to remove mortar?
Yes, as long as the grinder has the appropriate wheel or blade for the job. A diamond tuckpointing blade or a mortar rake attachment would be suitable for removing mortar.
How deep should the grinder be set for removing mortar?
The grinder should be set to a depth of 1/8th to 1/4th inch to remove the mortar without damaging the bricks or stones.
How often should the grinder blade be changed?
The blade should be changed when it becomes dull or worn down. This can depend on the amount of mortar being removed and the quality of the blade being used.
Can an angle grinder be used for other tasks besides removing mortar?
Yes, an angle grinder can be used for tasks such as cutting, grinding, and polishing metal, concrete, and other materials.
Are there any alternative tools to using an angle grinder for removing mortar?
Yes, a hammer and chisel or a rotary tool with a grinding attachment can also be used to remove mortar.
Can an angle grinder be used to remove mortar from exterior walls?
Yes, an angle grinder can be used to remove mortar from both interior and exterior walls as long as the appropriate safety precautions are taken.


