How to Use Car Polisher Buffer for a Professional-Looking Finish
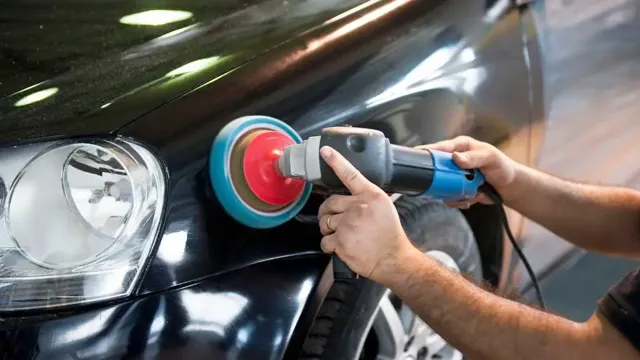
Polishing your car can be a time-consuming and exhausting task without the proper tools. Fortunately, a car polisher buffer can make the job much easier and more efficient. Whether you’re a seasoned car enthusiast or a beginner, using a car polisher buffer can be intimidating at first.
But don’t worry, we’ve got you covered. In this blog post, we will guide you through the steps on how to use a car polisher buffer effectively and achieve a showroom-like finish in no time. So sit back, relax, and let’s get polishing!
Step 1: Choose the Right Buffer
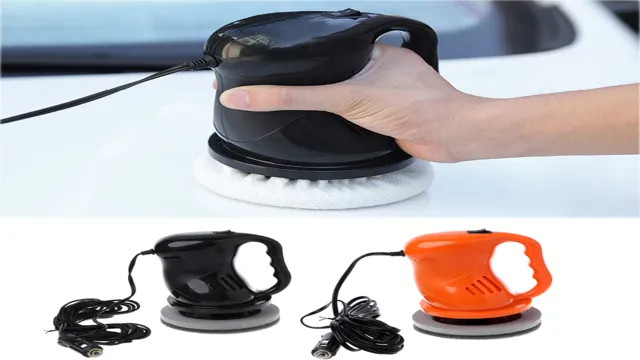
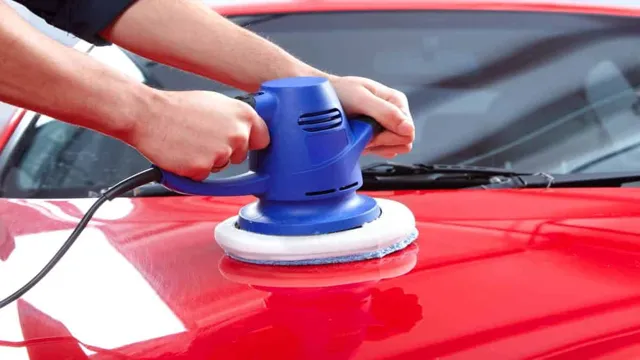
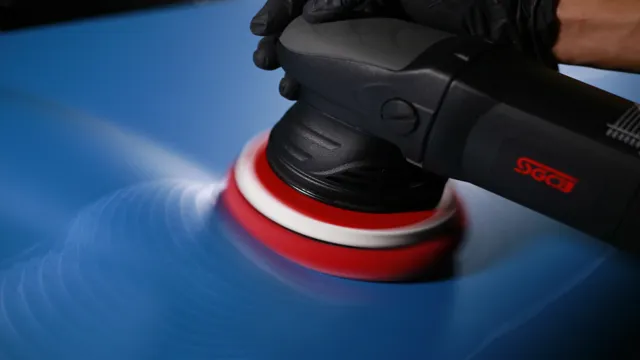
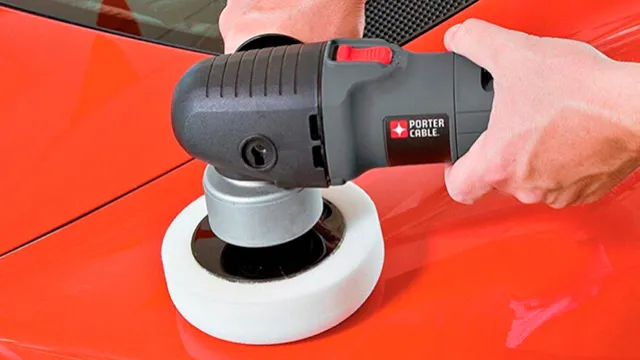
If you’re wondering how to use a car polisher buffer, the first step is to choose the right buffer for your needs. There are several types of buffers available, each with its own specific purpose. The most commonly used buffer type for car polishing is the dual action polisher.
This type of buffer rotates and oscillates to provide a gentle and even polish. It’s important to choose a buffer with the appropriate speed settings for your particular polishing job. A buffer with a high speed setting may be too aggressive for certain paint finishes, while a buffer with a low speed setting may not be powerful enough to remove deep scratches or swirl marks.
By selecting the right buffer, you’re setting yourself up for success in achieving a perfectly polished finish on your car.
Heading Three: Dual Action vs Rotary Buffers
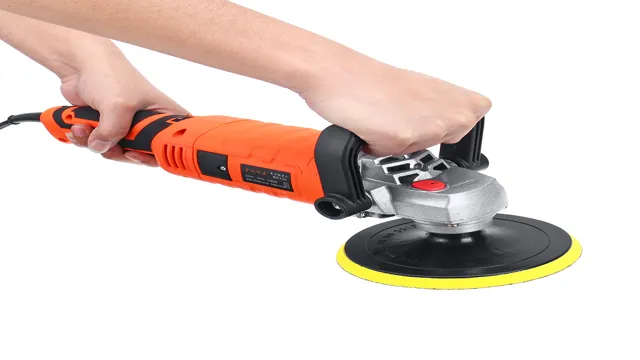
When it comes to buffing your car’s paint, choosing the right buffer is crucial. And the first choice you’ll have to make is whether to use a dual-action or rotary buffer. Dual-action buffers are the more user-friendly options, as they’re designed to be easy to use even for beginners.
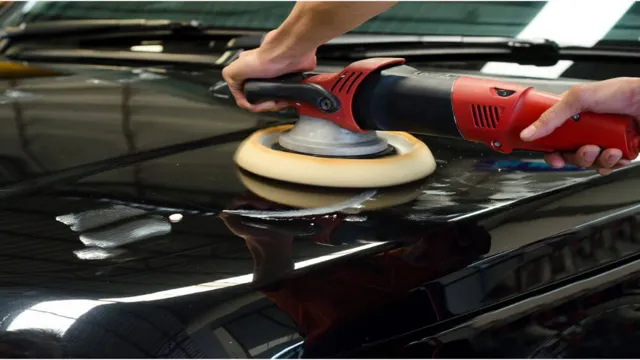
They move in two ways – spinning on their axis and oscillating in a circular motion – which helps to prevent swirl marks. On the other hand, rotary buffers are more powerful and can remove deeper scratches and blemishes, but they require a bit more skill to use correctly. They spin in a single direction and can cause swirl marks if used incorrectly.
So which one should you choose? It depends on your skill level and the condition of your car’s paint. If you’re new to buffing and your paint is in relatively good shape, a dual-action buffer is the way to go. It’s less likely to cause damage to your paint if used incorrectly and is generally more forgiving.
But if your paint has deeper scratches or imperfections, a rotary buffer may be necessary to get the job done. Just be sure to practice first on a less visible area of your car to get a feel for how it operates. Remember, buffing your car’s paint is a delicate process that requires the right tools and techniques.
Choosing the right buffer is just the first step, but it’s an important one. So take the time to consider your options and choose the one that’s right for you.
Step 2: Clean and Prep the Surface
Now that your car is washed and dried, it’s time to clean and prep the surface for polishing. The first step is to inspect the bodywork for any imperfections such as scratches, swirls or oxidation marks. These blemishes will need to be addressed before moving forward with any polishing.
Once identified, use a clay bar to remove any contaminants on the surface that could interfere with the polishing process. After the clay bar, apply a pre-wax cleaner to remove any remaining impurities and old wax on the surface. This will allow the polishing compounds to work more effectively and achieve a much brighter shine.
Finally, tape off any sensitive parts of the car such as the headlights, taillights and trim for added protection before using the car polisher buffer. With a freshly cleaned surface, you’re now ready to move onto the next step in this guide on how to use a car polisher buffer like a pro!
Heading Three: Washing and Drying the Car
When it comes to washing and drying your car, it’s important to start with a clean and prepped surface to ensure the best results. Begin by rinsing the car with a hose or pressure washer to remove any loose dirt or debris. Then, use a high-quality car shampoo and a microfiber wash mitt to gently scrub away any remaining dirt or grime.
Take care to work in sections to avoid water spots and be sure to rinse the car thoroughly before moving on to the next section. Once the car is clean, it’s important to prep the surface for drying by using a clay bar to remove any embedded contaminants and a pre-wax cleaner to ensure a smooth finish. By taking the time to properly clean and prep your car’s surface, you can ensure that your car looks its best and that any wax or protective coatings will adhere properly, providing long-lasting protection against the elements.
Heading Three: Claying the Paint
Claying the paint is an important step in preparing your car’s surface for a fresh coat of paint. Before you apply any paint, it’s crucial to ensure that the surface is clean and free of any contaminants, such as dirt, grease, or old wax. Clay bars are a great tool for this purpose, as they effectively remove any contaminants that might be embedded in the surface of your paint.
To clay your car, you’ll need to start by washing the car thoroughly. Once the car is clean, you can use the clay bar to gently rub the surface of the paint. This will remove any contaminants, leaving the surface smooth and ready for paint.
It’s important to be gentle when using the clay bar, as too much pressure can damage the paint. After you’ve clayed the paint, you can use a polishing compound to further smooth the surface. With a clean, smooth surface, your new coat of paint will look better and last longer.
Step 3: Apply Polishing Compound
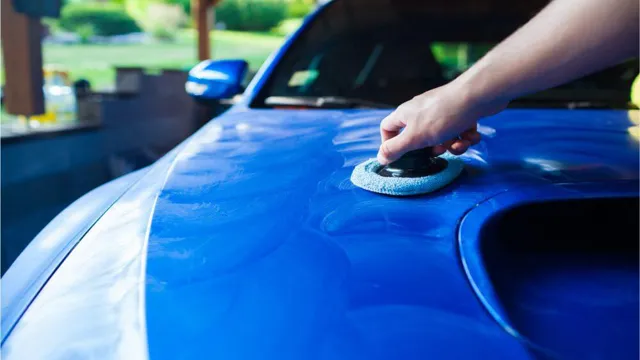
Now that your car’s surface is smooth and clean, it’s time to apply the polishing compound using your buffer or polisher. It’s important to use the right kind of polishing compound that matches your car’s paint job. Apply a small amount of the compound onto the foam pad or microfiber towel and then spread it evenly on the surface of your car.
Set your buffer at a low to medium speed and begin working the compound into the car’s surface in a circular or back-and-forth motion, overlapping each pass to ensure complete coverage. You’ll notice a haze or residue forming on the car’s surface, indicating that the polishing compound is breaking down and doing its job. Once you’ve covered the entire surface, let the compound dry and then use a clean microfiber towel to buff away any remaining residue.
With this step complete, you’re one step closer to achieving a showroom-quality finish on your car!
Heading Three: Choosing the Right Compound
When it comes to polishing your item, choosing the right compound is crucial in achieving the desired results. The correct compound will depend on the specific material being polished, as well as the level of scratches or imperfections present. For softer materials such as plastic or aluminum, a gentle polishing compound is recommended to avoid causing damage.
Harder materials like stainless steel or chrome may require a more abrasive compound to effectively remove scratches and blemishes. It’s important to carefully consider the type and amount of compound being used, as using too much can lead to over-polishing and potentially damage the surface you are working on. Taking the time to choose the right compound for your specific project will ensure that you achieve a flawless finish without causing any unintended harm.
Heading Three: Applying the Compound with the Buffer
Now that you have cleaned and dried your car headlights, it is time to apply the polishing compound. This step will bring back the clarity to your headlights and remove any haze or discoloration. Before applying the compound, make sure to put on gloves and eye protection to keep your hands and eyes safe.
Shake the tube of compound well and apply a small amount onto a clean microfiber towel or buffing pad. Then, gently rub the compound onto the headlight using a circular motion. Make sure to cover the entire surface evenly and keep the area moist with the compound.
The compound will work to remove any deep scratches or blemishes and restore your headlights to their original shine. Don’t be afraid to take your time with this step, as it will make a big difference in the final result. Once you have finished applying the compound, wipe away any excess with a clean towel and inspect your headlights.
They should look polished and clear, ready to light up the road ahead.
Step 4: Buff the Car
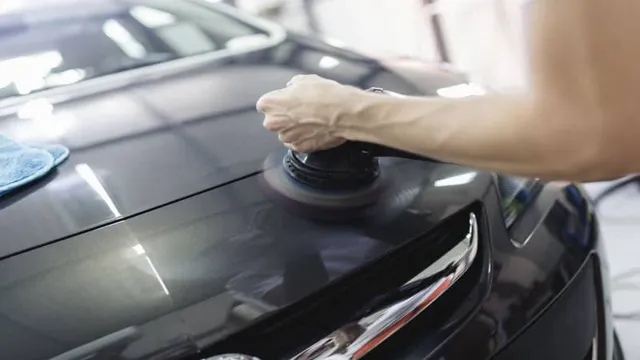
To buff a car, it’s important to understand how to use a car polisher buffer. This tool is designed to make the process of buffing easier and faster. Before using the buffer, it’s important to choose the right type of buffing pad based on the type of surface and the type of compound being used.
To start buffing, apply the compound to the pad and then spread it out over the surface of the car. Turn on the buffer and apply it to the surface, moving it in circular motions. Be sure to keep the buffer moving at all times and not to apply too much pressure.
After buffing, wipe the surface clean and inspect it for any missed areas or scratches. Overall, using a car polisher buffer can make the buffing process much simpler and more effective, leading to a smoother and more polished finish.
Heading Three: Starting with a Low Setting
After all the previous preparation steps, it’s time to buff the car to a glossy shine. The first thing to consider before buffing is to set the machine to a low setting. This will ensure that the car’s paint doesn’t get damaged, and the job is done smoothly.
When buffing, you need to apply a small amount of polish or compound to the pad so that you get an even layer. Excessive usage of polish can damage the car’s paint and leave swirl marks. Keep in mind that a little goes a long way when it comes to polishing.
Also, make sure to keep the buffer moving in a consistent pattern and avoid staying in one spot for too long. It’s essential to use a light touch when buffering; don’t put too much pressure on the machine, as this can also cause damage to the paint. With a gentle touch and the low-speed setting, you can achieve a beautiful finish without damaging the car’s paint.
Heading Three: Using a Slow and Even Motion
When it comes to buffing your car, the key is to use a slow and even motion. This will ensure that you achieve a smooth and polished finish without leaving any streaks or swirls. Start by applying some polishing compound to a clean microfiber towel and working it onto a small section of the car using circular motions.
Use a slow and even pressure, being careful not to apply too much force. Once the compound is evenly spread, switch to a clean, dry microfiber towel and gently buff the area using the same slow and even motion. Keep an eye out for any spots that may need extra attention, and repeat the process until you’ve buffed the entire car to a high shine.
Using a slow and even motion may take a little longer, but it’s worth the effort to achieve a professional-looking finish that will make your car stand out from the crowd.
Step 5: Finishing Touches
Now that you’ve gone over your car with the polisher buffer and gotten it looking like new, it’s time for the finishing touches. One important step is to get a microfiber towel and wipe down the surface of the car to remove any polish or wax residue. This will ensure that your car looks its best without any unsightly streaks or smudges.
Another important step is to apply tire shine to your vehicle’s tires. This will not only make them look shiny and new, but it will also protect them from dirt and debris. Finally, take a step back and admire your work! Your car looks fantastic and is sure to turn heads on the road.
And don’t forget to maintain your car regularly using your brand-new car polisher buffer to keep it in top condition.
Heading Three: Wiping Down The Car After Polishing
After polishing your car, it’s essential to give it a final touch by wiping it down. It will help get rid of any remaining polish residue and clean up any dust that may have accumulated during the polishing process. A microfiber cloth dampened slightly with water is perfect for wiping down the surface, both inside and out.
Be sure to access hard-to-reach areas like the crevices between panels, around door handles, and the edges of windows. Additionally, wiping down your car’s interior surfaces with a clean cloth is equally crucial since these surfaces also tend to gather dust and debris. This final step will not only leave your car looking shiny and brand new, but it will ultimately prevent any potential damages from grime or dirt build-up.
Conclusion
In conclusion, using a car polisher buffer is like conducting a mini symphony. You are the conductor, guiding the movements of the buffer as it glides across the surface of your car. The buffer is the orchestra, harmonizing and blending the polish, wax, and paint into a perfect melody of shine.
So, grab your buffer and start your own automotive symphony, because with a little practice, you’ll be producing a masterpiece on your car’s paint job.”
FAQs
What is a car polisher buffer used for?
A car polisher buffer is used to apply polish or wax to a vehicle’s exterior surface to help restore its shine and protect it from environmental damage.
How do I properly use a car polisher buffer?
To use a car polisher buffer, first clean the surface of the vehicle thoroughly. Apply a small amount of polish or wax to the buffer pad and then place the pad onto the surface to be polished. Turn the buffer on and move it across the surface in a circular motion, applying light pressure as needed.
Can a car polisher buffer damage my vehicle’s paint?
Yes, improperly using a car polisher buffer can potentially damage your vehicle’s paint. It is important to use the correct pad, speed, and pressure for the job. You should avoid using a buffer on a very hot or very cold surface, as well as on any damaged or rusted areas.
What types of car polisher buffers are available on the market?
There are different types of car polisher buffers available, including orbital buffers, rotary buffers, and dual-action buffers. Each has its own unique features, pros, and cons.
How often should I use a car polisher buffer on my vehicle?
The frequency of use will depend on a variety of factors including the age and condition of your vehicle, as well as the type of driving conditions you experience. As a general rule, you should aim to polish your vehicle every 3 to 6 months.
What is the difference between a car polisher buffer and a car wax applicator?
A car polisher buffer is a tool used to apply polish or wax to a vehicle’s surface, whereas a car wax applicator is typically a softer pad or cloth used to apply wax or sealant to a vehicle’s surface by hand.
Can I use a car polisher buffer to remove scratches from my vehicle’s paint?
It depends on the severity of the scratch. A car polisher buffer can be used to remove light scratches or swirls; however, deeper scratches will require more extensive repair methods. It is always recommended to consult a professional to determine the best approach for your particular situation.

