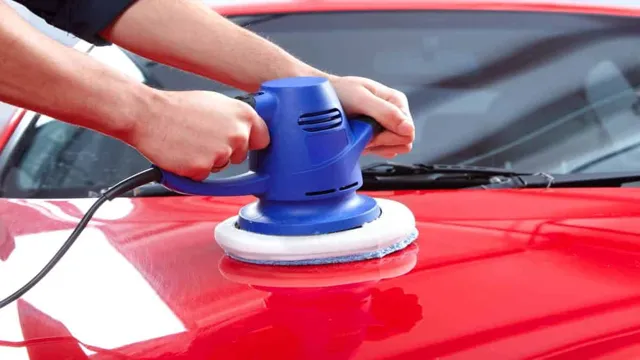
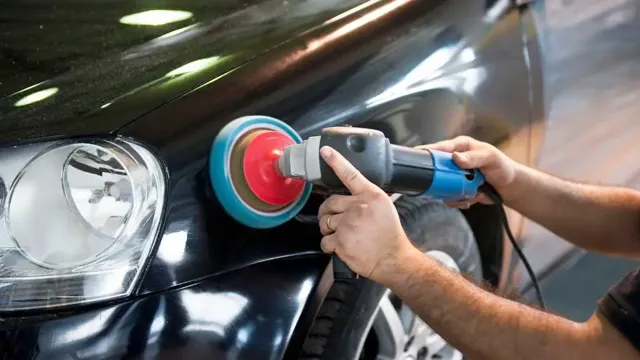
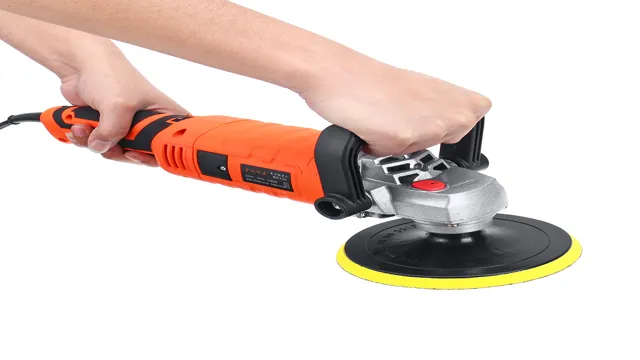
How to Use a Car Polisher Machine: Tips and Techniques for Achieving a Professional Finish
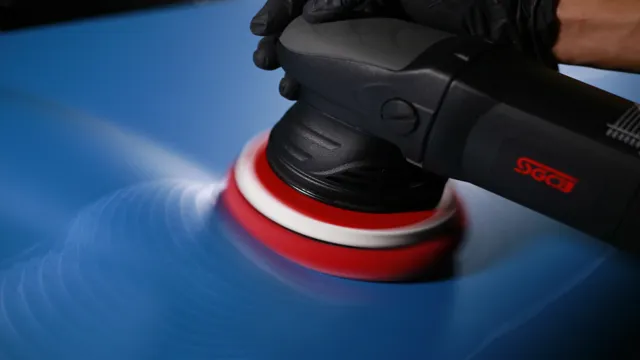
Want to make your car shine like new without spending a fortune at the auto-detailer? Using a car polisher machine can make all the difference in achieving a professional-looking finish. But if you’ve never used one before, it might seem daunting. Don’t worry! In this blog, we’ll guide you through how to use a car polisher machine with ease and precision.
From setting up the equipment to the finishing touches, we’ve got you covered. So buckle up and let’s get started!
Step 1: Choose the Right Polishing Pad
If you’re new to using a car polisher machine, the first step is choosing the right polishing pad. There are three main types of pads: cutting, polishing, and finishing. Cutting pads are the most aggressive and should only be used if you have heavy scratches or swirl marks on your vehicle’s paint.
Polishing pads are less aggressive and are suitable for removing light scratches and restoring the shine to the paint. Finally, finishing pads are the least aggressive and are used for final touches to achieve a flawless finish. It’s important to match the pad to the level of correction needed.
Using the wrong pad can cause damage to your vehicle’s paint, so take your time and choose wisely. By starting with the right pad, you’ll be on your way to achieving professional results in no time.
Select a foam pad with the correct level of abrasiveness for your paint type.
When it comes to polishing your car, choosing the right foam pad is essential. Different foam pads have different levels of abrasiveness, and using the wrong one can damage your paint job. The first step in choosing the right polishing pad is to identify your paint type.
If you have soft, delicate paint, a pad with a lower level of abrasiveness like a foam finishing pad is the best option. For harder, scratch-resistant paint, a pad with a higher level of abrasiveness like a foam cutting pad is necessary. It’s important to choose the right foam pad to achieve the desired level of gloss and shine without causing any harm to your vehicle’s paint.
So, take the time to identify your paint type and select the appropriate foam pad before starting your polishing process. Remember, choosing the right foam pad is crucial for achieving the perfect finish and protecting your car’s exterior.

Step 2: Apply Polish to the Pad
Once you’ve attached the polishing pad to the car polisher machine, it’s time to add some polish to the pad. The amount of polish you use will depend on the size of the pad and the surface area you’re working on, but a good rule of thumb is to add a couple of dime-sized drops of polish to the pad and then spread it around evenly. You don’t want to use too much polish, as it can lead to buildup and make the process more difficult.
Using too little, on the other hand, won’t give you the results you’re looking for. Make sure to work the polish into the pad thoroughly and evenly, so you don’t end up with any streaks or uneven spots on the surface of your car. With the right amount of polish applied, you’re ready to start the polishing process and bring out the shine in your vehicle.
Squeeze a small amount of polish onto the pad.
When it comes to polishing your car, ensuring that you apply the polish correctly is crucial to obtaining the desired results. Step 2 involves applying polish to the pad, something that requires careful attention. Begin by squeezing a small amount of polish onto the pad.
The amount you use will depend on the size of the pad, but it is important to avoid using too much. Not only will this cause an unnecessary mess, but it can make the polishing process more challenging than it needs to be. When applying the polish, use a back and forth motion to ensure that you cover the entirety of the pad.
This will help the pad absorb the polish, ensuring that it is evenly distributed across the surface of your car. Remember, when it comes to car polishing, less is often more. Using too much polish can lead to a buildup of residue, which can be more difficult to remove than the polish itself.
So, be sure to use only what you need, and always keep it even.
Step 3: Start Polishing
Now that you have washed and dried your car, it’s time to start the polishing process using a car polisher machine. Applying polish to your car will help remove any surface scratches, swirls, and oxidation, and give it a much-needed boost in shine. But before you begin, it’s essential to read the instructions that come with your car polisher machine, and familiarize yourself with its different settings.
Start with a low speed and gradually increase it as you become more confident in using the polisher. Work in small sections, and use moderate pressure and overlapping motions to ensure even coverage. Remember to wipe off any excess polish residue with a clean microfiber towel.
With patience and a bit of practice, you can achieve a professional-looking finish that will make your car look like new again.
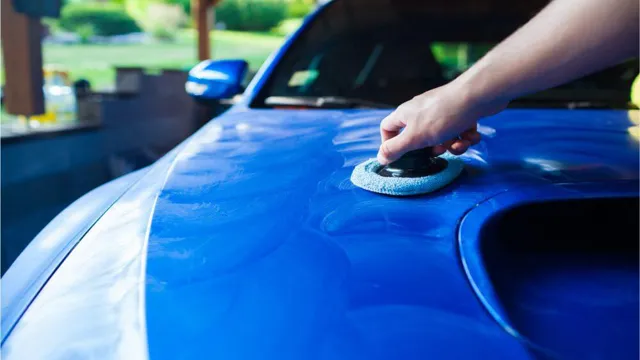
Turn on the machine and apply the pad to the car’s surface.
Now that you have prepared the car’s surface and chosen the appropriate pad and polish, it’s time to start polishing. The next step in the process is to turn on the machine and apply the pad to the car’s surface. Make sure to start with a low speed setting to avoid damaging the car’s paint.
Applying too much pressure on the pad can result in burn marks, so take it slow and steady. As you start polishing the car, you will begin to see the results of your hard work. The swirls and scratches will start to fade away, and the paint will appear smoother and more vibrant than before.
Take your time with this step, as it is crucial to achieving a flawless finish. With a little patience and attention to detail, you can transform your car’s appearance and restore its natural shine. So, are you ready to turn on the machine and get started with the polishing process? Let’s go!
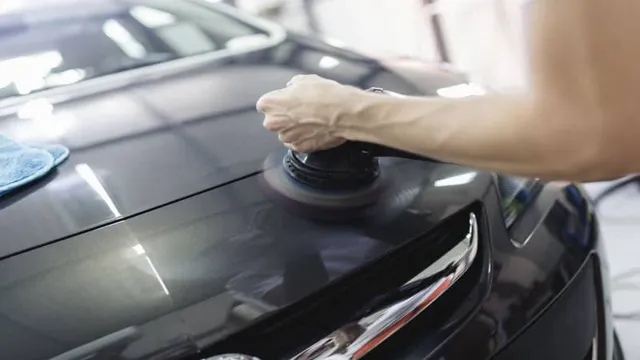
Move the machine in slow, overlapping circles.
As we move on to Step 3 of polishing your car, it’s important to remember that slow and steady wins the race. The key is to move the machine in slow, overlapping circles to ensure that all areas are covered and the polish is evenly applied. This not only helps to prevent any areas from being missed, but it also ensures that the surface is polished uniformly.
By using this technique, you can avoid any swirl marks or uneven patches that can detract from the overall finish. It’s important to take your time and be patient during this step, as rushing can cause more harm than good. Remember, the goal is to achieve a flawless finish and taking the time to do it right will pay off in the end.
Be sure to maintain even pressure on the pad and keep it level.
As you begin the process of polishing your vehicle, it’s crucial to maintain even pressure on the pad and keep it level. This helps to ensure that the polish is applied evenly and that there are no streaks or uneven spots. Applying too much pressure in one area can also lead to burning the paint or clear coat, which is definitely not ideal.
So, take your time and move the pad around in circular motions, applying light pressure and avoiding any sudden movements. Think of it like spreading butter evenly over a piece of toast – you want to make sure that every inch is covered in a consistent layer. With a little practice, you’ll get the hang of it and be able to achieve a flawless finish that makes your car shine like new.
Just remember to take breaks as needed, as polishing can be tiring on your arms and hands. Keep your pace steady, enjoy the process, and take pride in the finished result.
Step 4: Wipe off Excess Polish
Once you’ve finished buffing your car with the polisher machine, it’s important to give it a final wipe down to remove any excess polish. Use a clean microfiber cloth to gently remove any remaining product, being careful not to apply too much pressure or create unnecessary friction. This will help to reduce the risk of swirl marks or scratches on your newly polished car.
It’s important to note that different types of polish will require different amounts of time to dry before wiping off. Be sure to refer to the instructions on the specific product you’re using to ensure optimal results. By taking a few extra moments to properly wipe down your car, you’ll be left with a smoother, shinier finish.
So go ahead and give it that final once-over, your car will thank you for it!
Use a clean microfiber towel to wipe off any excess polish from the surface.
Once you’ve applied polish to your car surface, make sure to wipe off any excess with a clean microfiber towel. Leaving polish on the surface for too long will result in a stubborn residue that is difficult to remove. A microfiber towel is perfect for this because it is gentle and won’t scratch the surface of your car.
Start by gently wiping off any excess polish, taking care not to apply too much pressure. You don’t want to accidentally remove any of the polish you just buffed on! Use swift, circular motions to remove any remaining polish. Don’t forget to check corners and crevices, as polish can easily get trapped in these areas.
Once you’ve wiped down the entire surface, give it another once-over to make sure there’s no lingering residue. With step 4 complete, your car will be well on its way to looking like it just rolled off the showroom floor!
Step 5: Repeat on the Rest of the Car
Now that you have mastered the technique of using a car polisher machine, it’s time to move on to the rest of the vehicle. Begin by repeating the same method on the next section of the car, and work in small, manageable areas to avoid missing any spots. Remember to clean the polishing pad regularly to avoid any buildup and maintain a smooth operation.
Move from one section to another, ensuring that you do not miss any spots. It is essential to be patient and take your time to avoid any mistakes or accidents. The final results will be worth the effort, and your car will shine like new.
Don’t forget to also polish the wheels, mirrors, and any other external parts that may require attention. By the time you have polished the entire car, you’ll have gained newfound expertise on using a car polisher machine, and the final result will be a satisfying sense of accomplishment.
Work on small sections at a time, repeating steps 2-4 until the entire car is polished.
Now that you’ve mastered the art of polishing a small section of your car, it’s time to apply the same technique to the rest of the vehicle. The key to success is to follow the same methodical process you used on the first section – start with a clean surface, apply the polishing agent, and buff it out with a clean microfiber towel. Don’t forget to examine your work as you go, and make sure you’re achieving the desired level of shine.
Remember, you want to avoid working on any single section for too long, as this can cause uneven polishing. Instead, work on manageable areas at a time, completing each section before moving on to the next. This is especially important if you’re working on a larger car or truck.
By taking a step-by-step approach to polishing the entire car, you’ll be able to achieve a showroom-ready finish in no time at all. So, buckle up and get started – your freshly polished car awaits!
Conclusion
Using a car polisher machine is like dancing a Tango, it requires skill, precision, and rhythm. With proper technique and tools, you can achieve a mirror-like finish that will leave your car shining like a star on the red carpet. Just remember to take it slow, start with a clean surface, and use the right type of polish and pads for your car’s paint.
Don’t be afraid to experiment and find your own style, and before you know it, you’ll be impressing your friends and family with your polished moves. So grab your car polisher machine and let’s dance our way to a showroom-shine car!”
FAQs
What is a car polisher machine?
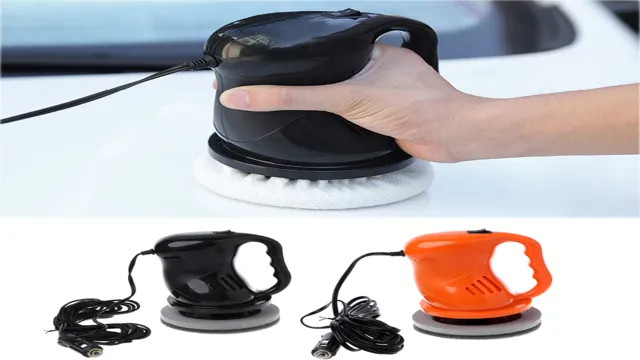
A car polisher machine is an electric tool designed for polishing the paintwork on cars to give them a glossy and shiny finish.
How does a car polisher machine work?
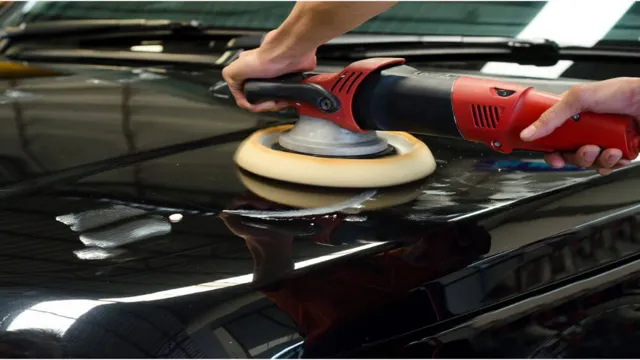
A car polisher machine works by rotating a polishing pad at high speeds, using either a random orbital or rotary motion, to evenly distribute polishing compounds or waxes on the surface of a car.
Can I use a car polisher machine on any type of car paint?
Yes, car polisher machines can be used on any type of car paint, as long as you use the appropriate pads and polishing compounds for the specific type of paint.
Is a car polisher machine safe to use for beginners?
Yes, most car polisher machines are designed to be user-friendly and safe for beginners, with adjustable speed settings and ergonomic handles for comfortable grip.
How often should I use a car polisher machine on my car?
It depends on the condition of your car’s paintwork and how often you want to maintain it. Generally, it is recommended to use a car polisher machine once or twice a year for optimal results.
Should I wash my car before using a polisher machine?
Yes, it is important to wash and dry your car thoroughly before using a polisher machine, to remove any dirt, debris, or contaminants that could scratch or damage the paintwork.
Can a car polisher machine remove scratches or swirl marks from car paint?
Yes, a car polisher machine can help to remove light scratches or swirl marks from car paint, using specific polishing pads and compounds designed for the specific type of damage. However, deep scratches or damages may require professional auto body repair.

