How to Use a Floor Sander Machine: Tips and Techniques for Flawless Results

If you’re looking to give your floors a new lease of life, then a floor sander machine is just the tool you need. These powerful machines can help to strip old, worn out layers of paint, dirt, or grime from floors, making them look as good as new. However, if you’ve never used a floor sander machine before, it can be a bit daunting.
Where do you start? How do you achieve an even finish? Fear not, as we’ve got you covered. In this blog post, we’ll be discussing everything you need to know about using a floor sander machine, from preparing your floors, to picking the right sandpaper, and more. So, grab a cup of tea and settle in, we’re about to take you on a journey to floor sanding mastery.
Introduction
Looking to revamp your old wooden floor but don’t know how to use a floor sander machine? Not to worry! With a little guidance, you can easily accomplish the task. First, start by clearing all the furniture, rugs, and other items to create an open space. Secondly, ensure your safety by having a dust mask, safety goggles, and gloves.
Thirdly, select the appropriate sandpaper grit for your floor type, starting with the rougher grit and gradually moving to finer ones. Fourthly, set up the floor sander and turn it on. Begin sanding with the grain, overlapping each pass for consistency.
Lastly, vacuum and clean the floor thoroughly before applying any finishing. Remember, practice makes perfect, so take your time and be patient while using the floor sander machine. With these simple steps, you’ll bring back the lost glamour of your wooden floor.
What is a Floor Sander Machine?
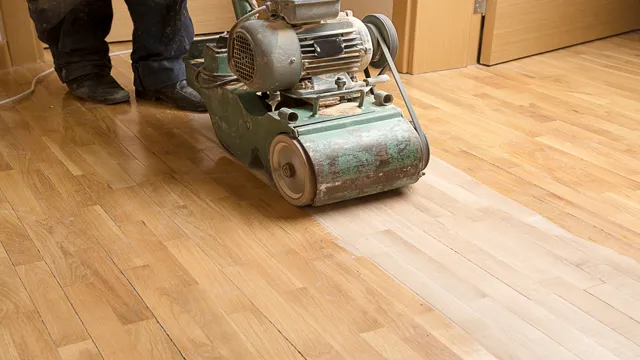
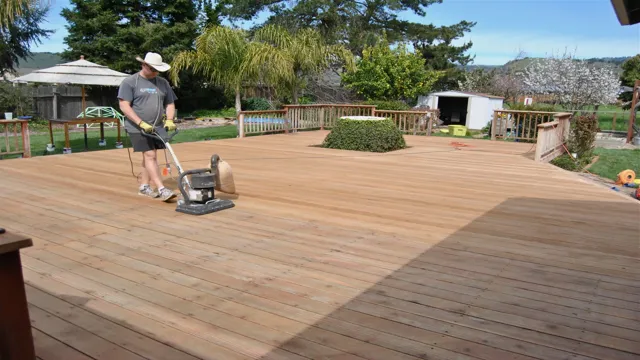
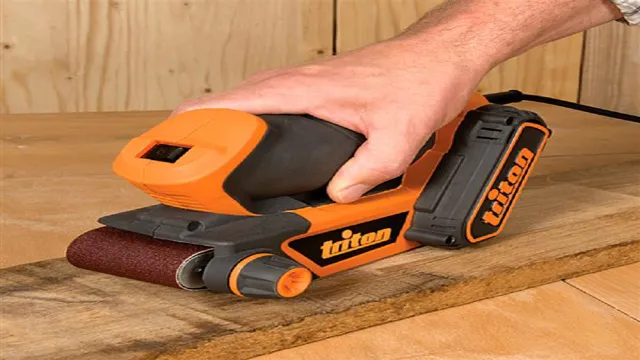
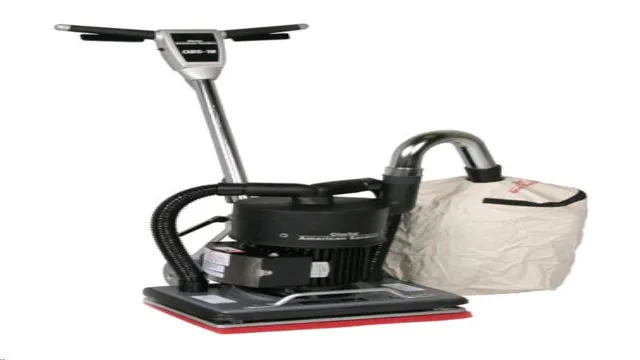
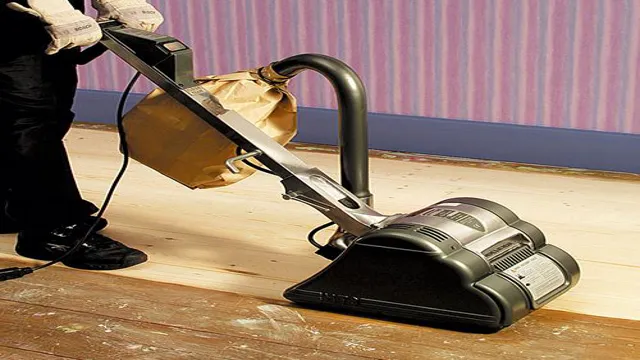
A floor sander machine is a powerful tool used for removing old floor finishes, smoothing down uneven surfaces, and preparing floors for new finishes. This versatile machine uses a large, rotating sanding disc or belt to sand the surface of the floor, removing scratches, scuffs, and old finishes, leaving a fresh, smooth surface. Floor sanders come in various types, including drum, orbital, and square sanders, each with its own specific features and capabilities.
Depending on the type of sander you choose, you can achieve different levels of smoothness and precision. Whether you’re a professional contractor or a DIY enthusiast, a floor sander machine is an essential tool for any home renovation project. With the right sanding technique and practice, you can achieve a beautifully smooth and polished floor that enhances the look and feel of your home while adding value to your property.
Benefits of Using a Floor Sander Machine
If you’re planning on redoing your floors, then you might want to consider using a floor sander machine. This handy tool is designed to help remove any imperfections on your floor and create a smooth, even surface. One of the main benefits of using a floor sander machine is that it saves you time and energy.
Sanding floors manually can be a tedious and labor-intensive process, but a floor sander machine streamlines the job, allowing you to get it done in less time and with less effort. Additionally, a floor sander machine can help you achieve a consistent finish that looks professional and aesthetically pleasing. So, if you’re looking to enhance the appearance and value of your home’s interior, consider investing in a floor sander machine.
Preparation
If you’re planning on sanding your floors, it’s important to prepare the area beforehand to ensure the best results. Start by clearing the room of all furniture and objects and use a vacuum to remove any loose debris and dirt. Then, cover any remaining fixtures or outlets with plastic or tape.
It’s also a good idea to wear ear protection and a dust mask while sanding to protect yourself from the noise and dust. Before you start the machine, make sure the sandpaper is securely attached and adjusted to the correct level. Always start with a coarse sandpaper and gradually work your way up to a finer grit for a smooth finish.
Finally, practice using the machine on a test area to become comfortable with the process before moving on to the larger areas. Remember to take your time and be patient for the best results. With these preparation steps, you can confidently use a floor sander machine to achieve a beautiful, refreshed look for your flooring.
Safety Tips Before Use
When it comes to using machinery or power tools, preparation is key to ensuring a safe and successful experience. Before using any equipment, it is important to read the instruction manual and familiarize yourself with the machine’s controls and functions. Check all the components of the tool to ensure that they are in good working condition and free of damages.
Personal protective equipment (PPE) should also be worn, such as gloves, safety glasses, earplugs, and appropriate clothing. Make sure the workspace is well-lit, clean, and free of any potential hazards such as cords or loose objects. Additionally, it is important to make sure that you are in the right physical and mental state to operate the equipment.
Being prepared and cognizant of your surroundings will help to mitigate the risks associated with using power tools. By taking these safety tips into consideration, you can avoid accidents and injuries, and focus on completing your task with ease and confidence.
Assembling the Machine
Preparing to assemble your new machine is an essential first step in ensuring a smooth and successful build. This can include organizing all of your tools and equipment and setting up a clean and safe workspace. It’s also crucial to read and follow the manufacturer’s instructions carefully, as each machine may have unique components or specifications.
If you’re unsure about any steps, consult online tutorials or seek guidance from a professional. Taking the time to prepare adequately can save you time and headache down the road and help ensure that your new machine is up and running efficiently. So, don’t rush the preparation process and take your time to get everything set up properly.
Using the Floor Sander Machine
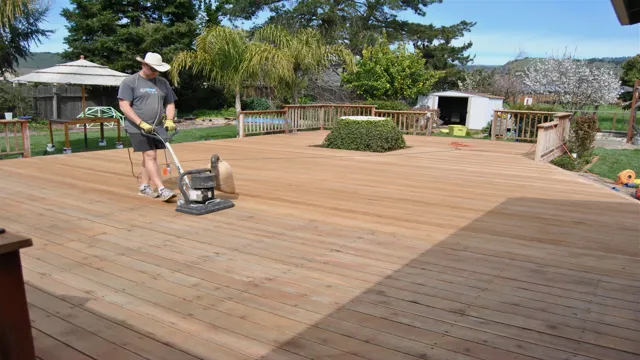
If you’re planning on refinishing your hardwood floors, you’ll need to know how to use a floor sander machine. Before starting, it’s important to gather all necessary protective gear such as dust masks, goggles, and earplugs. Make sure to clear the room and remove any furniture or decor that could obstruct the sanding process.
Begin by setting up the sandpaper and adjusting the height of the machine. Move the sander back and forth while going with the grain of the wood and use a smooth and steady motion. It’s essential to keep the machine moving constantly to avoid sanding too deeply in one spot.
As you go through the grits, switch to a finer sandpaper and sweep away any debris in between each sanding session. Always remember to vacuum up all the dust and debris before moving onto the next step of finishing the floors. With a little patience and proper safety precautions, you can learn how to use a floor sander machine effectively and create a beautiful new look for your hardwood floors.
Choosing the Right Sandpaper Grit
When it comes to using a floor sander machine, choosing the right sandpaper grit is crucial. The grit determines how much of the old finish and wood the machine will remove, as well as the smoothness of the final result. Generally, the lower the grit number, the coarser the sandpaper, and the more material it will take off.
However, using too low a grit can leave deep scratches that will be difficult to remove, especially if the wood is soft. On the other hand, using too high a grit may result in a surface that is too smooth to absorb stains or finishes properly. Thus, it is best to start with a middle grit, such as 60-80, and work one’s way up to a finer grit, such as 120-150, depending on the condition of the floor and the desired level of smoothness.
By experimenting with different grits and observing the results, one can achieve a high-quality, long-lasting finish that enhances the natural beauty of the wood.
Starting the Machine
If you’re planning on using a floor sander machine, it’s important to know how to start it properly. First things first, make sure you have all the necessary safety gear on, such as earplugs, goggles, and a face mask. Once you’re all set, you can start the machine by pulling the starter cord with one swift motion.
It may take a few tries, but remain patient and keep trying until the machine starts running smoothly. As the machine starts up, it’s important to remember to keep a firm grip on the handles to maintain control. Once you’re all set, you can begin sanding your floors like a pro.
Remember to take breaks as needed and to follow the machine’s instructions to ensure you get the best results possible. With a bit of practice and patience, you’ll be able to make your floors look brand new in no time. So gear up, start the machine, and get ready to transform your space with this versatile power tool.
Sanding Techniques
When it comes to sanding your hardwood floors, using a floor sander machine is the most effective way to achieve a smooth and even finish. But before you dive in, there are a few techniques to keep in mind to ensure you get the best results possible. First, make sure you start with a coarse grit sandpaper to remove any deep scratches or marks, then gradually work your way up to a finer grit sandpaper for a polished finish.
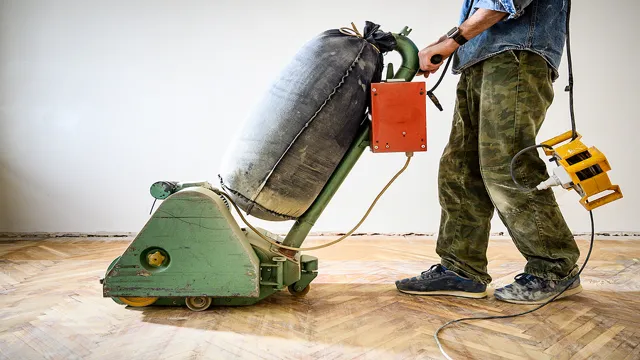
Additionally, it’s important to keep the sander moving in a consistent pattern, always moving with the wood grain to prevent any unsightly marks. And don’t forget to keep the dust bag attached to the machine to prevent a messy cleanup later on. By using these techniques and taking your time, you’ll be able to achieve a beautiful, professional-looking finish on your hardwood floors.
Post Use Maintenance
Once you’ve finished using a floor sander machine, there are some important maintenance tips to keep in mind to ensure that your tool stays in top condition for future use. First of all, turn off the machine and unplug it from the power source before doing anything else. Then, use a soft brush or cloth to remove any dust and debris from the sander’s body and sanding pad.
If you notice any damage to the sanding sheet, be sure to replace it before using the machine again. You can also use a lubricant on the machine’s motor to keep it running smoothly. Finally, store your sander in a dry, cool place to prevent rust and other damage.
By taking good care of your floor sander machine, you can ensure that you’ll be able to use it for many years to come.
Cleaning the Machine
After a good sewing session, it’s time to take care of your machine. Regular maintenance will extend its life and keep it functioning smoothly. Cleaning your machine is not rocket science and can be done in a few simple steps.
First, unplug it from the socket, so there’s no electricity running through it. Then, remove all of the attachments and accessories, including the needle, bobbin, presser feet, and the throat plate. Once everything is out of the way, use a small brush and a soft cloth to remove dust and debris from the machine.
Pay attention to all the nooks and crannies, including the thread guides and tension discs. If you find anything stubborn, use a small amount of lubricant to help loosen it. Finish by wiping it down with a damp cloth, including the exterior of the machine.
By doing this after each use, you’ll prevent buildup of dirt and grime and maintain the quality of your machine for years to come.
Storing the Machine Safely
When it comes to using a machine, proper maintenance is a crucial aspect of ensuring its longevity and efficiency. This includes post-use maintenance, where storing the machine safely is important. It’s important to avoid leaving the machine exposed to the elements or in a damp environment.
Additionally, it’s essential to clean the machine after each use to remove any debris or dust that may have accumulated. This not only helps to keep the machine functioning optimally but also minimizes the risk of any accidents or malfunctions. Storing the machine in a dry and secure location helps to prevent any damage to the machine, and placing a cover over it can also provide an extra layer of protection.
By taking these small steps, you can help ensure that your machine remains in top condition for years to come.
Conclusion
Using a floor sander is like riding a bike – once you get the hang of it, it’s smooth sailing. Just remember to start with a lower grit sandpaper, work your way up gradually, and always keep the machine moving. With a little practice and patience, you’ll have beautifully sanded floors that would make even a professional jealous.
So go ahead, grab that sander and show your floors who’s boss!”
FAQs
What kind of floor can be sanded with a floor sander machine?
A floor sander machine can be used on hardwood, cork, and certain types of engineered flooring.
Is it necessary to wear protective gear when using a floor sander machine?
Yes, it is essential to wear protective gear such as goggles, earplugs, and a respirator mask to protect yourself from dust and debris.
How do I prepare the floor before using a floor sander machine?
Before using a floor sander machine, it is necessary to clean the floor thoroughly, remove any furniture, and check for any nails or screws that need to be hammered down.
What is the appropriate grit level for sanding hardwood floors with a floor sander machine?
Generally, a grit level of 36 to 60 is used for sanding tough coatings, while a grit level of 80 to 100 is used for finishing sanding.
Can a floor sander machine be used to remove old paint or adhesive from a concrete floor?
Yes, a floor sander machine with diamond abrasive pads can be used to remove old paint or adhesive from a concrete floor.
How long does it take to sand an average-sized room with a floor sander machine?
It generally takes around 4 to 6 hours to sand an average-sized room with a floor sander machine, depending on the condition of the floor.
How frequently should I change the sandpaper of the floor sander machine?
It is recommended to change the sandpaper after every 30 minutes of use or when it becomes clogged with dust and debris.


