How to Use Rotary Polisher on Car: Tips and Tricks for Achieving a Flawless Finish.

Do you want to get that showroom shine on your car, but you’re not sure how to approach polishing it? Look no further, as we introduce you to the Rotary Polisher – an amazing tool that will revolutionize the way you detail your car. Using a Rotary Polisher can seem daunting at first, but with the right guidance, it can quickly become an essential part of your car detailing toolkit. By evenly distributing polish or wax onto your car’s surface, this tool can buff away scratches, swirls, and other imperfections, leaving your vehicle looking better than ever before.
Think of it like a professional masseuse for your car – just as a masseuse can find those trouble spots and work them out for optimal relaxation, a Rotary Polisher can do the same for your car’s paint. With its powerful motor and ability to reach tight spaces, it’s the perfect companion for any car enthusiast looking to elevate their detailing game to the next level. So what are you waiting for? Grab a Rotary Polisher and get ready for your car to shine like it never has before.
With proper technique and a little patience, you’ll soon be turning heads on the road with your newly-polished ride.
What Is a Rotary Polisher?
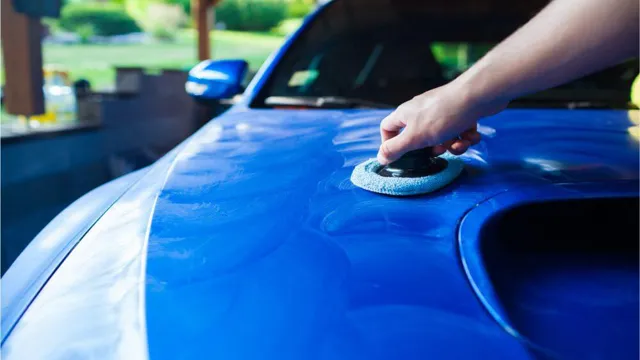
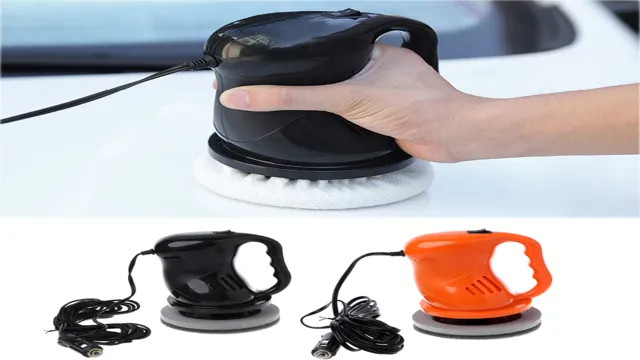
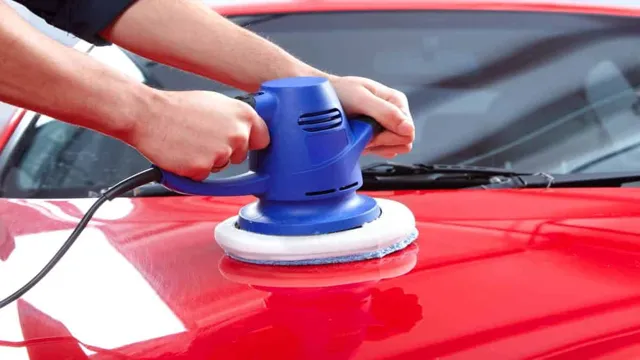
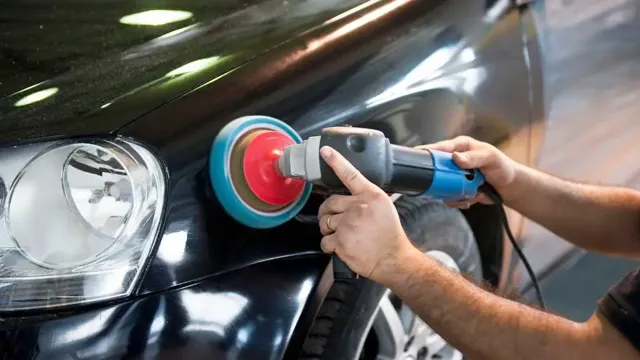
Learning how to use a rotary polisher on a car can be a daunting task for beginners, but it can make a huge difference in the appearance of your vehicle. Rotary polishers are powerful machines designed to remove swirl marks and imperfections from the clear coat of your car’s paint. They use an abrasive pad that spins at high speeds, delivering a lot of energy to the surface of the paint.
However, it’s important to use them cautiously, as they can generate heat and cause damage to the paint if used improperly. To use a rotary polisher effectively, you should first clean and dry the car thoroughly, then apply a compound or polish to the pad. Gradually work the polisher over the surface of the car until the desired level of shine is achieved.
Always work in small sections and keep the polisher moving to avoid burning the paint. With practice and patience, using a rotary polisher can be a valuable skill to keep your car looking its best.
Explanation of Rotary Polisher and Its Uses
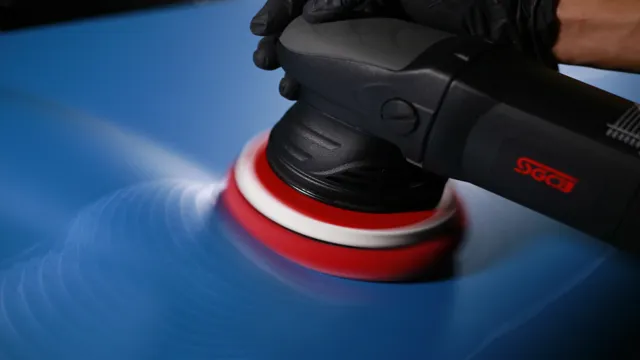
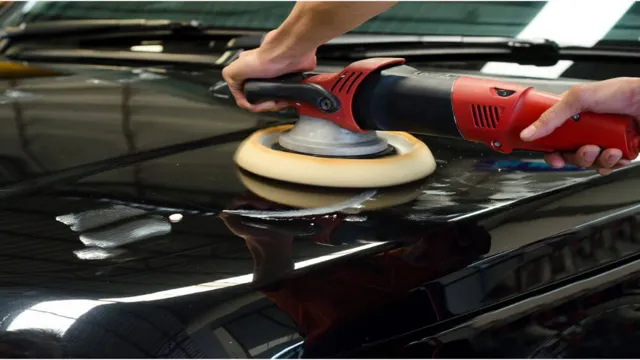
A rotary polisher is a power tool that spins a disc or pad in circular motions to buff or polish the surface of a vehicle or object. The machine rotates on its axis, which generates a lot of friction and heat. It is commonly used in the automotive industry to remove scratches, swirls, and other imperfections from the paintwork.
The movement of the rotary polisher allows it to effectively remove layers of a clear coat or polish, making it an excellent tool for paint correction. Professional detailers often use rotary polishers to achieve flawless results when working on heavily damaged or neglected cars. However, rotary polishers require a certain level of skill and experience, as they can damage the paintwork if not used correctly.
Proper technique, speed, pressure, and pad selection are crucial when using a rotary polisher. With the right knowledge and experience, a rotary polisher can produce stunning, glossy finishes on a vehicle.
Choosing the Right Pads
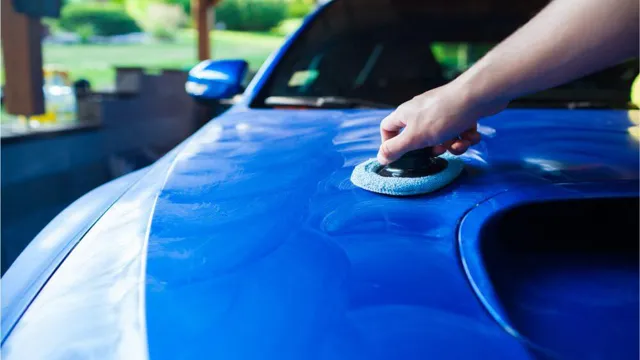
When it comes to polishing your car with a rotary polisher, it’s important to choose the right pads. The two main types of pads are foam and wool. Foam pads are great for light-duty polishing, while wool pads are more aggressive and can handle heavier polishing jobs.
It’s important to choose the right size of pad for your polishing machine. Also, ensure that you use the pad correctly, by properly centering it on the spindle and evenly distributing the polish. Don’t forget to use the right amount of pressure while polishing – too much pressure can damage the clear coat of your car.
With these tips, you can make sure that you get the most out of your rotary polisher and achieve that perfect finish on your car! So, if you’re wondering how to use rotary polisher on car, remember to choose the right pads, use the correct amount of pressure, and evenly distribute the polish to achieve the best results.
Selecting Correct Pads for the Job
Choosing the right pads is crucial for achieving quality results in any task that involves abrasion, polishing or cleaning. Whether you are working on a hardwood floor, a car’s paint job, or a delicate surface, selecting the correct pads can make all the difference. When choosing a pad, consider variables like the type of surface, the level of abrasion needed and the type of machine being used.
For example, for a high gloss finish on a hardwood floor, you might want to use a polishing pad that is soft and gentle, while for removing paint or rust, a more abrasive pad would be necessary. It is also important to select the right shape and size of pad for your task, as well as the correct material. Some common types of pads include cotton, foam, microfiber and lambswool.
With these considerations in mind, be sure to choose a pad that matches the demands of your task and the type of machine you are using for optimal results.
Different Types of Pads: Foam, Wool, Microfiber
When it comes to detailing your car, the type of pad you use can make all the difference in achieving the desired results. There are different types of pads such as foam, wool, and microfiber. Choosing the right pad for your needs is essential.
Foam pads work best for applying and spreading waxes and polishes, while wool pads are more abrasive and ideal for removing scratches and heavy oxidation. Microfiber pads are suitable for applying sealants and glazes as they add depth and shine to your paintwork. When selecting a pad, consider the condition of your car’s paint and the product you plan to use.
Always remember to check the label for compatibility and adjust the pressure when working with different pads. With the right pad, your detailing experience will be smooth and enjoyable, producing a flawless finish that will have your car looking brand new.
Preparation Steps
Are you tired of taking your car to the auto shop for a professional polish every time it needs cleaning? If so, investing in a rotary polisher might be a good idea. Before delving into the process, however, there are a few preparation steps that need to be taken. The first step is to ensure that the car is clean and free of any debris that may cause scratches during the polishing process.
Once the car is clean, tape off any areas such as the edges of the car that you do not want to be polished. This will help avoid accidental damage. It is also important to select the right polishing pads and compounds suitable for your car’s paint and defects.
Finally, make sure that you have enough time and patience to complete the polishing process since it can be time-consuming. Now that you have completed the preparation process, you are ready to start polishing your car with the rotary polisher. By following these steps, you can achieve professional-grade results on your own.
Washing and Drying the Car
Before you start washing and drying your car, it’s important to prepare properly. First, pick a good location that provides enough space for you to work safely and comfortably. It’s also essential to ensure that the weather is suitable for the task at hand.
You don’t want to wash your car on a hot day and risk the soap drying out before you can rinse it off properly. Similarly, it’s not a good idea to wash your car while it’s freezing cold outside, as the water will freeze and potentially damage your car’s paintwork. Make sure to gather all the necessary equipment, such as a bucket, soap, sponges, towels, and a hose.
Finally, inspect your car carefully before you start to wash it, checking for any scratches or dents that could be accidentally worsened during the washing process. By taking these preparation steps, you’ll be well on your way to efficiently washing and drying your car while avoiding any unexpected mishaps.
Masking Off Sensitive Areas
When it comes to masking off sensitive areas, proper preparation is crucial for achieving a clean and effective result. First and foremost, it’s important to thoroughly clean and dry the surface you’ll be masking off. Any dirt, dust, or debris can compromise the adhesion of the masking material, so take the time to ensure the surface is completely clean.
Next, consider using a primer or other adhesive-promoting product to further improve the bonding of the masking material to the surface. Finally, be sure to carefully select the right type of masking material for the job at hand, taking into account factors such as the surface type, the type of paint or finish you’ll be applying, and the level of sensitivity of the area you’re masking off. With the right preparation, you can achieve flawless masking results that protect sensitive areas while allowing you to get the job done efficiently and effectively.
So why not take the time to properly prepare for your masking project today?
Claying to Remove Contaminants
When it comes to detailing your vehicle, claying is a crucial step in removing contaminants and achieving a smooth and shiny finish. But before you start claying, it’s important to properly prepare your vehicle. First, wash your vehicle thoroughly to remove any loose dirt, debris, or grime on the surface.
Then, use a clay bar lubricant to spray onto the area you will be claying. The lubricant serves to reduce friction and prevent scratching your vehicle’s paint. It’s also helpful to break the clay bar into smaller pieces before use, ensuring maximum coverage and effectiveness.
Once you’ve completed these preparation steps, you’re ready to begin claying and removing any contaminants on the surface of your car. Remember to take your time, work in small sections, and regularly knead the clay to ensure it’s picking up the contaminants and not just spreading them around. By properly preparing your vehicle for claying, you’ll achieve the best results and protect your car’s paint for the long term.
Polishing Process
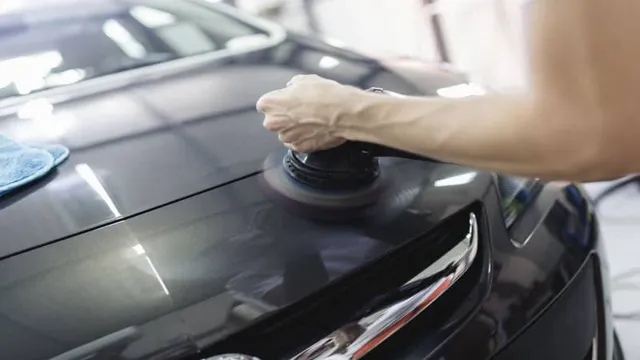
When it comes to giving your car that extra shine, using a rotary polisher can be one of the most effective methods. However, this tool can be dangerous and cause damage to your car’s paint if not used correctly. To start, choose the right polishing pad and compound for your car’s specific needs.
Apply a small amount of compound to the pad and work on one section at a time, starting with the roof and working your way down. Keep the speed of the rotary polisher low and apply constant pressure to the pad. As you work on each section, make sure to check your progress regularly and wipe away any excess compound with a microfiber towel.
Once you have completed the entire car, it’s time to wipe it down with a wax or sealant to protect the newly polished surface. Remember, when using a rotary polisher, slow and steady wins the race. With practice and patience, you can give your car a showroom finish that will turn heads on the road.
Start With Low Speeds and Light Pressure
When it comes to polishing any surface, it’s important to start with low speeds and light pressure. This technique applies to all types of polishing, whether you’re working on your car, furniture, or jewelry. By applying minimal pressure and starting at low speeds, you can ensure that the surface will not be damaged or scratched during the polishing process.
Additionally, this method gives you more control over the process and allows you to make adjustments as needed. As you become more comfortable with the process, you can gradually increase the speed and pressure to achieve the desired level of shine. Remember, patience is key when it comes to polishing, so take your time and don’t rush the process.
By following these simple steps, you can achieve a flawless, polished finish on any surface.
Apply Pressure as Needed for Better Results
When it comes to the polishing process, applying pressure as needed is crucial for achieving better results. Pressure is necessary to remove deep scratches, stains, and other imperfections from the surface of the object being polished. However, too much pressure can lead to unwanted damage or even breakage.
It’s critical to find the right balance of pressure to ensure that the polishing process is effective without causing harm. Professionals understand this delicate balance and will use their expertise to apply the correct amount of pressure to achieve the desired result. For example, if polishing a car, pressing too hard on the paint can damage the finish, whereas not enough pressure won’t remove the dirt and grime.
By finding the sweet spot of pressure, the end result will be a beautiful, polished surface that gleams and shines.
Pay Extra Attention to Tough Spots
When it comes to polishing your car, it’s important to pay extra attention to tough spots if you want to achieve a flawless finish. These areas can often be the most frustrating and time-consuming parts of the polishing process, but they are also the most visible. So, what can you do to make sure they look just as good as the rest of your vehicle? One approach is to use a more aggressive compound or polish specifically designed for tough spots.
These products contain more abrasive particles that can cut through deeper scratches and imperfections, leaving the surface smoother and more even. However, you’ll need to be careful not to over-polish and damage the paint. It’s always a good idea to start with a milder compound and work your way up as needed.
Another option is to use a handheld polishing tool or buffing pad to target specific areas. This can give you more control and precision, allowing you to focus on the spots that need the most attention. Remember, taking the time to properly polish those tough spots can make a big difference in the overall appearance of your car.
Post-Polishing Tips
So, you’ve decided to take your car’s appearance into your own hands and use a rotary polisher. Well done! But before you dive in, there are a few post-polishing tips that can make all the difference. Firstly, always use a microfiber cloth to wipe away any residue left on the paintwork.
This ensures that your car is completely clean and gleaming. Secondly, apply a wax or sealant to protect your hard work. Not only will this ensure that your car stays looking stunning for longer, but it will also keep it protected from the elements.
Lastly, take some time to admire your work. There’s nothing quite like the satisfaction of seeing your car transformed from dull to dazzling. Remember, using a rotary polisher on your car takes some practice, so don’t be discouraged if it doesn’t come out perfectly the first time.
Keep at it, and soon you’ll be a pro!
Cleaning and Storing Your Rotary Polisher
After completing your polishing job, it’s essential to take care of your rotary polisher. Cleaning and storing your machine properly will ensure its longevity and keep it in good condition for future use. The first step is to unplug your machine and remove the polishing pad, which you can clean with a pad conditioning brush.
Using compressed air or a vacuum, remove any dust or debris around the machine and ventilation slots. Then, use a microfiber cloth or soft-bristled brush to wipe down the body of your polisher. It’s crucial to avoid getting water near the electrical components, so stick to dry-cleaning methods.
After cleaning, store your machine in a dry, cool place, away from direct sunlight. Use its case or a storage bag to keep it dust-free and protected from accidental falls or bumps. Regular cleaning and proper storage will help maintain your rotary polisher in top-notch condition and prolong its lifespan.
Applying Your Favourite Sealant or Wax
So, you’ve completed the polishing process on your car, and now it’s time to apply your favourite sealant or wax to protect your paint and give it a beautiful shine. First and foremost, ensure that your car’s surface is clean and dry before applying any sealant or wax. It’s best to use a microfiber cloth to wipe down your vehicle and remove any remaining polish residue.
Next, apply your sealant or wax using a foam applicator pad, starting from the top and working your way down in small sections. Remember, a little goes a long way, so don’t overuse your product, or it may result in streaks or haze. Apply the product evenly, and let it dry completely before removing it with a clean microfiber towel.
Some sealants may require more time to cure before removing, so read the instructions carefully. Once you’ve finished applying your sealant or wax, stand back and admire your work! The new shine and added layer of protection will make your car look like new again.
Conclusion
In conclusion, using a rotary polisher on your car is like performing a delicate dance. You need to have the right moves, the right tools, and the right technique to achieve a perfect finish. Just like any good dance partner, you need to be gentle yet firm, and know when to change direction.
So, grab your rotary polisher and hit the dance floor, because with practice and experience, you’ll soon be the Fred Astaire of car detailing!”
FAQs
What safety precautions should I take when using a rotary polisher on my car?
Always wear eye protection and gloves, and ensure the area you are working in is well-ventilated. Follow all manufacturer instructions carefully and start with the lowest speed setting.
How do I choose the right polishing pad for my rotary polisher?
Choose a pad type and firmness based on the desired level of correction and the hardness of your car’s clear coat. Start with a less aggressive pad and work your way up if necessary.
Can I use a rotary polisher on all areas of my car?
A rotary polisher is ideal for flat, larger surfaces, but may not be the best option for smaller, curved areas or areas with intricate detailing. Use caution and precision when using a rotary polisher on any surface.
What polish should I use with my rotary polisher?
The polish you choose will largely depend on the level of correction needed and the condition of your car’s clear coat. Start with a less abrasive polish and work your way up as needed.
How do I properly clean my rotary polisher after use?
Always turn off and unplug the polisher before cleaning. Use a detail brush to remove any polish residue from pads and ensure the machine and accessories are completely dry before storing.
Should I use a specific type of extension cord for my rotary polisher?
It is recommended to use a heavy-duty, grounded extension cord of at least 12-gauge when using a rotary polisher. This will ensure consistent power supply and prevent overheating.
Can I use a different brand of pad with my rotary polisher?
While it may be possible to use pads from a different brand with your rotary polisher, it is generally recommended to use pads that are designed specifically for your machine to ensure proper fit and maximum performance.

