How to Use Ryobi Cordless Drill: A Beginner’s Guide to Efficient Drilling
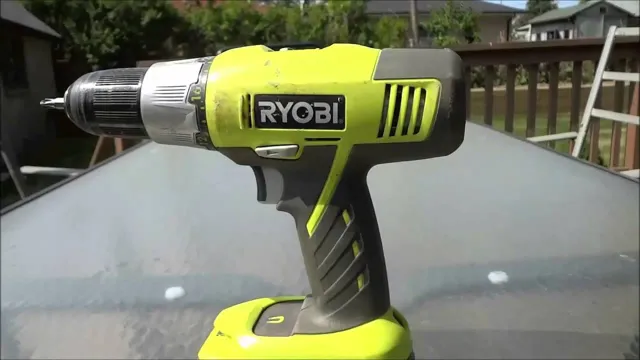
If you’re a homeowner, DIY enthusiast, or just someone who loves tinkering with tools, then you know how essential a cordless drill is. It’s an all-purpose tool that can be used for making holes or driving screws into different materials. Are you a newbie to the world of cordless drills? Then don’t worry, you’re at the right place.
With that in mind, we’ve got you covered with a comprehensive guide on how to use your Ryobi cordless drill like a pro. Compared to other tools, a cordless drill is relatively easy to operate. But navigating through all the settings and features can be daunting for beginners.
By following our guide you’ll learn the basics of how to assemble, charge, and use your Ryobi cordless drill. No matter what your DIY project entails, you’ll be confident in your ability to use your cordless drill efficiently and effectively. Whether you’re hanging up shelves or assembling furniture, using a good cordless drill can make everything much more manageable.
But without proper knowledge on how to use the drill, it can be frustrating at times. That’s why we’re here to help you become a self-sufficient DIYer by teaching you how to use your Ryobi cordless drill. So, let’s get started!
Getting Familiar with the Drill
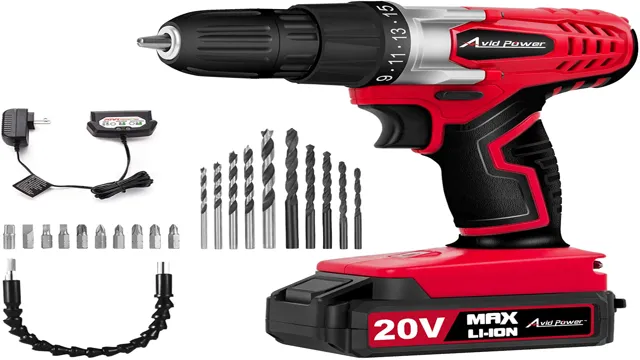
Learning how to use a Ryobi cordless drill is an essential skill for anyone who wants to take on DIY projects. Begin by making sure your battery is charged, and your drill bits are clean and sharp. Then, insert the drill bit into the chuck and tighten it securely.
Once you’ve selected the drill feature you need (such as drill, screwdriver, or hammer drill), you’re ready to go. It’s important to keep your grip firm but not too tight, as holding the drill too tightly can cause unnecessary strain on your wrist. Start slowly and steadily and gradually increase your speed as you gain confidence.
You may also want to practice on a scrap piece of wood or metal to get a feel for the tool before attempting your project. With a little practice, you’ll soon be a pro at using your Ryobi cordless drill and breeze through your DIY projects with ease.
Charge the Battery
One of the first things to know as a beginner drill user is how to charge the battery. Your drill likely came with a battery pack that needs to be charged before use. This is typically done by plugging the battery charger into an electrical outlet and then connecting the battery pack to the charger.
Make sure to read the instructions that came with your drill to ensure you are charging the battery correctly. It’s also important to note that different types of batteries may require different charging times and methods. Once fully charged, the battery should be able to power the drill for several hours of use.
Keeping the battery charged and ready to go will ensure that your drill is always ready for your next project.
Attach the Bit
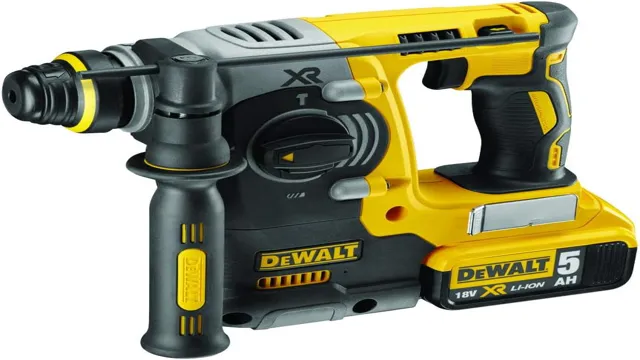
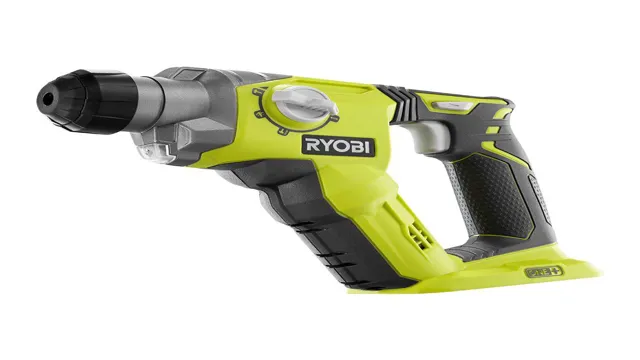
Attach the Bit Now, let’s talk about getting familiar with the drill. Before we attach the bit, it’s important to know the different components of the drill, including the chuck and the clutch. The chuck is where you attach the bit, and it’s important to make sure it’s securely tightened before drilling.
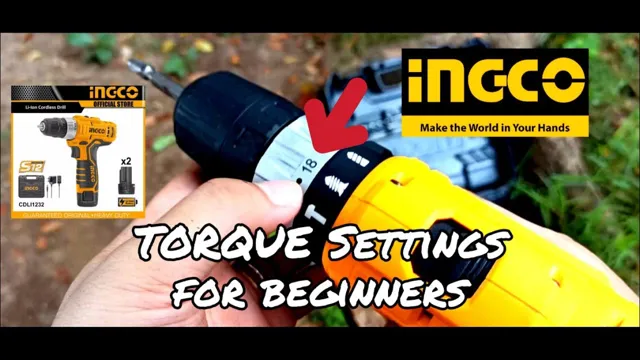
The clutch is used to control the torque and prevent the drill from stripping screws or damaging the surface you’re working on. To attach the bit, you’ll need to first loosen the chuck by turning it counterclockwise. Then, insert the bit into the chuck and tighten it clockwise by hand.
Finally, use the drill’s chuck key or a screwdriver to tighten the chuck even further, making sure the bit is securely in place. With these basics in mind, you’ll be ready to tackle your drilling projects with confidence.
Adjust the Clutch
Adjusting the clutch is an essential skill for any new driver, or even experienced ones who want to fine-tune their driving experience. It can be a bit intimidating at first, but with practice and patience, anyone can master it. To start, it’s important to understand that the clutch is a mechanism that connects the engine to the wheels, allowing the driver to change gears.
Adjusting it means finding the sweet spot where the car engages smoothly and efficiently. The best way to get familiar with the process is by practicing in a safe environment, gradually getting a feel for the pressure needed to engage the clutch. Don’t worry if at first you’re a bit jerky or stall the engine.
You May Also Love:
It takes time and practice to master, but once you do, you’ll have much greater control over your vehicle, making for a more comfortable and safe driving experience.
Using Your Ryobi Cordless Drill
If you’re looking to tackle a DIY project or just need to tighten a few screws around the house, your Ryobi cordless drill is an incredible tool to have in your arsenal. First, make sure the battery is fully charged before beginning any project. To use the drill, insert the desired drill bit into the chuck and tighten it using the key provided.
Adjust the torque setting to match the project you are working on and then pull the trigger to start drilling. Be sure to apply even pressure and keep the drill perpendicular to the surface. When you’re finished, release the trigger and wait for the bit to come to a complete stop before removing it.
With a little practice, you’ll become a pro at using your Ryobi cordless drill in no time!
Select the Right Speed
When using your Ryobi cordless drill, it’s essential to select the right speed to suit your project. The speed of your drill determines the amount of torque it produces, with faster speeds producing less torque and slower speeds producing more torque. For delicate tasks such as hanging pictures or assembling furniture, you’ll want to use a slower speed to maintain precision.
However, for larger projects such as drilling through thick wood or metal, a higher speed will allow you to power through tougher materials. Remember to adjust the speed as necessary depending on the task at hand and always read the instructions carefully to ensure you’re using your Ryobi cordless drill safely and effectively. By selecting the right speed, you can get the job done quickly and efficiently, without compromising on quality or safety.
Use Proper Pressure
When using your Ryobi cordless drill, it is important to use the proper pressure. Applying too much pressure can cause the bit to bind in the material and potentially break. Conversely, not enough pressure can cause the bit to slip and not make a clean hole.
Applying just the right amount of pressure will allow the bit to smoothly and efficiently work through the material. Think of it like driving a car. If you press the gas pedal too hard, you may spin out or burn too much fuel, but if you don’t press it enough, you won’t make it up the hill.
Similarly, using the correct amount of pressure will help you achieve the desired outcome. So, don’t be afraid to experiment with the amount of pressure you apply to the drill, and remember that practice makes perfect. Happy drilling!
Apply Steady Pressure
When using your Ryobi cordless drill, it’s essential to apply steady pressure to ensure that your cords remain secure and your drill does not slip or bounce. Applying too much pressure can cause your drill to shatter or damage your cords, while too little can cause your drill to become unbalanced, making it difficult to control. To apply steady pressure, make sure your drill is on a flat, stable surface and firmly grasped with both hands.
Use your dominant hand to apply the pressure and your non-dominant hand to steady the drill. Begin drilling at a slow and steady pace, gradually increasing the pressure as needed until your desired depth has been reached. Remember, applying steady pressure is crucial to getting the job done right the first time, and with precision and accuracy.
So, keep this tip in mind the next time you use your Ryobi cordless drill for any drilling project.
Release the Trigger
When it comes to using your Ryobi cordless drill, it’s important to understand how to release the trigger. This may seem like a small detail, but it can make a big difference when it comes to safety and overall efficiency. To release the trigger, simply let go of the button or switch that controls the drill’s movement.
This will stop the drill from spinning and prevent any further drilling or damage. It’s important to get comfortable with this motion before you begin using the drill in any serious capacity. Practice releasing the trigger a few times before you start your project, and you’ll be able to handle your Ryobi cordless drill with confidence.
Safety Tips for Using a Cordless Drill
If you’re looking for tips on how to use a Ryobi cordless drill safely, you’ve come to the right place. First of all, it’s important to always wear protective gear like safety glasses and gloves. When using the drill, make sure it’s set to the correct speed and torque for the job at hand.
You don’t want to overpower a delicate piece of material and end up damaging it. It’s also crucial to keep your fingers away from the drill bit while it’s spinning and to avoid wearing loose clothing or jewelry that could become entangled in the drill. When drilling into walls or ceilings, you’ll want to make sure you avoid electrical wires and pipes.
A good trick is to use a stud finder to locate studs before you start drilling. Finally, always be mindful of your surroundings and keep the drill out of reach of children and pets. With these simple tips, you can safely and confidently use your Ryobi cordless drill for all your DIY projects.
Wear Safety Gear
When using a cordless drill, safety should always be your top priority. One of the essential safety tips is to wear proper gear, including eye protection, gloves, and earplugs. This safety gear will protect you from flying debris, dust, and loud noises.
Safety glasses should be worn to prevent any debris from getting into your eyes, while gloves will protect your hands from getting cut or bruised. Earplugs are also necessary as cordless drills can produce loud and jarring noises that can damage your hearing. Always remember to wear your safety gear before using a cordless drill to ensure maximum safety and prevent potential accidents.
Use the Locking Mechanism
One crucial safety tip for using a cordless drill is to always use the locking mechanism. This feature prevents the chuck from coming loose during use, reducing the risk of injury. To use it, simply hold the chuck in place while turning the drill on.
This will engage the locking mechanism, securing the bit in place. It’s important to always double-check that the locking mechanism is engaged before beginning your task. This simple step can prevent accidents and ensure that your projects turn out perfectly.
Don’t forget to use this essential safety tip whenever you use your cordless drill!
Maintenance and Storage
If you’ve recently invested in a Ryobi cordless drill, it’s important to know how to properly maintain and store your tool to ensure its longevity. After each use, make sure to clean the drill and remove any debris or dust that may have accumulated on the surface. Remember to inspect the battery regularly for any signs of damage or wear.
It’s also important to store your cordless drill in a cool, dry place away from direct sunlight and moisture – this will prevent the battery from deteriorating. Additionally, you can extend the life of your battery by charging it regularly and ensuring it’s stored at an optimal temperature. By following these tips, you can ensure that your Ryobi cordless drill stays in top condition and will be ready to use whenever you need it.
Clean Your Drill
When you invest in a high-quality drill, you want to make sure it lasts a long time. One of the best things you can do to maintain your drill is to keep it clean and well-oiled. Not only will this prevent rust and wear and tear, but it will also improve your drill’s performance and longevity.
Before storing your drill, wipe it down with a rag to remove any dust, debris, or other residue that may have accumulated during use. Make sure to pay special attention to the chuck and the drill bit, where debris is most likely to get stuck. You can use compressed air or a brush to get into tight spaces.
Once your drill is clean, apply a light coat of oil to the moving parts and store it in a dry, cool place. Performing this routine maintenance will ensure that your drill is always in good working condition and ready for your next project.
Store Your Drill Safely
If you’re a DIY enthusiast or a professional handyman, you probably own a drill or two. And if you’re not storing your drills properly, you could be shortening their lifespan or worse, inviting accidents. Proper storage and maintenance are essential if you want your drill to last for a long time.
To begin with, make sure that you safely unplug your drill after use. When storing, clean it thoroughly and get rid of any debris, dust, or dirt that might have accumulated during use. This will prevent clogs or corrosion.
If you have a cordless drill, take out the battery and store it separately. When storing your drill in a toolbox or a cabinet, ensure that it doesn’t topple or shift during transport. Use foam inserts or custom cut-outs to secure your power tools and prevent them from banging into each other.
Remember to store your drill in a cool and dry place away from direct sunlight or moisture as this can corrode the metal parts or damage the batteries. Proper storage and maintenance will help you extend the lifespan of your drill and ensure that it works efficiently and effectively when you need it. So, take the time to clean, store and maintain your drill, and it will repay you with reliable service for years to come.
Conclusion
So, to sum it up, using a Ryobi cordless drill is as easy as flipping a switch and pulling the trigger. It’s like having a personal power tool sidekick ready to assist with any task, big or small. Just remember to charge the battery, use the right bit for the task at hand, and always wear protective gear.
With this trusty tool in your hand, you’ll be able to tackle any DIY project with confidence and ease. So go forth, drill enthusiasts, and unleash the power of the Ryobi drill!”
FAQs
What is the battery life of the Ryobi cordless drill?
The battery life of the Ryobi cordless drill varies depending on usage and the model, but it typically ranges from 30 minutes to several hours.
Can I use a different brand of battery with my Ryobi cordless drill?
No, it is not recommended to use a different brand of battery with your Ryobi cordless drill as it may not be compatible and can cause damage to the drill or battery.
How do I change the drill bit on my Ryobi cordless drill?
To change the drill bit on a Ryobi cordless drill, you need to loosen the chuck by rotating it counterclockwise, insert the new bit, and then tighten the chuck by rotating it clockwise.
How long does it take to fully charge the battery on a Ryobi cordless drill?
Again, the charging time may vary depending on the model and the battery type, but it usually takes between 30 minutes to several hours to fully charge a Ryobi cordless drill battery.
Can I use my Ryobi cordless drill for heavy-duty tasks like drilling into concrete or metal?
Ryobi cordless drills are designed for common drilling tasks at home and light-duty applications. For heavy-duty tasks, such as drilling into concrete or metal, you may want to consider a more powerful drill with higher torque and speed capabilities.
How do I maintain my Ryobi cordless drill to ensure optimal performance?
To maintain your Ryobi cordless drill, always keep the battery and charger clean and dry, store the drill in a cool and dry place, and lubricate the chuck regularly to prevent rust and wear.
Can I use my Ryobi cordless drill as a screwdriver?
Yes, many Ryobi cordless drills come with adjustable torque settings that allow you to use the drill as a screwdriver, making it useful for both drilling and driving tasks.

