How to Use a Staple Gun Tacker for Upholstery Projects: Tips & Tricks
When it comes to household tasks like DIY projects, upholstery repairs or even just stapling papers together, a staple gun tacker is something that can come in incredibly handy. However, for those unfamiliar with how to use it correctly, a staple gun tacker can be intimidating and even dangerous! But don’t worry, learning how to use one is much easier than you think. In this blog, we’ll cover everything you need to know, from loading staples to choosing the right setting for your project.
So, grab your staple gun tacker and let’s get started!
Understanding Your Staple Gun Tacker
Learning how to use a staple gun tacker is an essential skill for any DIY enthusiast or carpenter. Before using it, always refer to the manufacturer’s instructions to ensure you understand the different parts and functions of the tool. Once you have mastered the basics, the most crucial aspect is choosing the right staple for your project.
Make sure you select one that is the appropriate size and gauge for the material you’re working on. When using the tacker, hold it perpendicular to the surface and apply pressure until you hear the satisfying sound of the staple hitting the material. Always keep your free hand clear of the stapling area for safety.
By following these simple guidelines, you’ll be able to use your staple gun tacker for a variety of projects with confidence and ease.
Types of Staple Gun Tackers
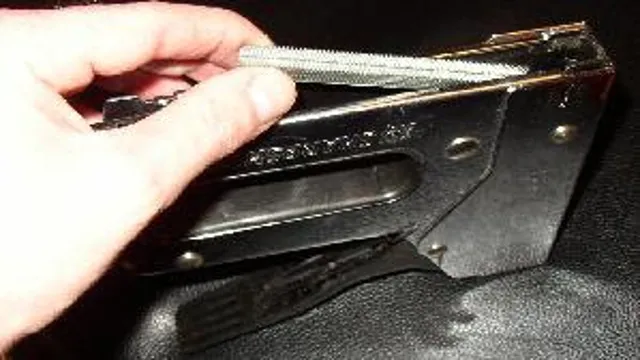
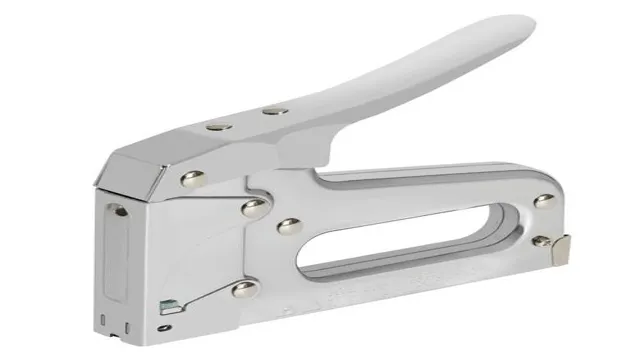
When it comes to choosing the right staple gun tacker, it’s important to understand the different types available. One common type is the manual staple gun tacker, which is perfect for small projects around the home. These staplers require physical force to drive staples into materials like fabric, canvas, or cardboard.
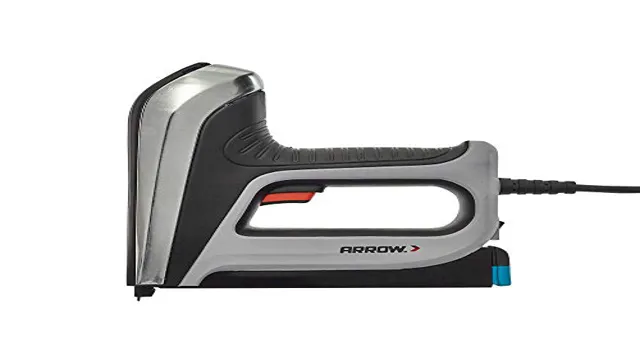
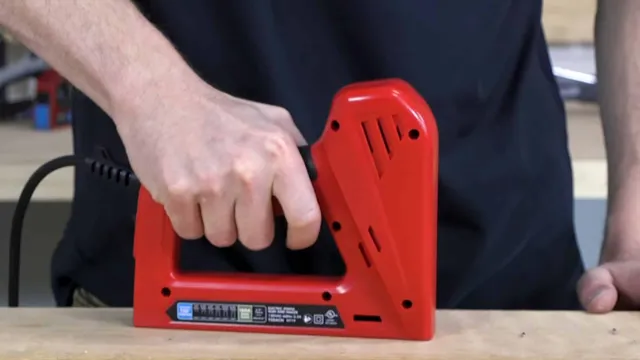
They are small and easy to handle, making them a great choice for DIY enthusiasts who need to tackle small projects. Another common type is the electric staple gun tacker, which is suitable for larger projects that require a more significant amount of force. These staplers don’t require any physical force from the user and are useful for installing insulation or securely fastening materials such as wood or vinyl.
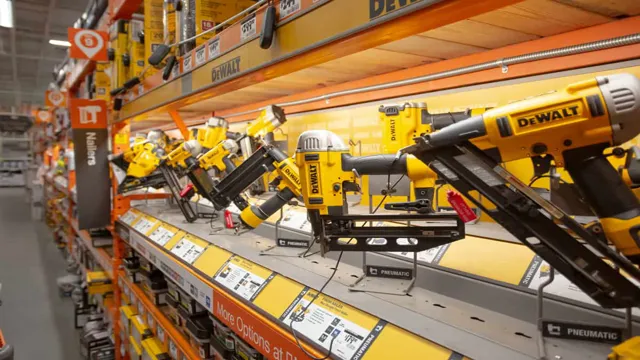
Finally, there is the pneumatic staple gun tacker, which uses compressed air to drive the staples home. These staplers are perfect for high-volume projects, such as building houses or installing fences. Ultimately, the type of staple gun tacker you choose will depend on your specific needs and the projects you plan to tackle.
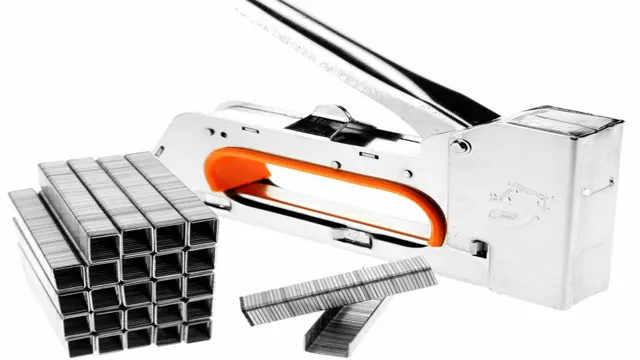
Parts of a Staple Gun Tacker
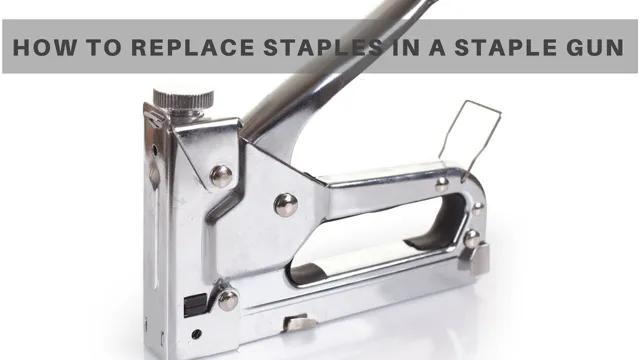
As a DIY enthusiast or professional handyman, it’s imperative to know the parts of your staple gun tacker. These tools are versatile and can be used in various home improvements or constructions. The main components of a staple gun tacker include the trigger, handle, magazine, loading tray, spring, guide, and nose.
The trigger, located at the bottom of the handle, is what fires the staple. The Handle dispenses the staple after the trigger is squeezed. The magazine is where the staples are loaded, and the loading tray provides the slot for loading new staples.
The spring powers the loading system by pushing up the staples. The guide is responsible for allowing the staple to be inserted in the right position, while the nose aids in the accuracy of the staple gun. Understanding the parts of a staple gun tacker is essential for the proper use and maintenance of your tool.
Preparing Your Staple Gun Tacker
Staple gun tackers are versatile and useful tools to have around the house or in the workshop. If you’re new to using a staple gun tacker, it’s essential to prepare it properly to ensure safe and effective use. Begin by checking the staple magazine to make sure it’s empty or contains the correct size staples for your project.
Next, make sure the tacker is unplugged if it’s an electric model and loaded with an appropriate number of staples. Once you’ve done that, grip the tacker firmly and test it on a piece of scrap material to ensure the staples are coming out straight and evenly spaced. This will help prevent jams and ensure optimal results.
With a little practice, you’ll be a pro at using your staple gun tacker in no time.
Loading Staples
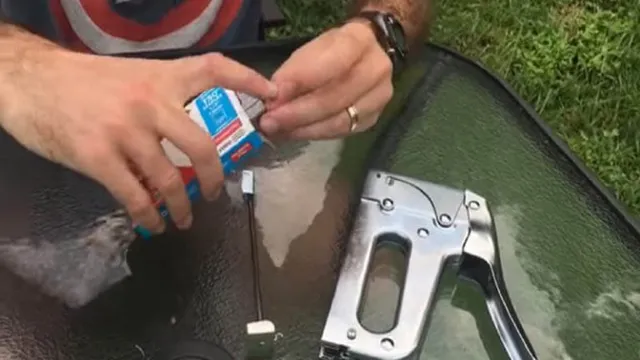
Loading staples onto your staple gun tacker is an essential step in preparing for any DIY project or home improvement task. Before you begin, it’s important to identify the correct size and type of staples needed for your specific tacker. Once you have the correct staples, you’ll need to open your staple gun and remove any old or unused staples.
To load new staples, simply slide them into the loading chamber and push them down until they lock into place. It’s important to ensure the staples are properly aligned, so they don’t get jammed or misfire during use. Once loaded, you’re ready to tackle your next project with ease.
So, whether you’re reupholstering furniture or installing attic insulation, proper staple loading is the first step to success.
Adjusting the Depth Control
Adjusting the depth control on your staple gun tacker is an essential step in preparing it for use. The depth control feature ensures that the staple is driven into the material to the appropriate depth required for the application. It adjusts the distance from the nose of the stapler to the surface of the material, allowing the user to adjust the depth of the staple.
If the force is too weak, then the staple will not be driven deep enough, and if the force is too strong, the staple may end up damaging the material’s surface. To adjust the depth control, locate the depth adjustment knob on your staple gun tacker and turn it clockwise or counterclockwise to increase or decrease the depth of the staple accordingly. It is essential to make sure the depth is set appropriately for the material you’re working with, ensuring a successful and secure hold.
Properly adjusted depth control will ensure that the material and stapler are not damaged while you work quickly and efficiently. With this simple adjustment, your staple gun tacker will be ready to use.
Choosing the Right Staples
Staple gun tackers are versatile tools best used for a broad range of applications, starting from upholstery to attaching electrical wires and securing carpets. Choosing the right staple gun tacker may seem overwhelming due to the many options available, but it is essential to select one that accommodates the type, thickness, and length of staples required for your project. As there are variations in staple sizes, it’s important to determine the intended use of the staples before purchasing them.
For instance, light duty staple guns require smaller staples, while heavy-duty staple guns work best with longer, thicker staples. Additionally, staple guns come in different models that use specific staple sizes, which is something you should check before you buy. Once you’ve selected the right staples, it’s important to prepare the staple gun tacker accurately, following the manufacturer’s guidelines.
This will help you avoid jams, misfires, and other malfunctions. So, take your time and ensure that you’ve correctly aligned the staples, triggered the gun once or twice to ensure it’s working well before use, and only use staples that are compatible with the tacker model. In this way, your staple gun tacker will be ready to use, helping you to get the appropriate results for your project.
Using Your Staple Gun Tacker
If you have a staple gun tacker, it can be a really handy tool for all sorts of projects, from upholstery to woodworking. But how do you use it? The first step is to make sure you have the right staples for the job. There are different sizes and types of staples, so check the manual or packaging to make sure you have the correct ones.
Once you have your staples, load them into the staple gun tacker. This typically involves pulling back a tab, inserting the staples, and then pushing the tab back into place. Then, position the staple gun tacker where you want to attach something, and press down firmly on the trigger.
The staples should go into whatever material you’re working with. Repeat this process until you’ve finished your project. It’s important to note that staple gun tackers can be dangerous, so be sure to use caution and wear protective gear like safety glasses.
Setting the Tacker on the Material
When it’s time to start building or repairing, one of the essential tools you’ll need is a staple gun tacker. But before you blindly begin stapling away, it’s important to know how to use it properly. The first step is setting the tacker on the material.
This means making sure it’s securely in place before firing away. You don’t want your staple gun tacker to slip or move, potentially ruining your project or even causing injury. To prevent this, hold it firmly against the material and apply steady pressure.
Then, pull the trigger to set the staple into place. With a little practice, you’ll become a pro at using your staple gun tacker in no time!
Squeezing the Trigger
If you’re new to using a staple gun tacker, squeezing the trigger might seem like a daunting task. However, with a little practice, you’ll soon be able to staple with ease. Begin by ensuring the gun is loaded with the correct size staples for your project.
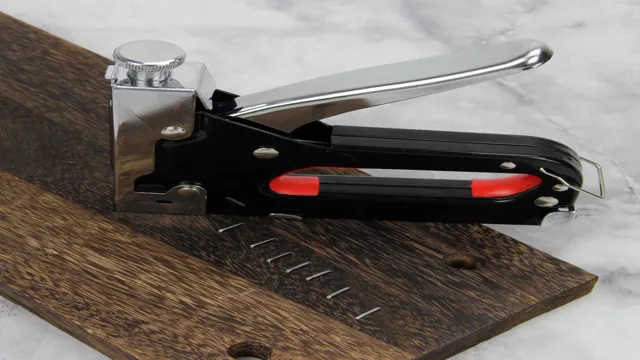
Hold the gun with your dominant hand and place the nose of the gun against your project. Apply pressure to the gun to compress the spring, then squeeze the trigger to release the staple. It’s important to maintain a steady hand and to use the appropriate force to prevent the staple from becoming misaligned or over driven.
With a little practice, you’ll be able to quickly and efficiently tackle your next staple project.
Pulling the Tacker Away from the Material
When it comes to using your staple gun tacker, a common issue that arises is the staple getting stuck or pulling away from the material. This can cause frustration, as it slows down your project’s progress. One of the main reasons this happens is due to the angle at which you are using your tacker.
If you are holding it too steeply, the staple will not have enough force to penetrate the material and will instead pull away. Another reason could be that the staple gun tacker is not the right fit for the material you are using. If you are using a heavy-duty material, you will need a staple gun tacker with a higher drive power to ensure the staple stays in place.
Therefore, it is essential to adjust the angle and power of your staple gun tacker according to the material you are using to avoid the staple from getting stuck or pulling away.
Common Mistakes and Safety Tips
If you’re a DIY enthusiast or a professional carpenter, using a staple gun tacker can be a great way to make your work easier and more efficient. However, there are some common mistakes that people make when using them, and it’s important to know how to prevent these issues. One mistake is using the wrong type of staple for the material you’re working with, which can lead to damage or poor results.
Another mistake is not wearing adequate safety gear, such as goggles and gloves. It’s also important to be aware of the possibility of accidental firing, which can cause serious injury. To prevent this, make sure you keep your finger off the trigger until you’re ready to fire and keep the tool pointed away from yourself and others.
By following these tips and taking necessary precautions, you can safely use a staple gun tacker for your next project.
Avoiding Jams
Avoiding traffic jams is a challenging task for drivers around the world. Although traffic jams are frustrating and annoying, there are common mistakes that drivers make that contribute to the problem. One of the most common mistakes is not paying attention to the road and surrounding traffic.
Drivers who are distracted by their phones, music, or other distractions are more likely to cause accidents and contribute to traffic congestion. Another mistake is failing to check the condition of their vehicle before driving. Simple things like low tire pressure or faulty brakes can lead to problems on the road.
To avoid traffic jams, drivers should also plan ahead and choose the best routes. Checking traffic reports and avoiding busy areas during peak times can also help. Furthermore, drivers should follow traffic signals, stay alert, and remain patient.
By following these safety tips and common-sense driving techniques, drivers can avoid traffic jams and contribute to safer roadways for everyone.
Protecting Your Hands and Eyes
When it comes to working with tools or chemicals, protecting your hands and eyes should always be a top priority. Common mistakes include not wearing gloves or safety goggles, assuming that accidents won’t happen, or not understanding the proper techniques for handling hazardous materials. To stay safe and avoid injury, make sure to use high-quality gloves that fit properly and provide ample protection.
Similarly, invest in safety goggles that are comfortable and designed to shield your eyes from harmful splashes or debris. Don’t forget to educate yourself on the proper handling and disposal methods for any chemicals or tools you are using. By taking these steps, you can ensure that your hands and eyes are protected from harm and that your work is completed with ease and efficiency.
Remember: a little precaution goes a long way!
Avoiding Injury
Avoiding injury is crucial for staying active and healthy, but many people make common mistakes that can lead to pain and discomfort. One mistake is neglecting to warm up before exercising, which can strain muscles and increase the risk of injury. To avoid this, it’s important to take a few minutes to stretch and get your body ready for activity.
Another mistake is using improper form or technique during exercise, which can put unnecessary strain on joints and muscles. It’s important to learn the correct form from a professional or qualified trainer and focus on proper alignment during your workouts. Additionally, it’s important to listen to your body and not push yourself too hard, as this can increase the risk of injury.
Finally, using proper equipment and wearing appropriate shoes can also help prevent injury. By incorporating these safety tips into your routine, you can reduce your risk of injury and stay healthy and active.
Conclusion
In conclusion, using a staple gun tacker is a breeze with a little bit of practice and proper technique. Whether you’re upholstering furniture, hanging up holiday decorations, or embarking on a DIY project, a staple gun tacker is a versatile tool that can make your life easier. Just remember to load the staples correctly, keep your hands and fingers away from the firing area, and take your time to ensure accuracy and precision.
With these simple tips, you’ll be a staple gun tacking pro in no time! So don’t be afraid to take on new projects and impress your friends and family with your handy skills and clever creativity. Happy stapling!”
FAQs
What is a staple gun tacker used for?
A staple gun tacker is used to fasten objects together using staples.
How do I load staples into a staple gun tacker?
To load staples into a staple gun tacker, open the magazine and insert the staples, then close the magazine and prepare to use the tool.
What types of staples are compatible with a staple gun tacker?
The type of staples that are compatible with a staple gun tacker will depend on the specific model. Check the user manual or packaging for the recommended staples.
How do I use a staple gun tacker on thicker materials?
When using a staple gun tacker on thicker materials, choose longer staples and adjust the depth of the staple using the tool’s settings if possible.
Can a staple gun tacker be used for upholstery projects?
Yes, a staple gun tacker can be used for upholstery projects as long as it is compatible with the type of fabric and staples needed.
What safety precautions should I take when using a staple gun tacker?
Always wear eye protection and gloves when using a staple gun tacker. Make sure to keep your fingers away from the staple exit point and keep the tool pointed away from yourself and others.
How do I maintain a staple gun tacker?
To maintain a staple gun tacker, regularly clean the tool and remove any jammed staples. Lubricate moving parts as needed and store the tool in a dry, cool place.

