What is Torque Setting on Cordless Drill? A Comprehensive Guide
Are you in the market for a cordless drill but feel overwhelmed by all the settings, especially the torque setting? Don’t worry, we’ve got you covered. Understanding torque settings is crucial in getting the most out of your cordless drill. In this blog, we’ll explain what torque is, how to use the torque setting on your drill, and why it’s important for your DIY projects.
Think of torque as the muscle behind your drill, allowing it to effortlessly drill through surfaces. It’s like the legs of a champion athlete, propelling them forward with each stride. Without torque, a drill is just a fancy paperweight.
Let’s dive in and discover everything you need to know about cordless drill torque setting!
Understanding Torque Settings
If you’re new to using a cordless drill, you may be wondering what the torque setting is and how it works. In simple terms, torque settings allow you to adjust the amount of force applied by the drill to the screw or drill bit. The higher the torque setting, the more force is applied, and vice versa.
This is important because different materials require different levels of force to drill or drive screws into effectively. For example, a higher torque setting may be necessary for drilling into thick wood or metal, while a lower setting may be appropriate for delicate materials like tile or drywall. Understanding how to properly adjust the torque setting on your cordless drill can save you time, prevent damage to your materials, and ensure your drilling or screw driving is successful.
What is Torque?
Torque is the force exerted on an object that causes it to rotate around an axis. In other words, torque is the twisting or turning force that is generated when an object is subjected to a rotational force. Torque is measured in units of Newton-meters (Nm) or pound-feet (lb-ft).
Understanding torque is important when working with tools that require specific torque settings. These settings determine the amount of torque needed to tighten or loosen bolts and screws without damaging the object being worked on. It is essential to use the correct torque settings on equipment to prevent damage or injury.
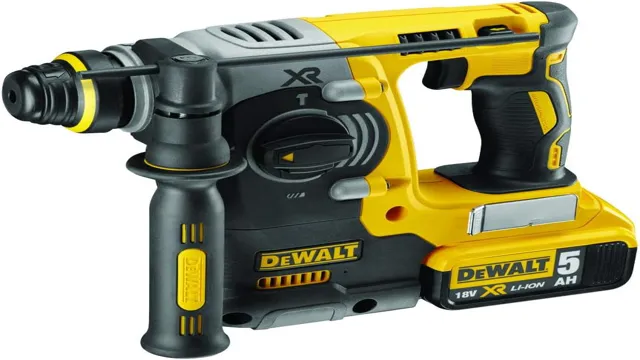
Different tools, such as drills and wrenches, have different torque settings, and it is important to follow the manufacturer’s instructions and specifications. By understanding torque settings, you can ensure that you are using your tools safely and effectively.

Why are Torque Settings Important?
Torque settings are crucial when it comes to fastening bolts, screws, and nuts. The torque setting determines the amount of force applied to the fastener during tightening. It’s important to understand the specific torque requirements of each fastener to prevent any damage to the mechanical parts.
If the torque setting is too low, the fastener might not be tightened adequately and could loosen over time, causing a malfunction. On the other hand, if the torque setting is too high, it can lead to over-tightening and could result in damage to the fastener, the nut, and the mechanical parts. Always consider the material and size of the fastener, and refer to the manufacturer’s recommendations for proper torque settings.
It’s crucial to follow these guidelines to ensure the safety and durability of the equipment.
Types of Torque Settings
Torque settings are an essential factor in ensuring accurate and safe fastening of bolts, screws, and nuts. There are different types of torque settings, including manual, digital, and hydraulic. Manual torque wrenches are the most common, and they are easy to use and affordable.
Digital torque wrenches are a more advanced option that provides real-time readings for increased accuracy. Hydraulic torque wrenches provide an even greater level of precision and are typically used in industrial settings. It’s essential to know the torque requirements for each application and select the appropriate torque setting for the job to ensure optimal performance and prevent damage or accidents.
Understanding the different types of torque settings and their applications can help ensure efficiency and safety while working on mechanical projects.
Finding the Torque Setting on Your Cordless Drill
The torque setting on your cordless drill refers to the amount of twisting force applied to the drill bit. It determines how much power your drill will use to drive screws or bore holes into different materials. Knowing the right torque setting is important because it ensures that you don’t over-tighten screws or damage the material you’re working on.
You May Also Love:
Most cordless drills come with an adjustable clutch or torque limiter that allows you to set the desired level of torque for your task. This feature is particularly useful when working with delicate materials like drywall, where excessive force can easily lead to damage. To find the proper torque setting for your drill, refer to the manufacturer’s instructions or experiment with different settings until you achieve the desired results.
By mastering the torque setting on your cordless drill, you can work more efficiently and effectively on a variety of DIY projects.
Checking the Manual
When it comes to using your cordless drill, it’s crucial to understand how the torque setting works. Luckily, finding the correct torque setting for your drill is pretty straightforward, and it all begins with checking the manual. Most manufacturers list the recommended torque settings for various applications in the manual, so all you need to do is locate the section that covers torque and read through the instructions.
In some cases, the manual may even include a handy chart that lists the torque settings for different screw sizes and materials. By taking the time to familiarize yourself with your drill’s torque settings, you’ll be able to complete your projects with precision and ease. Remember, correctly setting the torque is essential to prevent stripping screws, damaging materials and even personal injury.
Looking for Markings on the Drill
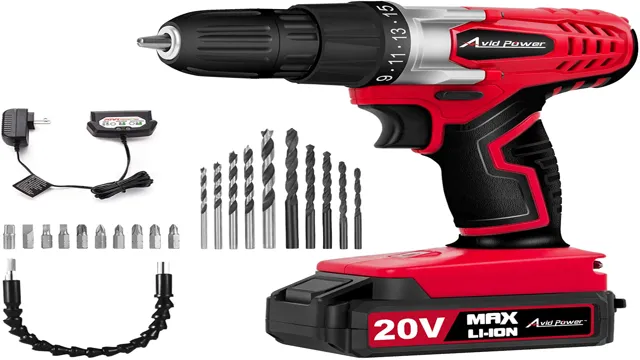
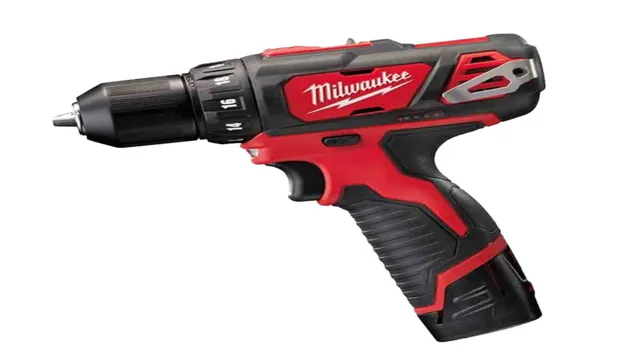
When it comes to using a cordless drill, finding the torque setting can be crucial to getting the job done right. One way to do this is by looking for markings on the drill itself. Some drills will have torque settings clearly labeled on the chuck or the body of the tool.
Others may have a torque ring, which will allow you to adjust the setting to your desired level. If you can’t find any markings, you may need to consult the user manual or a manufacturer’s website to determine the correct setting for your drill. Remember, using the right torque setting can help you avoid damaging your drill or the materials you’re working with, so take the time to make sure you’re using the correct setting for the job at hand.
Using a Torque Wrench
When it comes to using a cordless drill, finding the proper torque setting is an essential step. On most cordless drills, torque settings can be found on a small dial near the chuck, or in the drill manual. Torque settings determine how much force is applied to the screw or nut you’re working on, preventing over or under tightening.
It’s important to match the torque setting with the size and type of fastener you’re using, as well as the material you’re drilling into. Using a torque wrench or digital torque adapter can also help ensure accuracy and consistency in torque settings. So, next time you’re reaching for your cordless drill, take a moment to find the proper torque setting to guarantee a successful and secure fastening.
How to Adjust Torque Settings
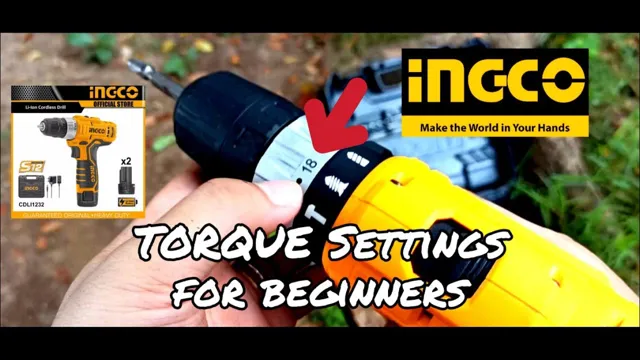
If you’re wondering what the torque setting on a cordless drill is, it refers to the amount of force or twisting power that the drill produces. It’s an important feature to consider when dealing with different types of materials since not all materials require the same amount of torque to be fastened properly. To adjust the torque setting on your cordless drill, locate the clutch ring behind the chuck and turn it according to the numbers or symbols indicated.
The higher the number or symbol, the higher the torque and vice versa. It’s essential to start with a lower torque setting and gradually increase it until the desired level of tightness is achieved. By doing so, you can avoid stripping screws or damaging the material you’re working on.
Remember that the torque setting is specific to the material and screw size you’re working with, so it’s crucial to check the manufacturer’s recommendations. With proper use of the torque setting, you can ensure efficient and accurate drilling that perfectly meets your needs.
Step-by-Step Guide to Adjusting Torque Settings
Adjusting torque settings on your power tool is a crucial step in ensuring that your projects are properly executed. The first step is to find the torque adjustment ring, usually located near the chuck on your drill. This ring controls the amount of force applied by the drill to the screw or bolt you are working on.
Using the manufacturer’s instructions as a guide, determine the appropriate torque setting for your specific project. Once you’ve set the torque, it’s time to test it on a scrap piece of material. This will help you determine if the torque is too high or too low before you begin working on your actual project.
Remember, over-tightening can damage your material, and under-tightening can cause loose connections. If the torque needs adjusting, adjust the torque ring and test again until you achieve the desired result. By taking the time to properly adjust the torque settings on your power tool, you can ensure the success of your project.
Wrapping Up: Importance of Torque Settings for Drilling Success
If you’re wondering what a torque setting is on a cordless drill, you’re not alone. Torque settings are essential for drilling and screwing, as they determine the amount of force that is applied to the object being drilled. Having the correct torque setting ensures that the drill bit doesn’t slip or strip the screw, and that the hole is drilled to the correct depth.
Most cordless drills come with adjustable torque settings, which can be changed depending on the task. The key is to match the torque setting to the material you’re drilling into. For example, a lower torque setting would be used for delicate materials such as drywall, while a higher setting would be used for dense materials like concrete.
By using the correct torque setting, you’ll have greater success in your drilling endeavors, and avoid costly mistakes.
Conclusion
In short, torque setting on a cordless drill refers to the predefined power level at which the drill will stop applying force to a screw or bolt, preventing damage or over-tightening. It’s like a secret code between a drill and its user, ensuring a perfect synchronized dance of precision and control. Think of it as a superhero’s power-level setting, where just enough strength is applied to save the day without causing collateral damage.
So, the next time you use your cordless drill, remember to take advantage of its torque setting to save your projects from becoming a DIY disaster!”
FAQs
What is torque setting on a cordless drill?
Torque setting on a cordless drill refers to the amount of rotational force that the drill applies to a screw or other fastener. It can be adjusted to match the needs of the job, allowing for a precise and efficient operation.
How do I adjust the torque setting on my cordless drill?
To adjust the torque setting on your cordless drill, locate the torque adjustment collar near the chuck. Rotate it to the desired torque level indicated by the markings or numbers on the collar.
Why is it important to use the right torque setting on a cordless drill?
Using the right torque setting on a cordless drill helps prevent damage to the fastener and the material it’s being driven into. It also ensures that the fastener is tight enough to hold securely but not so tight that it causes damage.
What torque setting should I use for driving screws into wood?
The torque setting for driving screws into wood will depend on the size of the screw and the type of wood you’re working with. A general rule of thumb is to start with a lower setting and gradually increase it until the screw is snug.
Can I use the same torque setting for different types of fasteners?
It’s not recommended to use the same torque setting for different types of fasteners. Different types of fasteners require different torque settings to achieve the desired level of tightness without causing damage.
How do I know if the torque setting on my cordless drill is too high?
If the torque setting on your cordless drill is too high, you may strip the threads on the fastener, damage the material you’re driving it into, or even break the fastener.
What should I do if I’m not sure what torque setting to use?
If you’re not sure what torque setting to use, start with a lower setting and gradually increase it until the fastener is snug. You can also consult the manufacturer’s recommendations for the specific tool you’re using.

